Building a Lyra-8 Synthesiser Part 1: Sourcing Components and Starting Assembly
Follow articleHow do you feel about this article? Help us to provide better content for you.
Thank you! Your feedback has been received.
There was a problem submitting your feedback, please try again later.
What do you think of this article?
A slightly more ambitious lockdown project to build a standalone synthesiser.
I have been intrigued by the Lyra 8 synthesiser for some time; I had seen it discussed via the online forum for synthesiser enthusiasts, Muffwiggler, and seen video of it in action, and I really liked what I heard. Apart from the sound, the other thing that attracted me was that the Russian manufacturers of the Lyra 8 sometimes made PCBs available, so that you could build your own.
I put my name down for a set of the Lyra 8 boards from the next production run and they were held up for while in Leeds depot, awaiting the processing of Duty and VAT payment, but arrived just as I started confining myself to home and had some extra time on my hands.
Something different
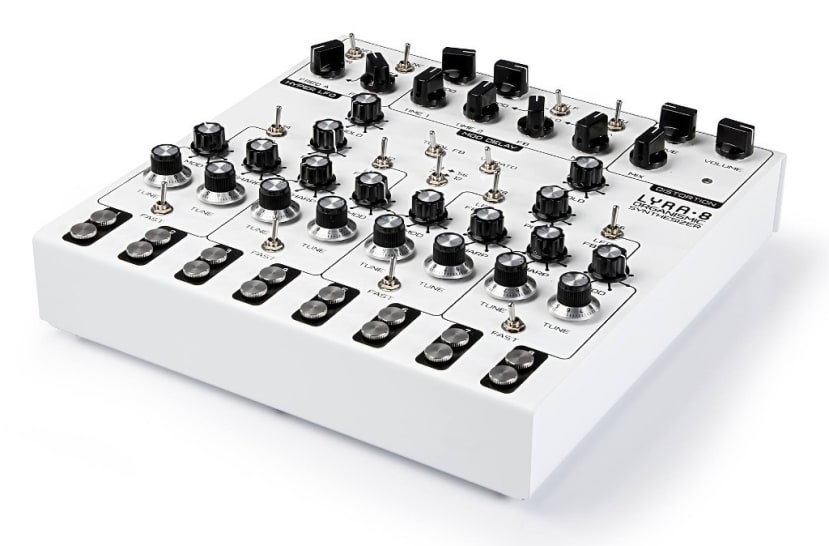
Soma, the makers of the Lyra-8, describes it as an “organismic” analogue synthesiser and claim that it uses “principles that lie in the base of living organisms”.
LYRA-8 is based on eight sound generators, which are referred to as voices that resemble the tone generators in old electric organs, rather than the usual synthesiser oscillators. The voices are divided into four pairs and the pairs are divided in two groups, with two pairs in each creating a tree-like structure. It also features a low-frequency oscillator (LFO) that can modulate the selected pairs of voices and the built-in delay effect. The delay can also self-modulate, where the output signal modulates the delay sample rate. There is also a built-in distortion effect.
All this is controlled by a “keyboard” consisting of pairs of metal contacts - putting your finger across the contacts closes the circuit - as the manual says, “The current is very low, several orders below sensitivity threshold, and is absolutely safe:-)” The sensors launch envelope generators for each voice and by varying your touch and technique, you can vary a voice's attack and volume. What this adds up to is a very cool sounding and unusual synthesiser.
Sourcing the components
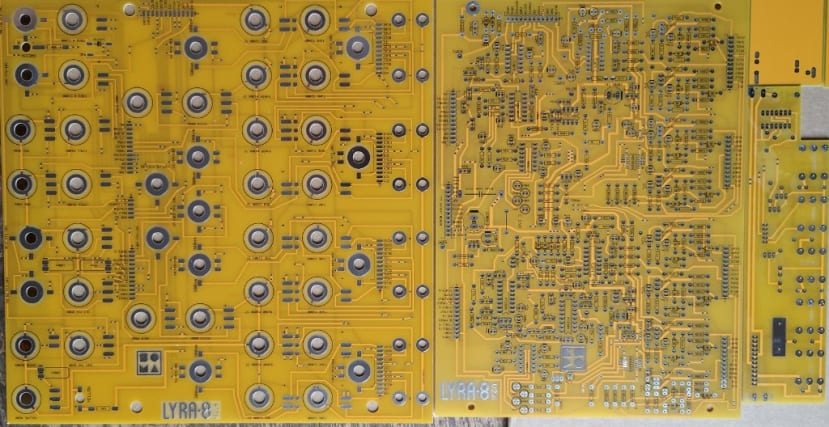
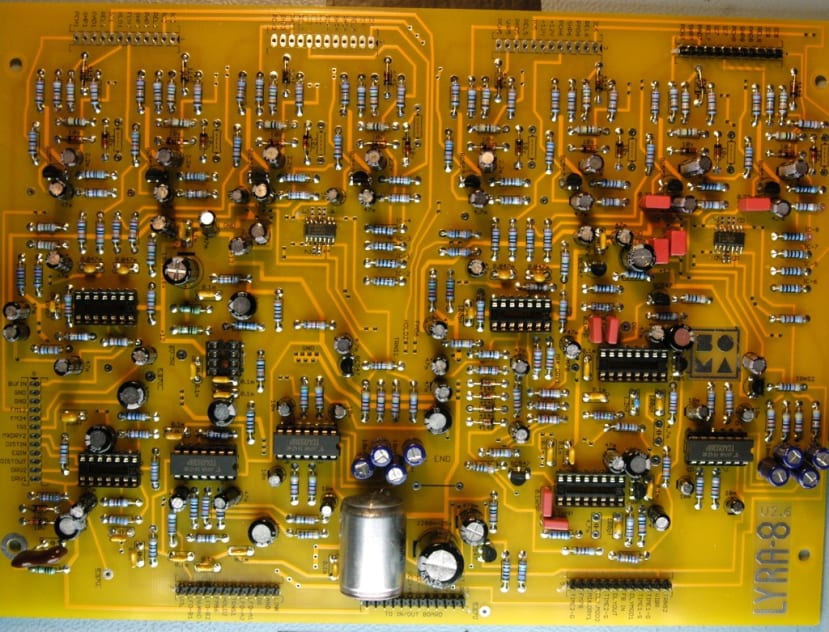
There are 2 large PCBs (about 200mm x 250mm) — a mainboard and a control board — and a small control breakout board. I reckon there are over 300 separate components, so a lot of stuff to source and ultimately solder in place.
There is a BOM for the Lyra-8, with some notes on construction and some pictures, but no instructions as such. The BOM features a few unusual components such as the “CCCP 0.1mf 160V” capacitor and some “anti-log curve” potentiometers I had not come across before. As a side note, who would have thought it would be so difficult to find a 510 pf ceramic through-hole mounting capacitor?
Nearly all the capacitors are listed in the BOM with “mf” values - it took me a little while to work out this was equivalent uF but I got there in the end thanks to Internet research and that Muffwiggler thread!
I managed to source most of the components from RS and they arrived the day after ordering as ever, even under the present difficult circumstances (there is a BOM spreadsheet with the relevant RS part numbers attached to this post). Some of the more unusual things I had to find via other places, such as eBay.
Building the Lyra-8
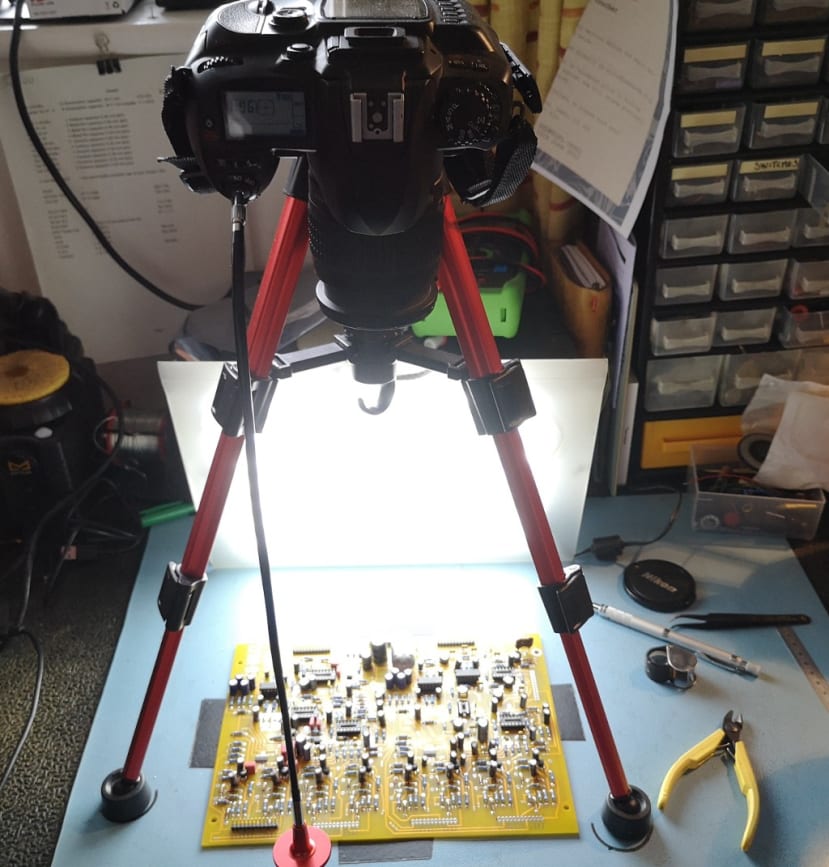
I wanted to try making a stop-frame animation of the components being added. So I set up my old digital SLR camera on a tripod and fashioned some lighting from an old frosted plastic A4 folder and adhesive strips of LEDs
(153-3626)
, which improved the lighting in the little back room where I am working somewhat, although it is still far from perfect, as you can see.
Then it was just a case getting to work with the soldering. Some of the best advice I have read about tackling a job as big as this is, when you get tired or start losing concentration, take a break!
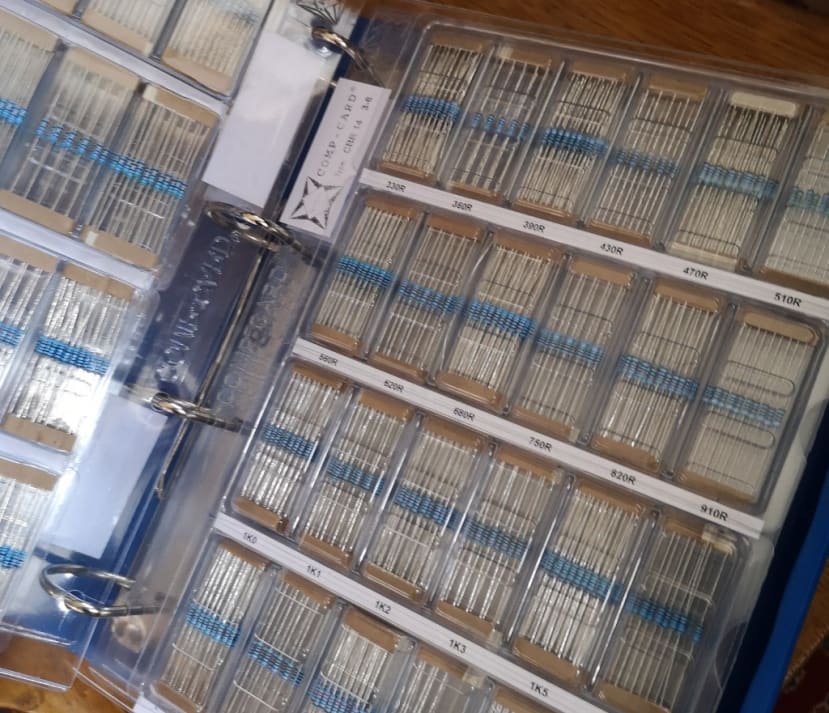
It also helped to have my components sorted out and labelled — especially since my workspace is somewhat cramped – and I used my Nova Comp-Card-System resistor kit (156-2587) , replenishing any compartments that had become depleted from previous projects.
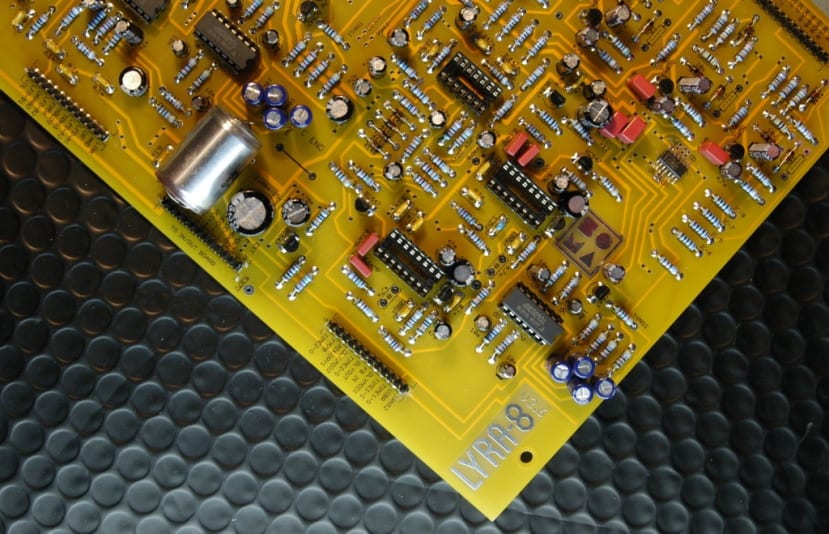
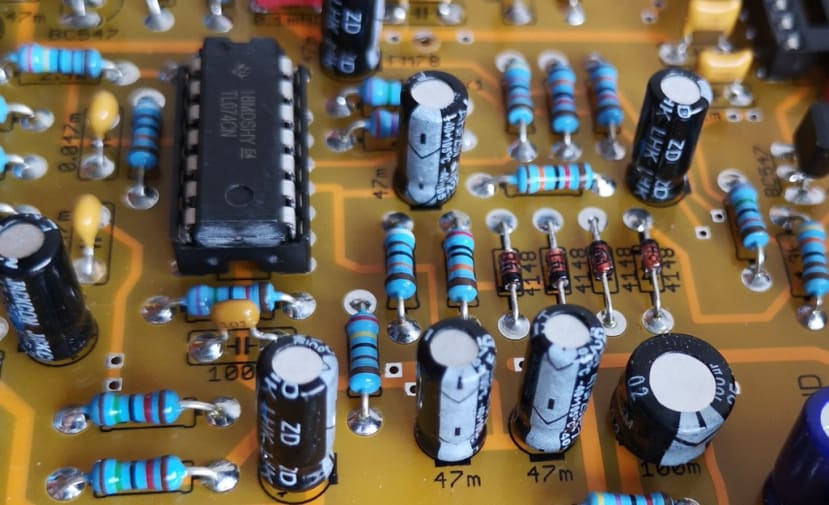
The components and their values are clearly marked on the PCB. The only parts that come supplied with the PCBs are two SMD ICs and to quote Soma, “HEF4093 NXP (SOIC-14) - The ICs influence the behaviour and the sound of the voices' oscillators. There are specific required parameters for the ICs that can differ with different manufacturers. We've included two proper ICs in the kit to be sure that the oscillators will work correctly”. I started by soldering these and used my newly acquired microscope (913-2513) to record and check my work.
Next were the 172 resistors, which was a bit of a slog. So I then took a break, had a coffee and started on the diodes, where I needed my wits about me as they are polarised and need to be installed in the right orientation.
Next were the non-electrolytic capacitors. As mentioned above, some of the values marked on the PCB needed a bit of translation as I was not familiar with the “mf” — actually marked as “m” on the PCB — so I needed to translate the values to what was marked on the components themselves. I think I got it right, but time will tell!
I then went on to solder the electrolytic capacitors, again taking extra care to fit in the correct orientation; positive and negative are clearly marked on the PCB and on the capacitors. I left the two large capacitors until after I had soldered the sockets for the ICs. I should probably have done the sockets before the capacitors, but holding them in place with blutack stopped them dropping out of the PCB when it was flipped over for soldering.
Then it was just a case of fitting the headers, again using blutack to secure them whilst soldering, before finishing off with the two big capacitors (including the one described as 0.1mf -160V CCCP in the BOM).
Next steps
In the next post in this series, I will be putting together the control panel, assembling the whole thing and then followed by what I fear will be the inevitable debugging. I will then need to design and build an enclosure, where I am currently planning to use red acrylic with wax-filled lettering and some nice wooden side panels — but that may well change.


Comments