Breathe Better Bear- An Air Quality Project. Part 1
Follow article
 Dave from DesignSpark
How do you feel about this article? Help us to provide better content for you.
Dave from DesignSpark
Thank you! Your feedback has been received.
Dave from DesignSpark
There was a problem submitting your feedback, please try again later.
Dave from DesignSpark
What do you think of this article?
Formation of the Project
Air quality in Mexico City used to be so bad that it was common to have safety alerts discouraging any physical activity; the air quality was so bad that birds would literally fall out of the sky. This had a big impression on me as a kid, and made me very aware of the impact good or bad air quality can have on the quality of life.
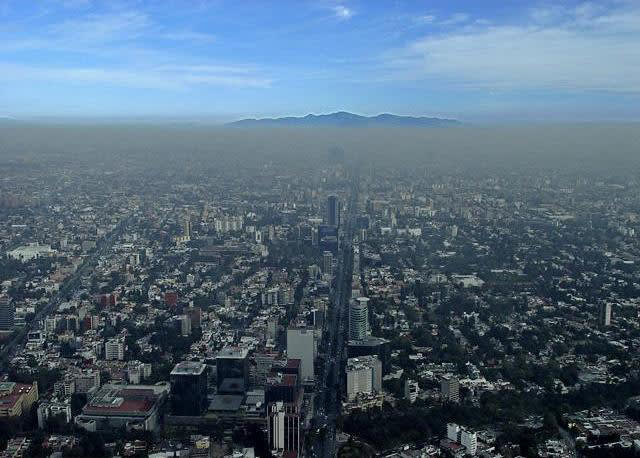
Usfirstgov at English Wikipedia. Pollution over Mexico City.
When I was approached about making a project highlighting the importance of air quality awareness, I thought back on my youth and how grateful I am to not be living in a big city anymore. Nowadays I live on the West Coast of the United States, surrounded by nature. But of course, even here we need to be aware of changes to the air quality.
The West Coast of the United States is plagued by wildfires. Huge, life-changing wildfires have destroyed thousands of acres year after year and keep getting worse. Even if you are lucky enough to not be in the path of the fires, you can still be affected by the huge plumes of smoke they create, from thousands of miles away.
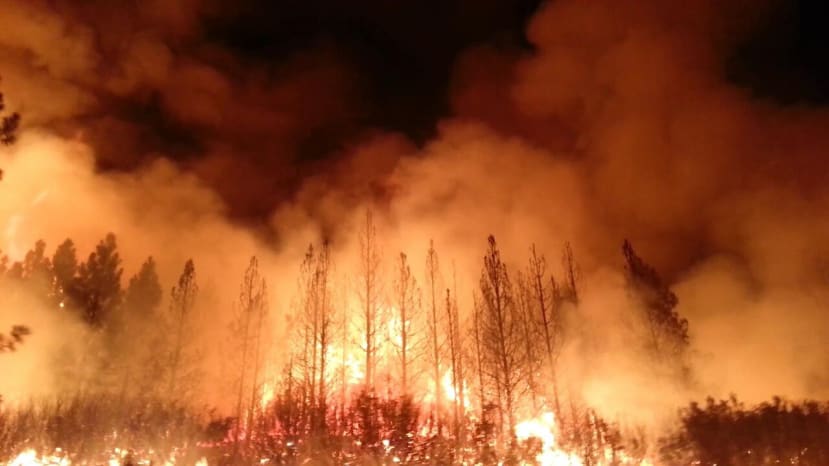
The Rim Fire in the Stanislaus National Forest - Public Domain
There are days when fires raging across California lower the air quality alarmingly all the way to Washington State. There are days when you look outside your window and something looks “off”, but you are not fully aware of what is wrong; when you actually go outdoors you realize there is a thin layer of smoke across everything.
The Air Quality Index (AQI) is the standard used for reporting air quality in the USA. I wanted to build a project that would visibly show where the day’s air quality is on the Air Quality Index (AQI) table, so as to make it easier to make informed decisions about whether to close your windows, limit your physical activity, etc.
I should also add that I am an illustrator, a maker, and an educator. My role as an educator has been to support 6–14-year-old students in learning a variety of things, mostly STEM (or STEAM) related. As a maker and illustrator, my projects have the primary goal of amusing me and usually involve animals.
With all that in mind, I set off to develop a project that would be approachable for younger makers, have an animal at the centre of the build, and have a sense of humour even though it talks about a serious subject.
Materials
- DesignSpark Sensor Development Kit
- Reka:Bit with Micro:Bit
- Grove Wifi 8266 Module w/ Grove connection cord
- 5V 2A power cord
- 3 Micro Servos w/horns
- 1 Standard Servo w/horns
- 2 green 5 mm LEDs
- 1 red 10mm LED
- 1 toggle switch
- 3 Grove 4 pin to female cables
- 5 Baltic Birch Plywood sheets 28x48 cm, 3mm thick (12” x 20”, ⅛” thick)
- 1 3D printed part
- Craft Paint
- Wood Glue
- Plastic glue
- 2 small hinges
- Optional: varnish
- Access to a laser cutter and a 3D printer
Design Process
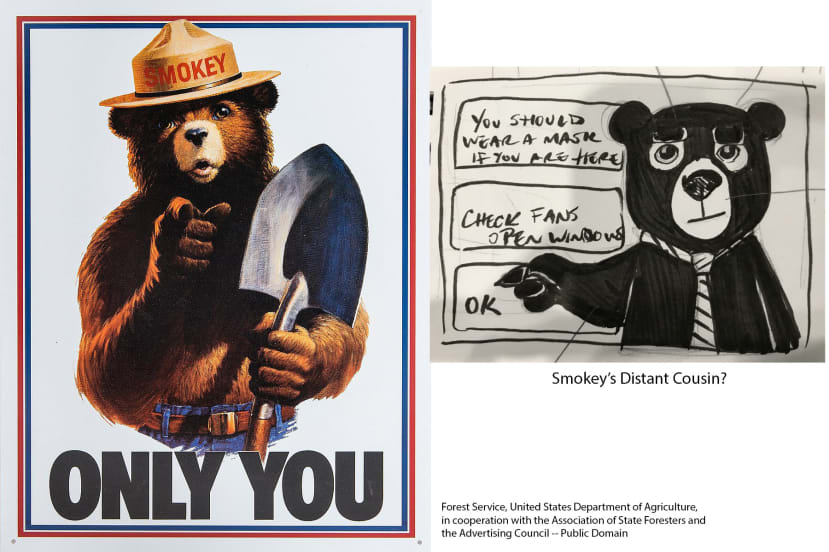
When talking about fires, smoke, and awareness in the US, the first thing that comes to mind is usually Smokey the Bear. He’s been educating multiple generations on the dangers of wildfires and how to prevent them. I wanted my project to pay homage to that, so I thought maybe Smokey could have a “cousin” who educates people about air quality. He’d be a black bear, as those are more common where I live, and look more like a weather forecaster or scientist.
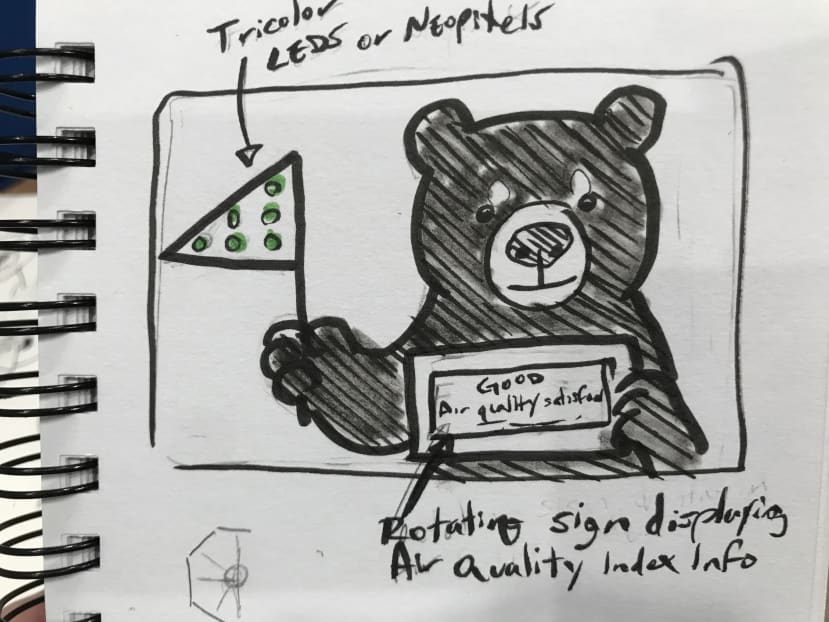
One of the first ideas that came to mind when brainstorming was to have the bear not only show what the Air Quality Index is but also change expressions according to how bad it gets. To achieve that, I wanted to give the bear as much expressiveness as possible while being limited to four servos because of the board I chose. So my idea was to have his eyebrows move and also to make a “quick change” mechanism that would change the bear’s face or status in a moment.
In my first working prototype, I had the bear change from his regular face to be wearing a mask with the idea that if the air quality gets bad, using a KN95 would be necessary. But I quickly abandoned that idea as I found it gave the wrong message since a mask would really not fix everything if the Air Quality Index got really bad.
I also struggled with that prototype to find the right distance between the bear and the supporting board (or box) in order to give the rotating face enough room to work.
In a later prototype, I briefly toyed with the idea that instead of having the bear point at the Air Quality Index levels, they would instead be displayed in a rotating sign. I made a quick prototype of that, but I scratched that idea since I did not find it as charming as him pointing.
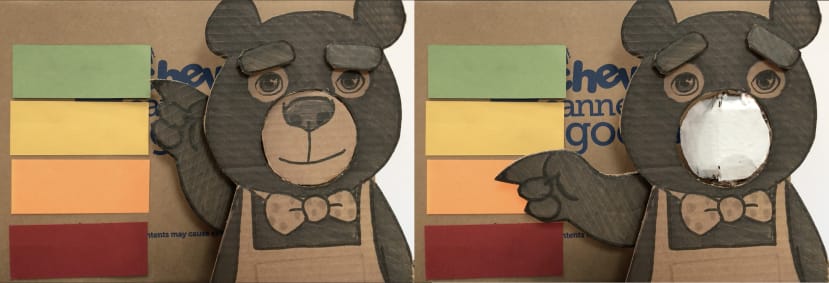
With the next full working prototype, I replaced the mask on the bear with an upset expression. The idea is that once the Air Quality Index gets bad enough, he goes from smiling to full-on scared, with the eyebrow movements adding more range of expressions for the different levels.
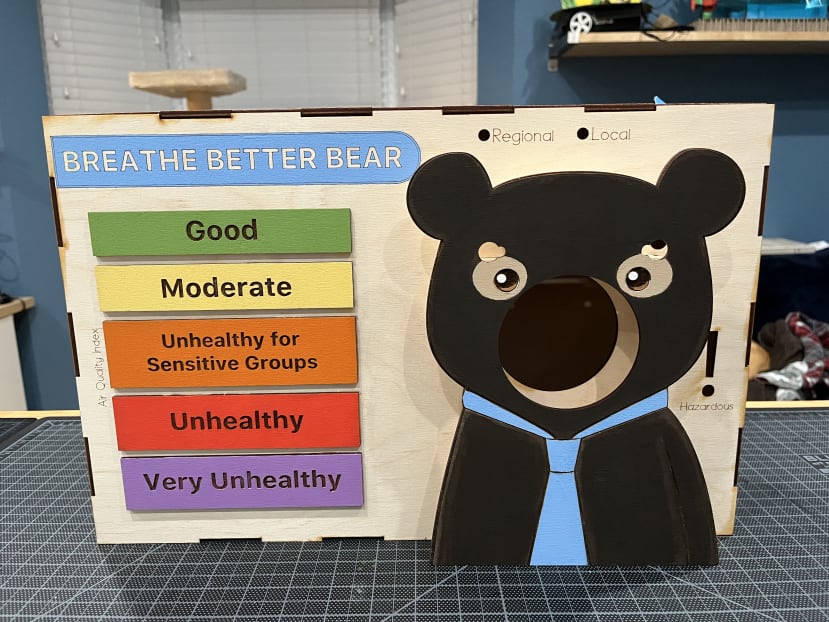
In order to make the bear be closer to the board, I decided to make a hole in the board that would both give more clearance to the face change and make it easier for the sensor to get Air Quality readings.
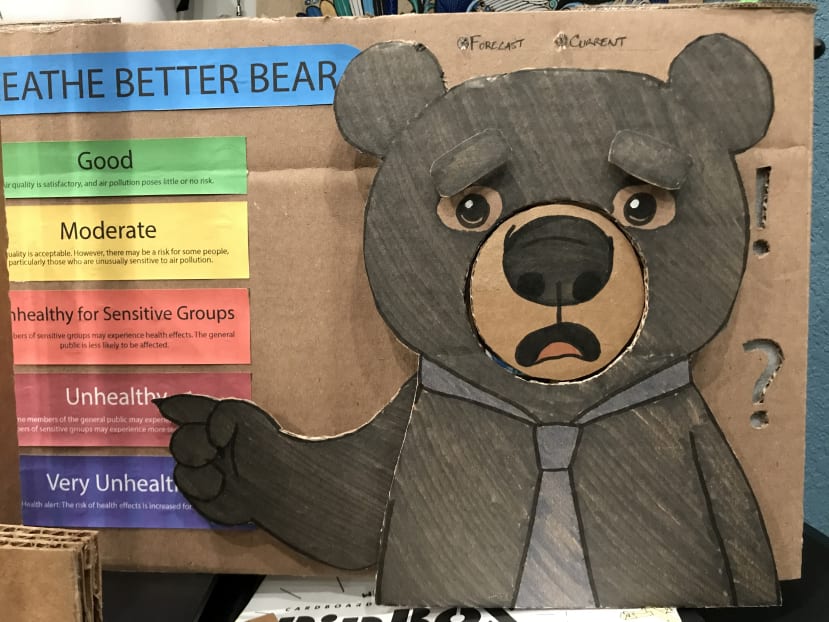
You might notice that the Air Quality Index in the United States has 6 levels and the bear just points to 5. That is because the space for the arm to move was getting pretty tight for him to clearly point at the signs, for them to be legible, and have the arm not hit the table. I decided that once it gets to level 6 = Hazardous, the bear would have a full-on meltdown, with his expressions quickly changing and the arm moving up and down.
I was satisfied overall with this prototype, so I decided to refine the design for the final project.
Challenges Faced
The way my usual maker projects are built is using cardboard and watercolour paper. Since I wanted this project to be easily reproducible, I decided to make it into something someone with a laser cutter could easily cut.
One of the main challenges this presented is that I have VERY limited access to a laser cutter. Which meant I had to try to design the project as accurately as possible using Adobe Illustrator, and hope that the design would work once cut.
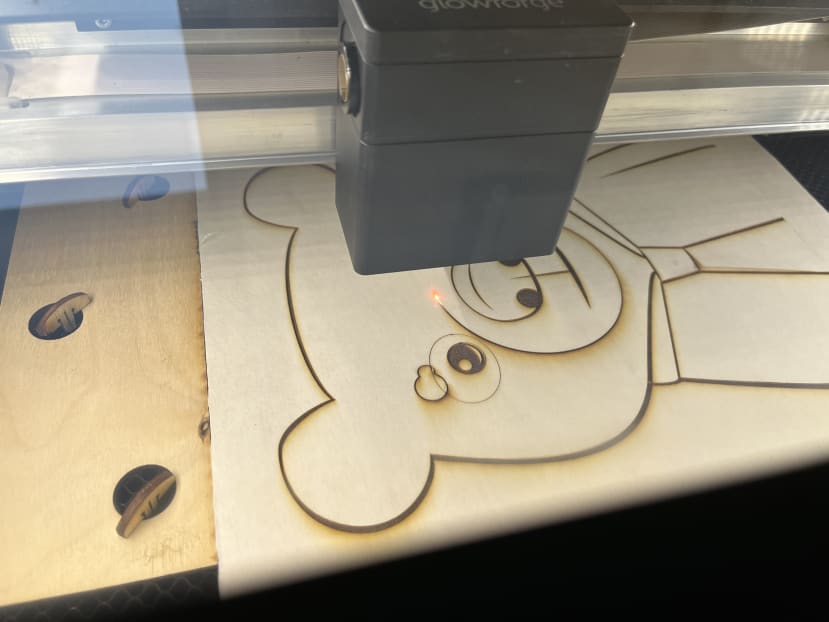
As anyone who has made either a laser cut or 3D printed project will probably tell you, making a project perfect in one go is impossible. So I ended up having to be as creative as possible to make things work; even being as diligent as possible, I still needed to cut some pieces multiple times.
One of the finest examples of having to adapt was when after waiting a long time for the Air Quality Index signs on the front of the box to finish engraving, I realized that I accidentally left the boxes around them set to “cut” instead of “score.” This meant that instead of having the signs integrated to the front of the box, they were now separate pieces and I had to glue them to the front of the box, which I also had to recut. That actually worked really well, and even though it uses more material I am happier with the final result since I think it looks nicer.
The other main design challenge had to do with the quick-change mechanism I wanted for the face. During prototyping, I used cardboard, dowels, and copious amounts of glue to make it work, but for something to be easy to reproduce, that was a no-go.
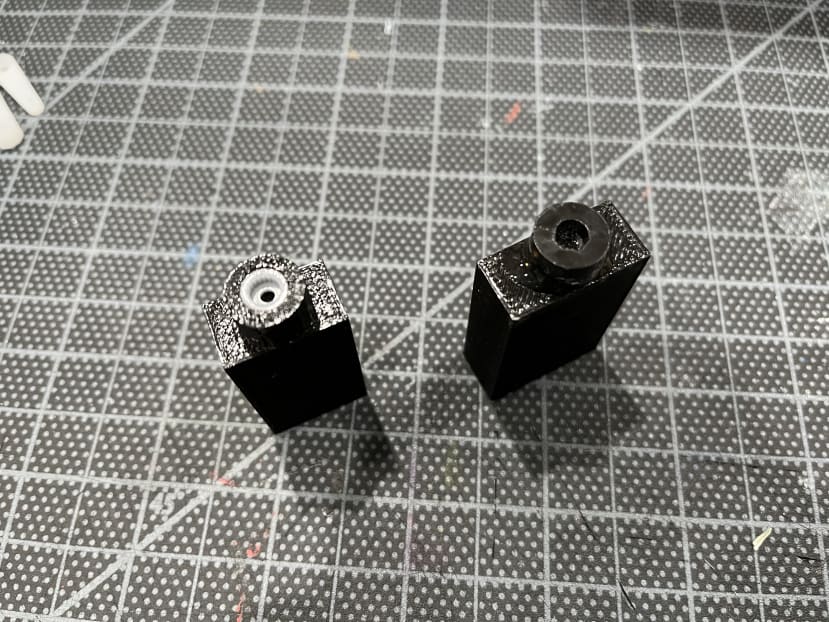
The 3D printer I have access to is old and inaccurate, plus not easily serviceable. I found that I could not easily 3D print the part that would replace the servo horn to connect straight onto the servo. I ended up doing two working versions of the part. The first version combines laser-cut plastic that has teeth that match the gear of the servo with a 3D printed part glued to it. The second version uses the servo horn that comes with the servo, cut to the smallest possible piece, and then glued to a 3D printed part.
I ended up liking that second version better, so that is what will be in the final project and the accompanying files.
Next Up
Join me in Part 2 of this article where I will share a build guide, the laser cut files, and talk about the code to make everything work including the use of the DesignSpark Sensor Development Kit and Internet of Things (IoT) integration.
Comments