Fine-Tuning Your 3D Prints: An Overview of Cura Support Settings
Follow article Dave from DesignSpark
How do you feel about this article? Help us to provide better content for you.
Dave from DesignSpark
Thank you! Your feedback has been received.
Dave from DesignSpark
There was a problem submitting your feedback, please try again later.
Dave from DesignSpark
What do you think of this article?
In the world of 3D printing, one of the most important aspects of a successful print is the support structure. Supports help hold up the model while printing and prevent it from collapsing or distorting. In this blog post, we'll explore some of the features of Cura support settings, including what they are, how to use them, and tips for optimizing your support settings for the best results.

Introduction
When an object is 3D printed, each layer is held up by the one underneath it, meaning that structures with overhangs or bridges will need support underneath. Printing without support on designs with overhangs or bridges may result in the melted filament falling or drooping to the space below, as the filament has nothing to build upon. The general rule is that overhangs greater than 45 degrees, and bridges wider than 5 mm will need support to avoid print failures. You can perform an overhang and bridging test to see exactly what your printer is capable of. Models for these tests are available on Printables and Thingiverse. With Cura, you can set the overhang angle and bridge wall length according to your printer’s capabilities. For dual extrusion printers, Cura allows you to select which extruder prints the support structure, giving you the option to print support in PVA which is water-soluble.
The below settings can be activated by going to Settings > Configure setting visibility... > Support, and checking the applicable settings.
Support Placement
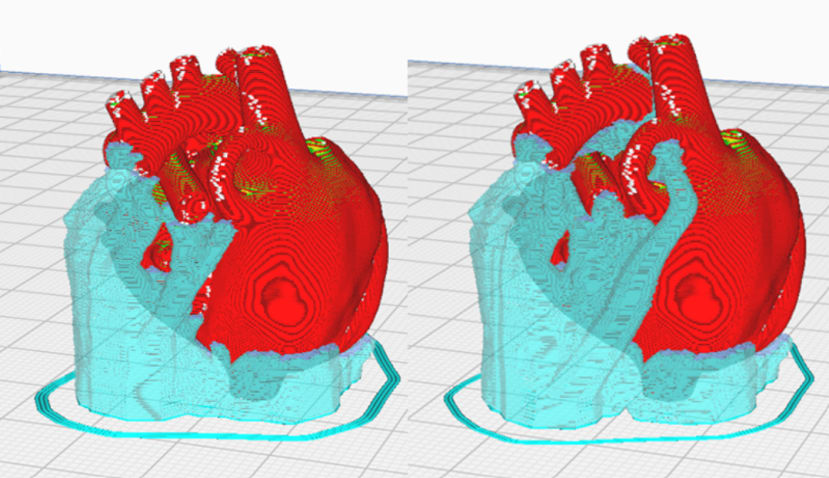
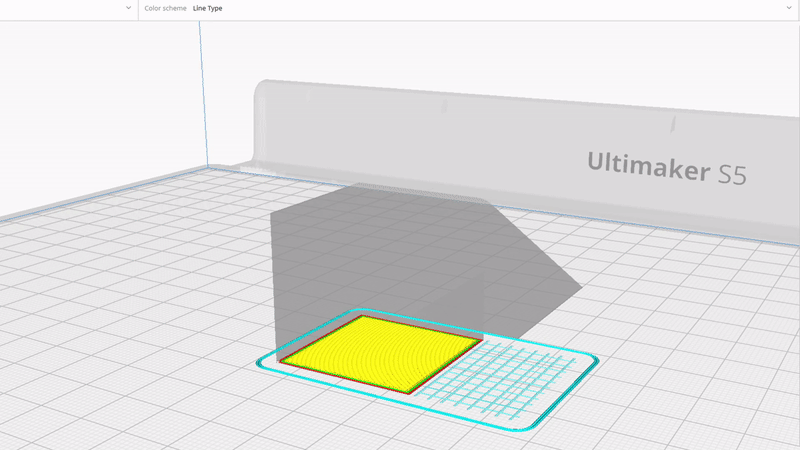
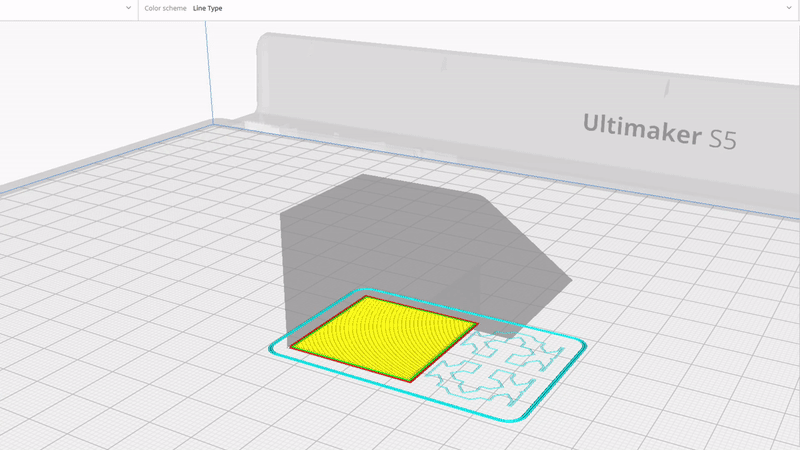
Figure"Touching Buildplate" (right) and "Everywhere" (left)
There are two options available on Cura for support placement; “Everywhere” and “Touching Buildplate”. With “Everywhere” selected, Cura will generate supports, you guessed it, everywhere. If your model has any gaps or crevices within it, these will be supported. This means that if the gaps or crevices are small, the support will be quite difficult to remove.
Enabling the “Touching Buildplate” placement will allow for supports to only be generated where the print overhangs over the buildplate. This setting makes for supports that are easier to remove and slightly quicker to print, but depending on the model it may not provide adequate support.
Support Patterns
Cura offers a range of traditional support patterns that have different properties. These are:
- Lines
- Grid
- Triangles
- Concentric
- Zig Zag
- Cross
- Gyroid

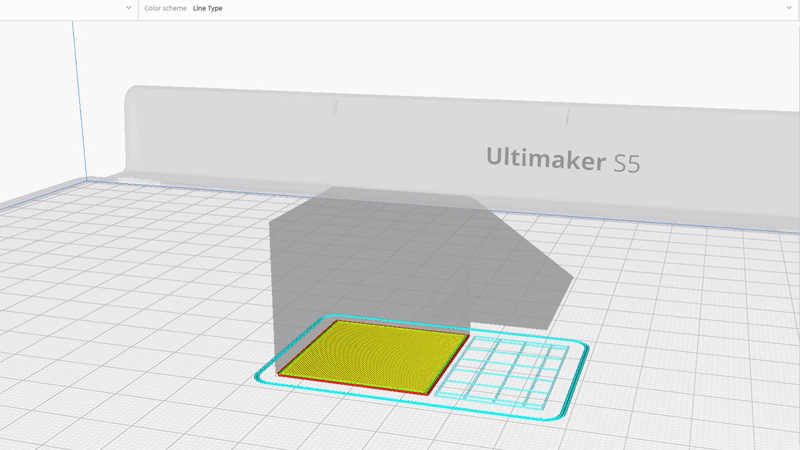
FigureLines
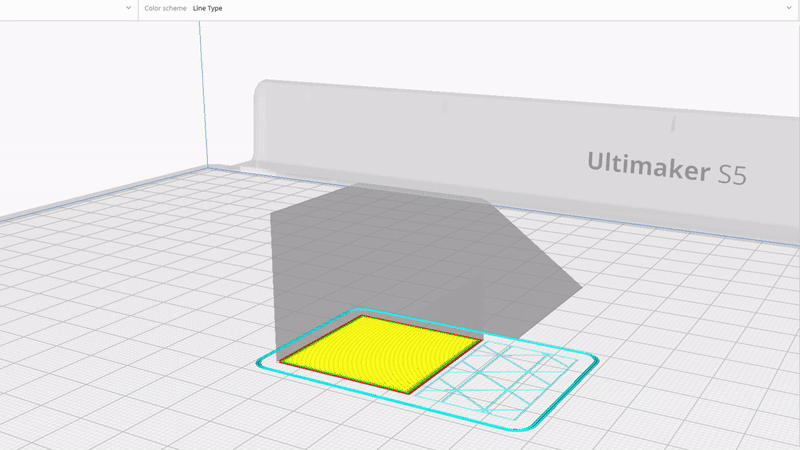
FigureGrid
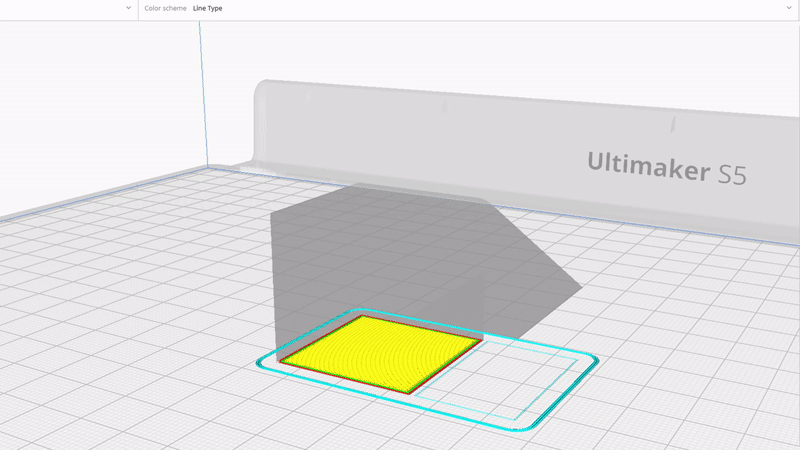
FigureTriangles
FigureConcentric
FigureZig Zag
FigureCross

FigureGyroid
“Zig Zag” is the standard support pattern that is automatically enabled. This is the fastest and one of the easiest supports to print and to remove, but is less sturdy than some of the other patterns available. “Grid” is strong and sturdy and has more contact with the model, but enabling this pattern increases print time. “Triangles” and “Gyroid” are similar to “Grid” in that they are strong and have more contact with the model. “Lines” is stronger than “Zig Zag” but is still easy to remove. “Concentric” is stronger than “Zig Zag” and “Lines”, but is best used for cylindrical models. “Zig Zag” and “Lines” work especially well for models with overhangs. “Cross” is the easiest to remove, however it is not very sturdy and may be affected by vibrations.
Tree Supports

Tree Supports” support the print with branches instead of vertical layers. The tree support has a “trunk” and “branches” that support the model. These supports use less material and have less contact with the print, making for faster prints and supports that are easier to remove than traditional ones. This setting can be found in Custom Settings > Support > Support Structure.
Support density
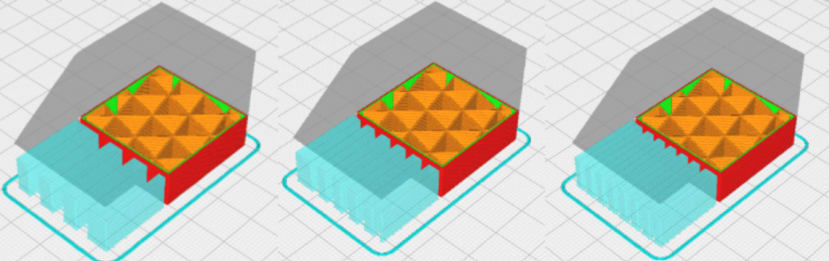
10%, 15% and 20% Support Density using Zig Zag Support Pattern
Like infill density, this setting determines the density of the support pattern. The standard support density in Cura is set at 15%, but this can be adjusted to your own needs. Low density means that less material is used, which makes the prints quicker and less difficult to remove. The inverse is true for high support density. Using a high density also means that the print is more rigid and less affected by vibrations. We usually keep the support density at 10-15% and that works well for us.
You can also toggle “Gradual Support Infill Steps”, which reduces the support infill density by half when getting further below the top surfaces. This means that, if your support density is set at 20%, and your Gradual Support Infill Steps are set to 2, the top of the support will be at 20% density, and the rest of the support will be 10% density. The idea behind this is that less material is used while still providing adequate support to the model.
Support Interface

A Support Interface is a dense skin at the top and bottom of the support structure, adding more contact to the print. This makes the support more difficult to remove and increases post-processing of the print. Enabling this setting supports the bottom layer of the print better, which leads to a more even and tidy surface. This setting can be turned on by checking “Enable Support Interface” in custom support settings.
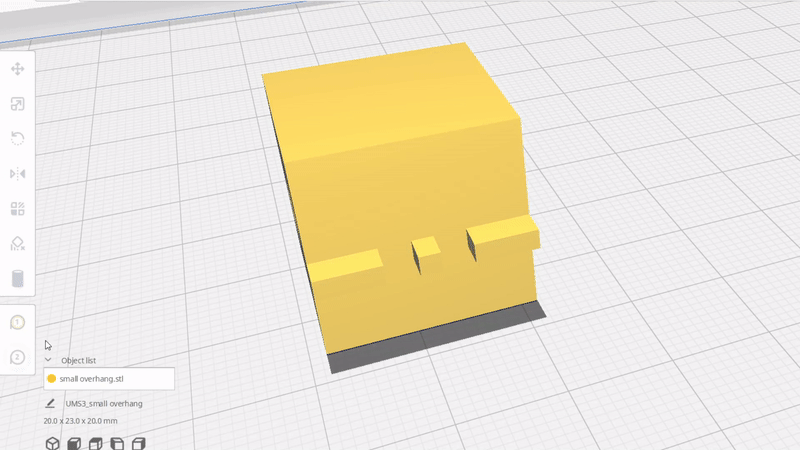
Support Towers

FigureSupport Tower disabled (left) and Support Tower enabled (right)
This setting is used for very small overhangs. The tower has a larger diameter than the region it supports. The diameter decreases near the overhang, which forms a roof. This means that the contact with the model is reduced, making it easier to remove.
Support Blockers
Support blockers prevent supports from being generated where they are not needed. Cura generates a 1cm x 1cm x 1cm block that can be placed on the area of the print where support is not needed. Support blockers can be activated using the keyboard shortcut “E” or clicking on “Support Blocker” on the panel on the left-hand side.
Custom supports
You can import a model to use as a support structure. This is used for complex designs where traditional supports would not be suitable or would be difficult to remove. The setting for this can be found on the left-hand side panel, under “Per Model Settings”, and Mesh Type: Print as Support. The support structure will have a checkered appearance and will have to be merged with the model it is supporting.
In conclusion, Cura supports play a crucial role in 3D printing by providing a platform for the object to be printed on, which helps maintain its shape and stability. The quality of the supports can greatly affect the final print, so it's important to choose the right type and adjust the settings accordingly. From the various types of supports available, each has its own pros and cons, making it important to assess the specific requirements of the print before choosing the right support type. By taking the time to understand and properly use Cura supports, you can ensure the success of your 3D prints and achieve the desired results.