The-Gaming-Gauntlet
Follow project
 Dave from DesignSpark
How do you feel about this article? Help us to provide better content for you.
Dave from DesignSpark
Thank you! Your feedback has been received.
Dave from DesignSpark
There was a problem submitting your feedback, please try again later.
Dave from DesignSpark
What do you think of this article?
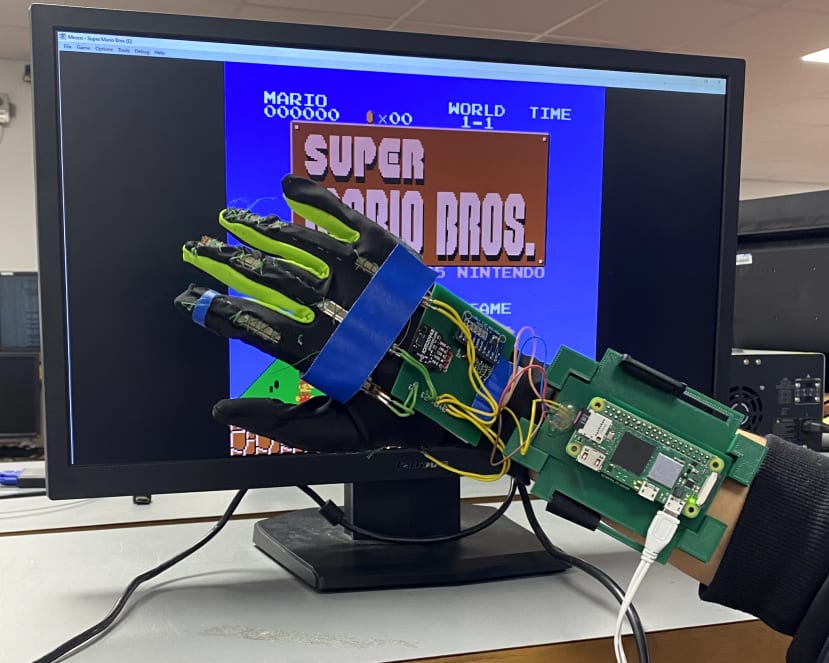 We came up with a new way of experiencing video games... The Gaming Gauntlet is a new way of literally, having control on your hands. Imagine being able to play your favourite classic games with only the movement of your hand
Parts list
| Qty | Product | Part number | |
|---|---|---|---|
| 1 | Raspberry Pi Zero | 181-2039 | |
| 1 | 9DoF Motion Sensor Breakout | ICM20948 | |
| 1 | 16-Bit ADC - 4 Channel with Programmable Gain Amplifier | ADS1115 | |
| 4 | RS PRO 10kΩ Carbon Film Resistor 0.25W ±5% | 707-7745 | |
| 1 | SKS-140, 5.08mm Insulated (PVC), Uninsulated (2.54 mm) Phosphor Bronze Breadboard Jumper Wire Kit in Blue, Brown, | 634-8651 | |
| 1 | Glove | ||
| 2 | 3D printed cases | ||
| 2 | velcro cable strap | ||
I would probably be right by guessing that most people nowadays have played video games, they are very popular, but since the beginning of consoles, controllers haven't evolved. This is why we came up with the idea of making a glove that could be used as a video game controller.
So how does it work?
In principle, it is very simple. A raspberry pi is used to translate the readings of sensors into controller commands, so when the device is connected to a computer/console it is detected as a controller.
Let's start with the Hardware...
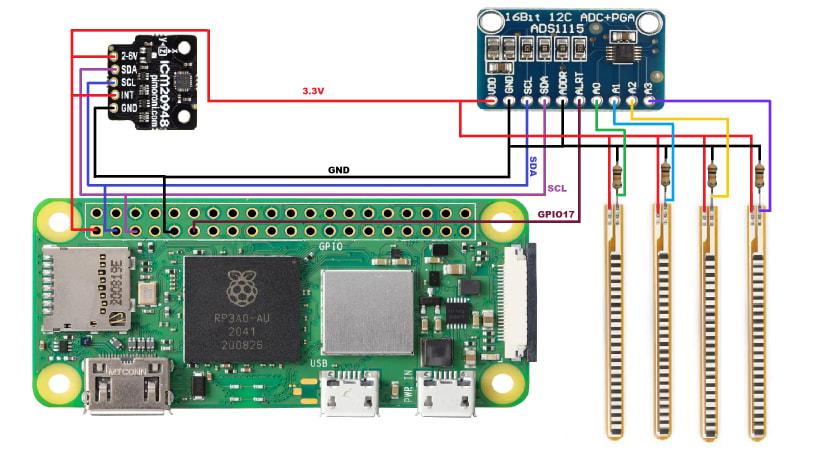
The first sensor is an IMU, which is an accelerator, magnetometer, and gyroscope. This sensor is able to read the position of the hand and it gives values of y and x. These values can be used in the same way as the values given by a joystick. Then, to imitate some buttons, flex sensors are used. They detect the movement of the fingers by a voltage difference generated whenever they are 'flexed'. However, to use these flex sensors it is necessary to use an ADC, because the values they give are analog but the raspberry pi can only read DC values. The picture below shows how to connect the sensors.
Assembly:
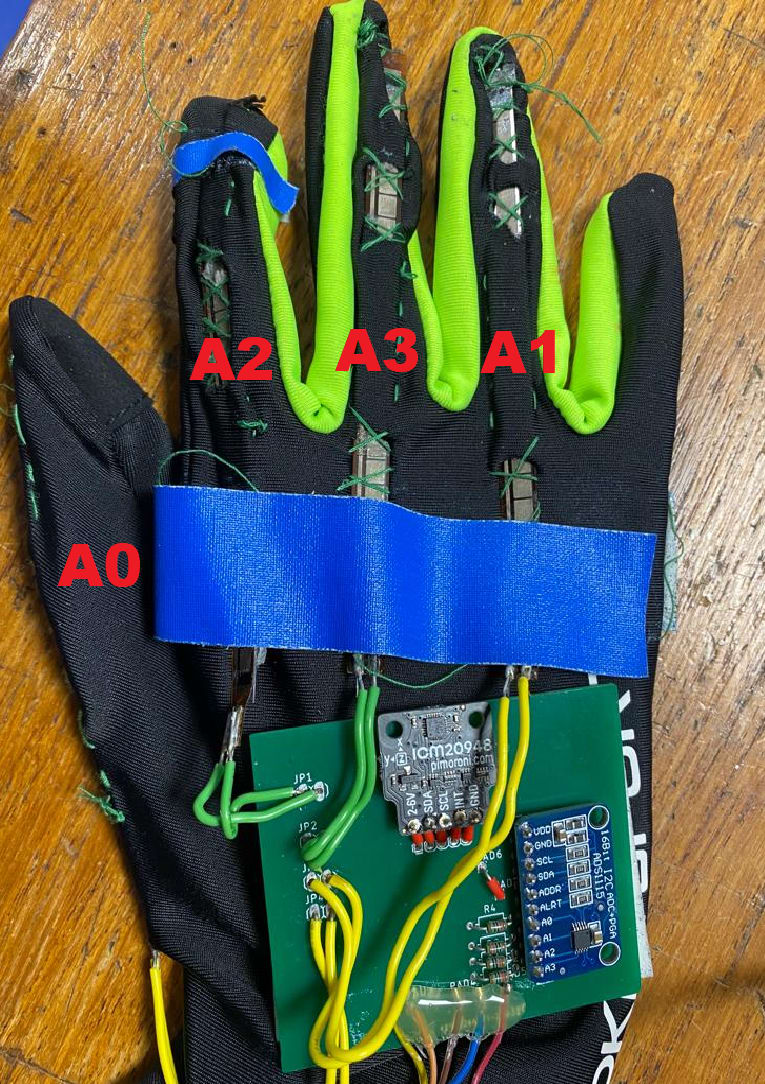
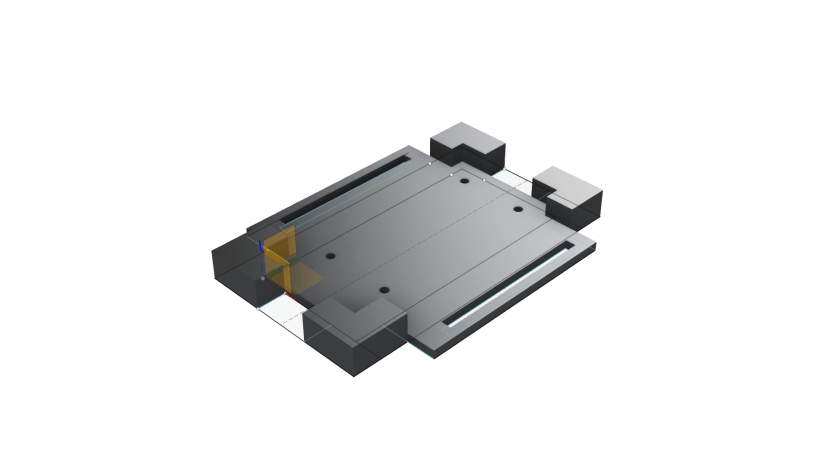
Now, after connecting the sensors it is time to assemble the Gauntlet. The Flex sensors are sewed to a glove at the top side of the fingers, the order in which they were placed is shown in the picture below. Also, the IMU needs to be placed steadily on the back of the hand. In this case, a PCB was used, which can be found either on the Github of the Project or attached to the article.
In order to make it look nicer and have it more organized a case was 3D printed, which was used to attach the raspberry pi to the arm using velcro straps.
Finally, is time for coding to make everything work!
Software:
For setting up the raspberry pi as a gaming controller it is necessary to create and deploy a report descriptor that tells the PC that it is an HID 'a controller', for doing this we used the open-sourced milador raspberry_py joystick for 8 buttons that can be found in: https://github.com/milador/RaspberryPi-Joystick/tree/master/8_Buttons_Joystick
After setting up the device as a controller, the raspberry pi will be able to write the commands into a binary file. These commands can now be based on the readings of the sensors, and this is exactly what we have done, our code is written in C++ and it is able to use the readings from the IMU and the flex sensors as a Joystick and buttons. To do it clone our repository in the raspberry pi (https://github.com/Kaixinwang99/The-Gaming-Gauntlet ), and run the main.cpp, now connect the raspberry pi using a USB cable and your computer should be able to read the movement of your hand as commands as shown in the video.
Now, here is an example of how it works:
Please let us know what you think of our GamingGountlet and how would you improve it. Also, let us know if you build it!


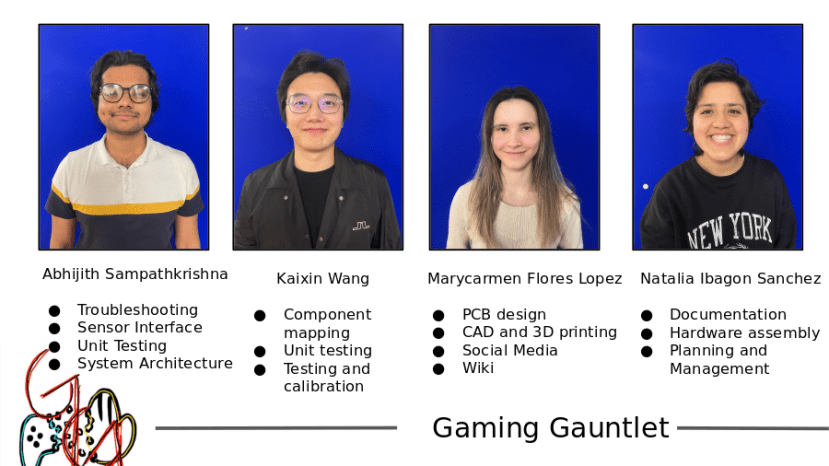
Who are we?
A group of master students from the University of Glasgow!
Comments