Refurbishing Makerbot Ready For A New Home
Follow article
 Dave from DesignSpark
How do you feel about this article? Help us to provide better content for you.
Dave from DesignSpark
Thank you! Your feedback has been received.
Dave from DesignSpark
There was a problem submitting your feedback, please try again later.
Dave from DesignSpark
What do you think of this article?

Putting a 3D printer through its paces and making minor repairs.
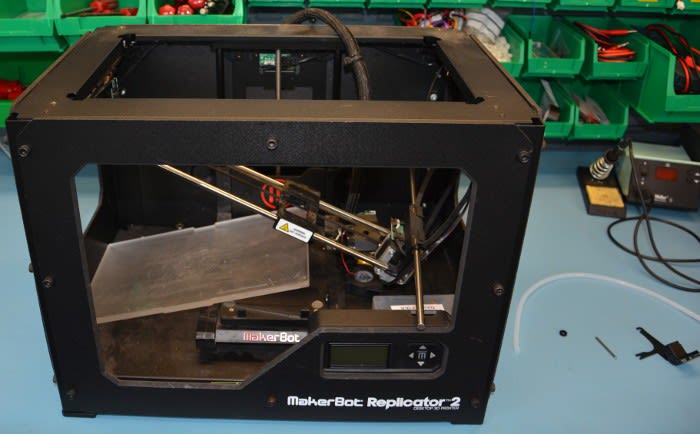
RS components kindly donated a well travelled MakerBot Replicator 2 to a new home at the Bridge Rectifier Hackerspace in the Calder Valley. Before going on to its new home we gave it a clean, performed a quick check and carried out a few small repairs.
Unboxing
Although the printer had been well packaged, it didn’t appear to have all the original packing blocks to prevent movement during transport and it looks as though it got well shaken en route! After a little bit of disassembly all was not as bad as it seemed though and pulling up the manual for the MakerBot Replicator 2 it was easy enough to decide where the bits should go.
At this point a little bit of cleaning was in order and using a lint-free cloth the dust and grime of lots of handling was easily removed. We also took this opportunity to oil the Z-Axis.
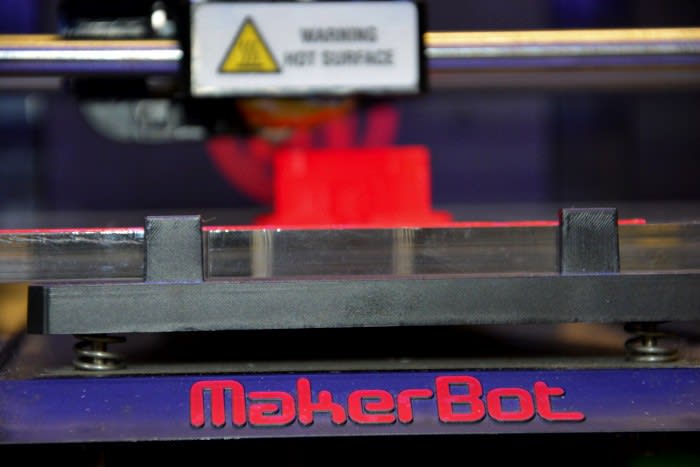
Time to power-up and with trepidation the power was applied.
Using the “Jog” function the X/Y/Z Axis were tested and the extruder was heated and cleaned.
So all is working well, time for set-up… or not.
Z axis limit switch not obeyed

Running setup all looked good until the Z-Axis hit the limit switch it did not stop, yikes!
After a little debug using a multimeter, it seemed the wire for the Z-Axis had a break somewhere in the loom. On the MakerBot Replicator 2 all the axis are in a single cable assembly and replacing the whole loom seems excessive, so time for a quick patch.
A little more investigation soon found that pin 11 of the connector J7 was for the Z-Axis switch. This appeared not to be connected to the resistor R2 further still R2 was open circuit and damaged too.
Using the Y Axis as a guide, it appeared R2 is a 1k. Adding a series resistor soldering directly to the “com” pin of the Z-axis switch and wiring down to pin 11 of the main board connector J7, the limit switch then began to work.
Once completed the set-up and calibration of the Z-Axis offset went smoothly and the printer was set up without issue time for a print.
Using the MakerBot Print software and then printing from SD-Card went without a hitch and a simple test block was printed within 20 minutes.
Using the software via USB was not quite so smooth and after a little hitch the Windows 7 driver appeared to install correctly, but we could not get the MakerBot Print to detect the printer.
Installing an older version of the MakerBot Desktop software seemed to work right away, so software gremlins were suspected and a little more investigation is required.

The only snag left was that we had only small spools of PLA filament, with a large spool holder on the machine. Luckily for us we now have a refurbished and working solution for this.
After a quick search a mini spool holder was 3D model found and was printing in minutes! Many thanks to creative tools on Thingiverse for a very useful mini spool holder and filament guide.

Happy printing,
Karl Woodward