OSRAM LED Flex Wall-Washing DIY Project
Follow projectHow do you feel about this article? Help us to provide better content for you.
Thank you! Your feedback has been received.
There was a problem submitting your feedback, please try again later.
What do you think of this article?
 With Inventronics OSRAM LED strips, IOT drivers and controllers, it is easy to create cool effects. Here we demonstrate a DIY wall-washing effect on a bed headboard using Casambi Bluetooth control and dimming.
Parts list
| Qty | Product | Part number | |
|---|---|---|---|
| 1 | OSRAM Tecflex 1000lm/m short pitch 90CRI 3000K | 241-2371 | |
| 1 | OSRAM CV (Constant Voltage) power supply | 893-0460 | |
| 1 | OSRAM bluetooth dimmer | 181-5745 | |
| 1 | OSRAM EN Ocean battery-less rocker switch | 211-1441 | |
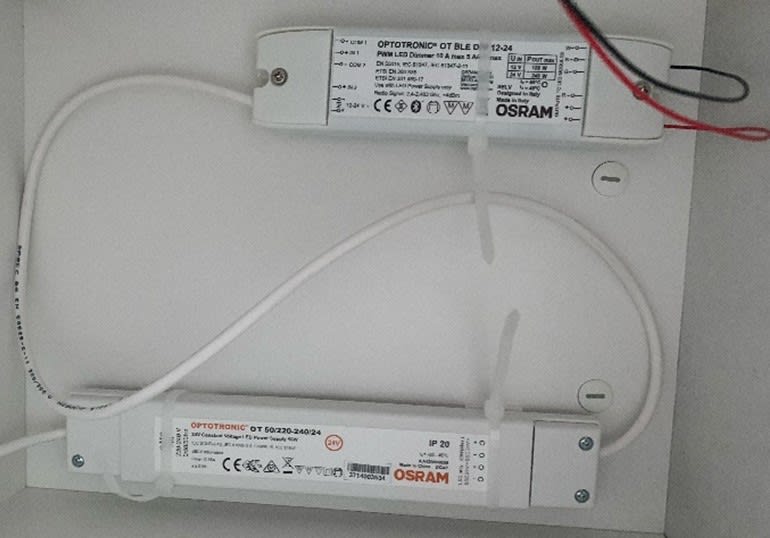
- To begin, firstly we connected the physical system together. This should be done with the mains power off. The OT-SLIM-60 driver should be connected to the mains. The OT-BLE-DIM dimmer then connected to the output of the OT-SLIM-60 driver. The LED strip was then connected to the - and + on the output side of the dimmer. The LED Flex strip used is supplied backed with tape, which allowed for easy mounting to the intended surface. Once the circuit was all connected, it could be turned on via the mains.
- To then set up control for the LED system, the Casambi App needs to be installed to your smart phone. The Casambi app is available through the app store or on Google Play.
- Once downloaded, the system needs configuring via the app. Once completed the LEDs will be controllable and dimmable via your smart phone.
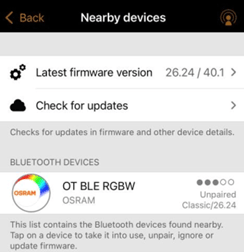
a). Open the Casambi app, which will detect that a Bluetooth device (OT-BLE-DIM) is nearby.
b). After pressing the ‘nearby devices’ button the below screen is shown. Before connecting to the dimmer makes sure latest firmware has been downloaded.
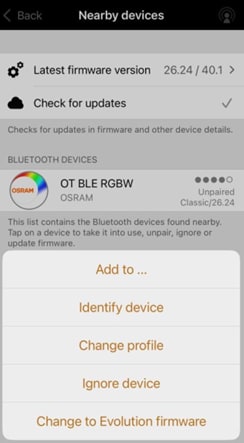
c). The device needs to be then added to a network, this may be existing or a new network. Press ‘Add to…’ to proceed.
d). Create a new network for the device to sit in.
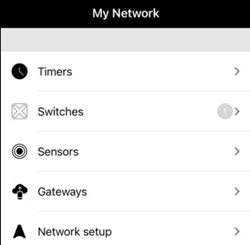
e). Once paired to a network, the device will no longer show ‘unpaired’. To now control and dim the LEDs with your smart phone, go to the app home page and select ‘My networks’.
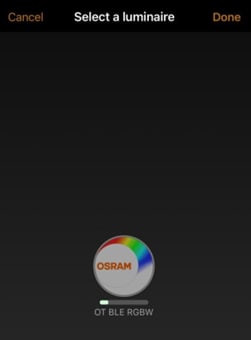
f). The luminaire will now appear, it can be controlled by pressing and swiping the ‘OT-BLE-RGBW’ button.
- To control your LED system via a switch as well as smart phone, follow the next steps. Control switches and sensors can be added to the network also.
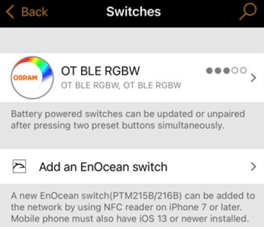
a). Enter the app and select your paired device. Press ‘Switches’.
b). Tap ‘add an EnOcean switch’. As these switches are powered by kinetic energy, it does not require power or any mains connection.
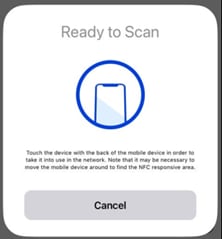
c). To connect the switch to the network, follow the onscreen instructions. You will be required to touch the device to the back of your smart phone.
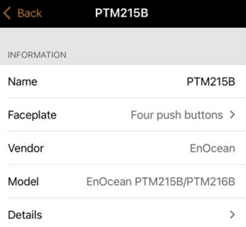
d). Once successfully scanned, the switch will be identified. You may then need to configure what the faceplate is. Press ‘faceplate’ to alter this.
e). Select the correct option. The switch used in this set up is a ‘Two push button.’
f). To then change what each press does, select details which will configure press 1 and 2. We selected 1 and 2 to control all luminaires.
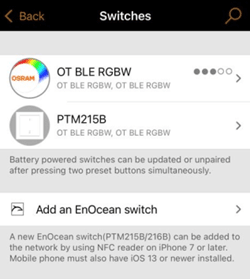
g). Once the switch is configured, press back to return to the screen below, both the dimmer and switch now show on the same network. You can now use your switch to toggle on/off and control the LEDs brightness.
The result:
What other things we could have done:
With Inventronics and OSRAM, possibilities are endless. We could have further developed this system by using varying types of LED flex strips. These would have meant we could also control colour remotely too. For a more vibrant effect with colour mixing, we could have implemented RGBW LED flex strips. Or to create iridescent rhythms to mimic daylight, tuneable white LED flex strips would be ideal.
We installed this around a bed headboard for softened ambient lighting. But such a project would also be perfect for other home lighting, such as under-cupboard kitchen lighting and cabinets, or behind TV wall-washing. Many great effects could be created with a simple system set up.


