Number game with Raspberry Pi Pico
Follow project Dave from DesignSpark
How do you feel about this article? Help us to provide better content for you.
Dave from DesignSpark
Thank you! Your feedback has been received.
Dave from DesignSpark
There was a problem submitting your feedback, please try again later.
Dave from DesignSpark
What do you think of this article?
 Inspired by a game played with ChatGPT, I decided to play that same game with Raspberry Pi Pico.
Raspberry Pi Pico will think of a number. It will ask the user to guess that number. The user will give an answer through a keypad.
Inspired by a game played with ChatGPT, I decided to play that same game with Raspberry Pi Pico.
Raspberry Pi Pico will think of a number. It will ask the user to guess that number. The user will give an answer through a keypad.
Parts list
| Qty | Product | Part number | |
|---|---|---|---|
| 1 | Raspberry Pi Pico | 212-2162 | |
| 1 | 4x4 Matrix Keypad | 507-508 | |
| 1 | 16x2 LCD with header | 899-7466 | |
| 1 | Breadboard | 102-9147 | |
| 12 | Male to male jumpers | 791-6463 | |
| 8 | Male to Female jumpers | 791-6454 | |
| 1 | Variable POT resistor | 263-3062 | |
| 1 | MicroUSB cable | 230-9285 | |
Circuit connection:
Make the following connection between the Raspberry Pi pico and the LCD.

|
Raspberry Pi Pico |
16×2 LCD with header |
|
40 |
VDD,A,1st pin of the 10K POT |
|
38 |
VSS,K,RW,2nd pin of the 10K POT |
|
21 |
RS |
|
22 |
E |
|
24 |
D4 |
|
25 |
D5 |
|
26 |
D6 |
|
27 |
D7 |
|
Vo,3rd pin of the 10K POT |
Make the following connection between the Raspberry Pi Pico and the 4x4 matrix keypad.

|
Raspberry Pi Pico |
4x4 Keypad matrix |
|
12 |
R1 |
|
11 |
R2 |
|
10 |
R3 |
|
9 |
R4 |
|
7 |
C1 |
|
6 |
C2 |
|
5 |
C3 |
|
4 |
C4 |
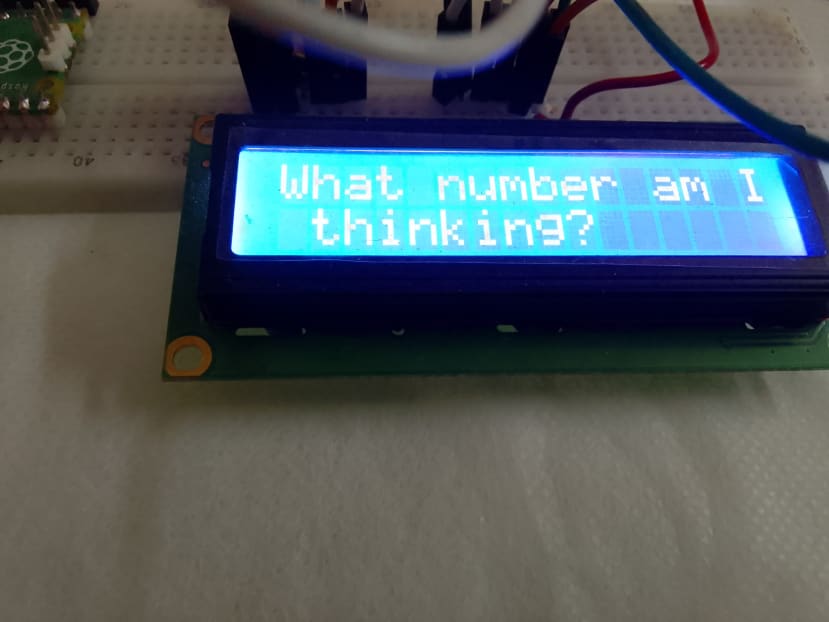
The whole setup will look like this:

Code:
We will use Thonny IDE for writing the codes for this project.
Download the zip folder. There you will find two files with the following names.
lcd_api.py
Gpio_lcd.py
Now save them inside the Raspberry Pi using the Thonny IDE:

Now open a new project.

Download the filed named keypad_lcd_ game.py from the zip folder.
Now run the code.
The game will start.
Enter your guessed number.

Sorry! Wrong answer. Try again.

Right answer!

Comments