Building the Google Open Nsynth Super
Follow articleHow do you feel about this article? Help us to provide better content for you.
Thank you! Your feedback has been received.
There was a problem submitting your feedback, please try again later.
What do you think of this article?
A Raspberry Pi and machine learning powered instrument for generating new unique sounds that exist between different sounds.
NSynth (Neural Synthesizer) is a machine learning or “AI” algorithm from Google and collaborators that uses a deep neural network to learn the characteristics of sounds, and then to create a completely new sound based on these. More than simply mixing sounds it actually creates an entirely new sound using the acoustic qualities of the original sounds.
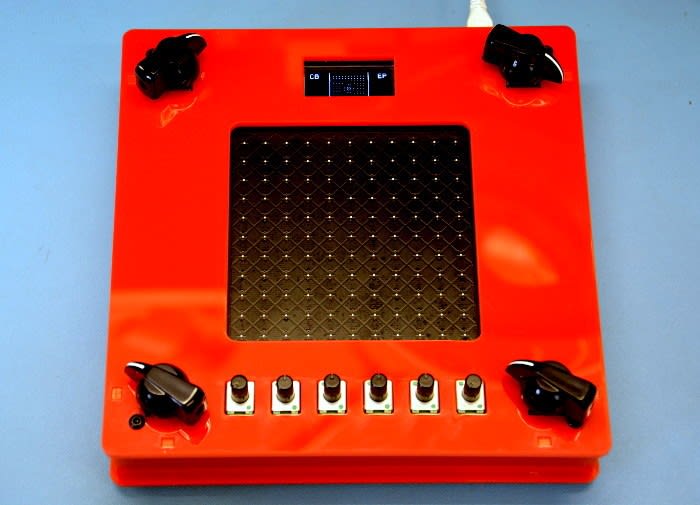
Open NSynth Super is an experimental physical interface for NSynth that is based around a Raspberry Pi, custom PCB and a simple laser-cut enclosure. It comes provided with turnkey O/S images that bundle preconfigured software and firmware, along with sets of example sounds — meaning that you don’t have to go through the extremely resource-intensive process of generating audio files in order to start experimenting with the synthesizer.
The PCB design, microcontroller firmware, software and enclosure design are all published under open source licences, meaning that anyone is free to build their own Open NSynth Super.
Theory of operation
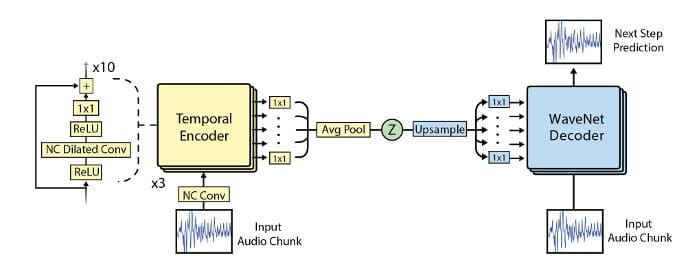
WaveNet autoencoder diagram. Source: magenta.tensorflow.org.
As previously mentioned NSynth uses deep neural networks to generate sounds and the website describes the process as follows:
“Using an autoencoder, it extracts 16 defining temporal features from each input. These features are then interpolated linearly to create new embeddings (mathematical representations of each sound). These new embeddings are then decoded into new sounds, which have the acoustic qualities of both inputs.”
Further details can be found on the NSynth: Neural Audio Synthesis page.
Open NSynth overview. Source: https://github.com/googlecreativelab/
Open NSynth Super then takes the generated audio and provides a physical interface or instrument with:
- MIDI input to connector a piano keyboard, sequencer or computer etc.
- Four rotary encoders used to assign instruments to the corners of the device
- OLED display for instrument state and control information
- Fine controls for:
- Position sets the initial position of the wave.
- Attack sets the time taken for initial run-up of level.
- Decay sets the time taken for subsequent run-down.
- Sustain sets the level during main sequence of the sound.
- Release sets the time taken for the level to decay from the sustain level to zero.
- Volume sets the output volume.
- Touch interface to explore the positions between sounds.
A microcontroller is used to manage the physical inputs and this is programmed before first use.
Bill of materials
A full bill of materials is provided in the GitHub repository and a subset of this is included here just to give an idea of the main components used.
- 1x Raspberry Pi 3 Model B (896-8660)
- 6x Alps RK09K Series Potentiometers (729-3603)
- 4x Bourns PEC11R-4315F-N0012 Rotary Encoders
- 2x Microchip AT42QT2120-XU Touch Controller ICs (899-6707)
- 1x STMicroelectronics STM32F030K6T6, 32bit ARM Cortex Microcontroller (829-4644)
- 1x TI PCM5122PW, Audio Converter DAC Dual 32 bit (814-3732)
- 1x Adafruit 1.3" OLED display
For a complete list, including passives and mechanical fixings etc. see the GitHub repo.
The repo also includes Gerber files which can be sent to your PCB manufacturer of choice for fabrication.
Assembly
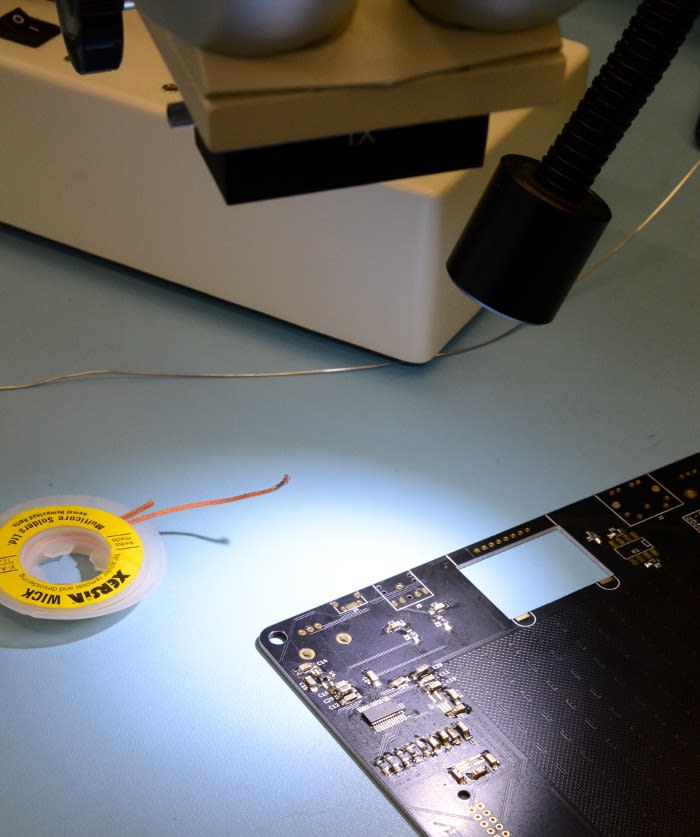
The majority of components are SMT and while lead pitch gets down to around 0.5mm, these parts can be soldered by hand if care is taken. However, while some might argue it’s not absolutely necessary, it is advisable to have a stereo microscope and hot air station available also. And it goes without saying that you should have plenty of flux and solder wick too!
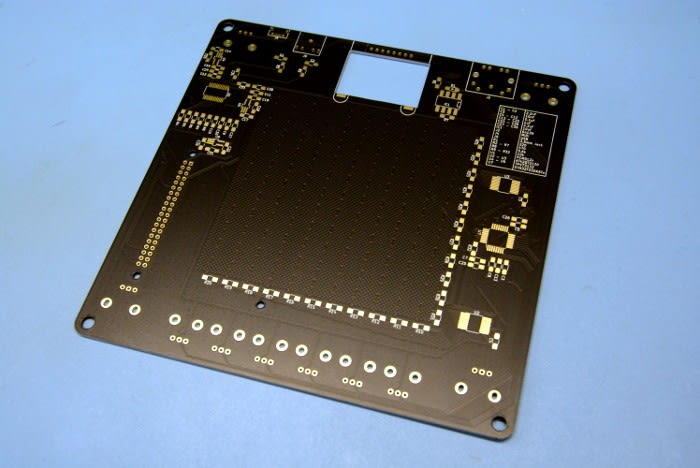
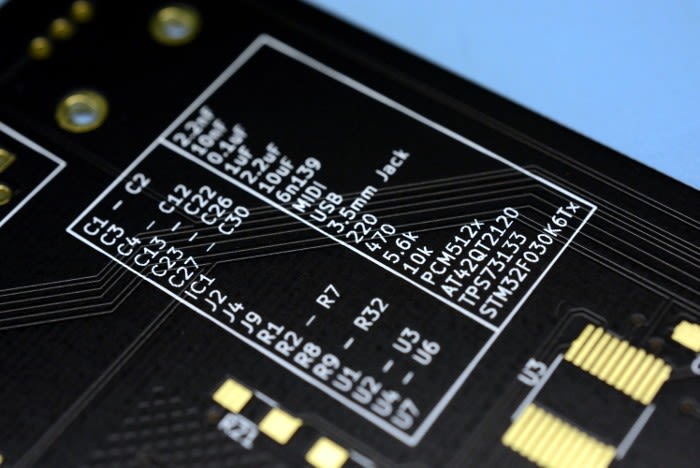
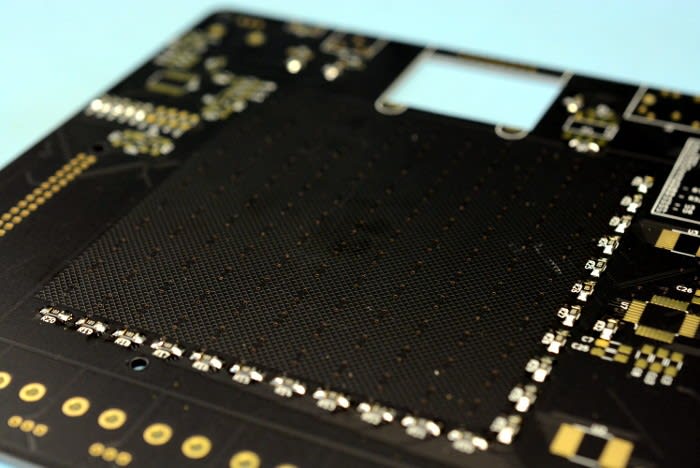
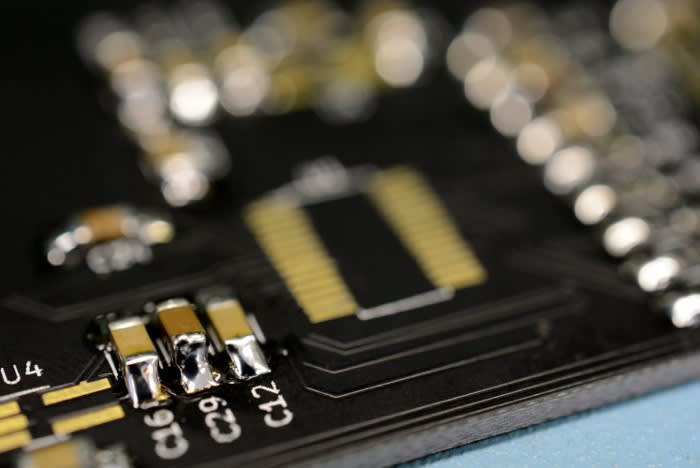
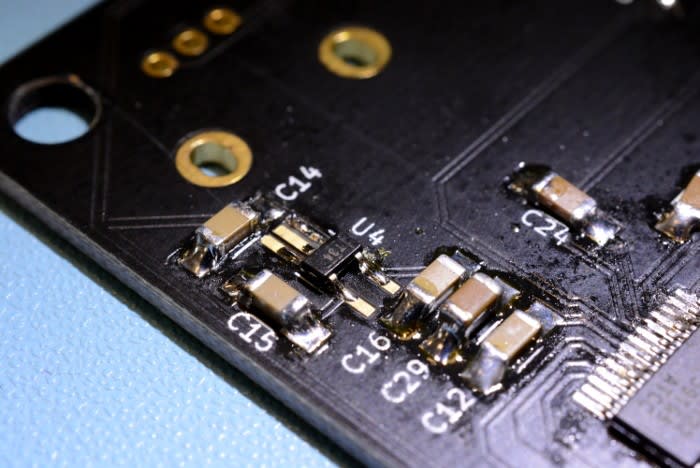
Handily, the PCB has a table of component designators printed on it.
It generally makes sense to start with the smallest parts first and work up in size, so the resistors were fitted first.
Next came the capacitors.
Then the ICs.
This is where a stereo microscope can help immensely, particularly if you get shorts.
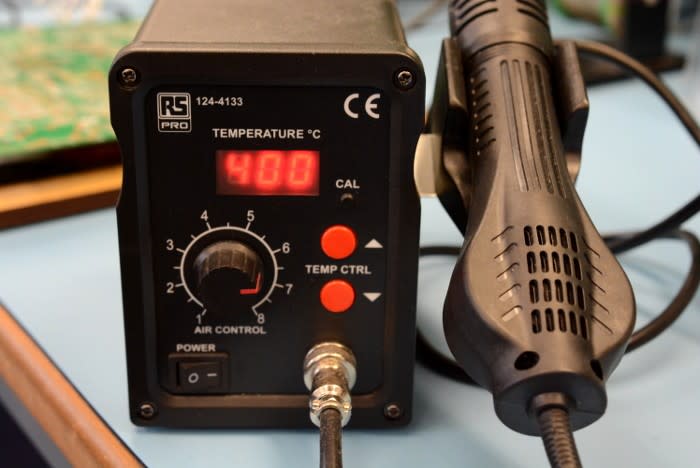
Unfortunately, I did manage to get too much solder on the pins of the DAC and after applying copious flux and attacking with solder wick, I was left with shorts behind the knee of the pins. This called for the hot air station (124-4133) and after heating through the solder melted and ran out.
If you’ve not used a hot air station before, I’d recommend checking out Karl Woodward’s blog post, Choosing your next soldering tool.
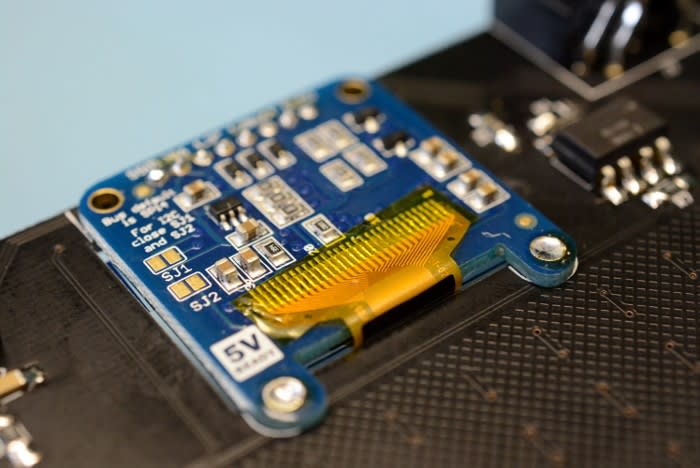
The display is secured under a cut-out in the PCB, via pins feeding through both boards at the top and solder filling two lugs at the bottom of the display board.
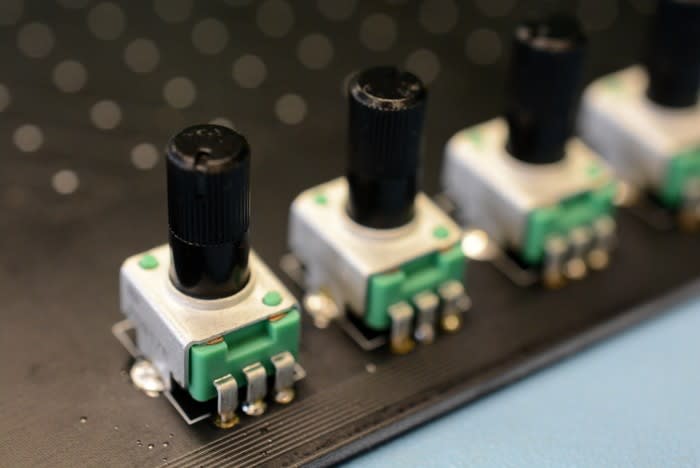
The potentiometers were fitted next.
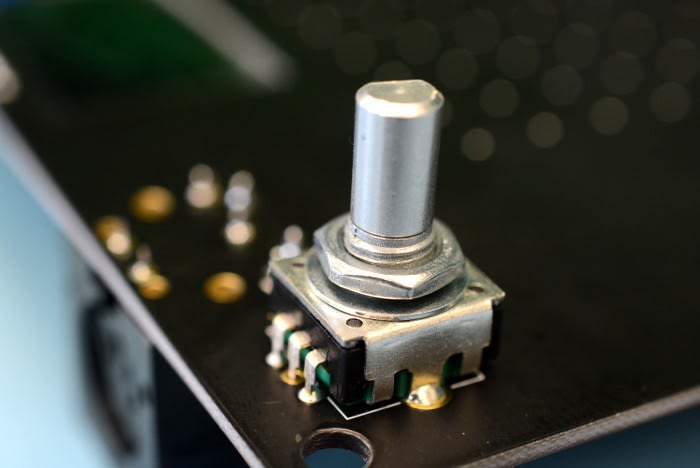
Then the rotary encodes at each corner.
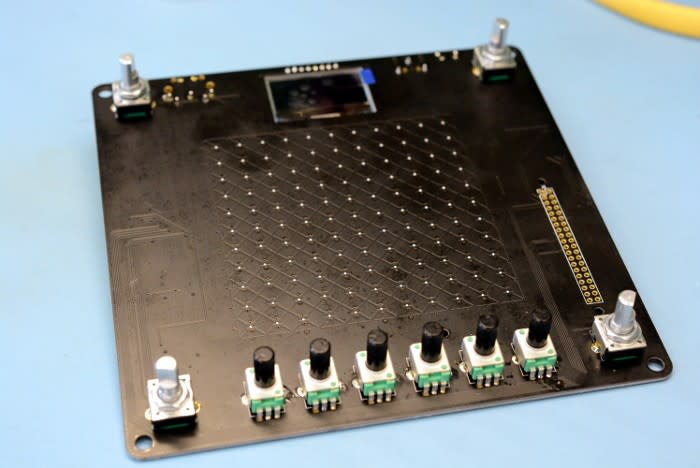
Above we can see the mostly assembled board, with just a few additional connectors to be fitted.
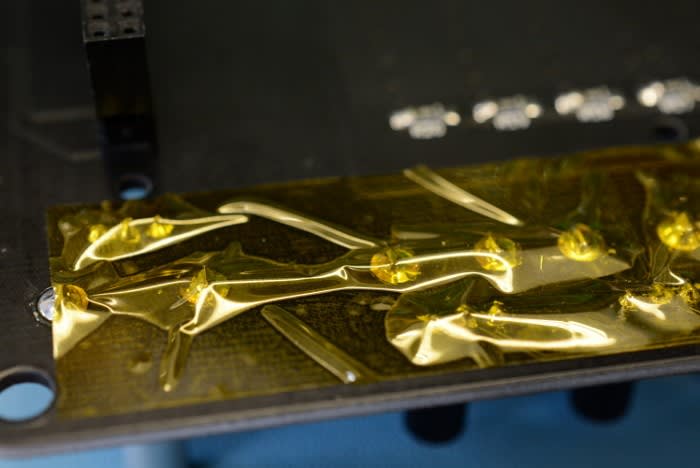
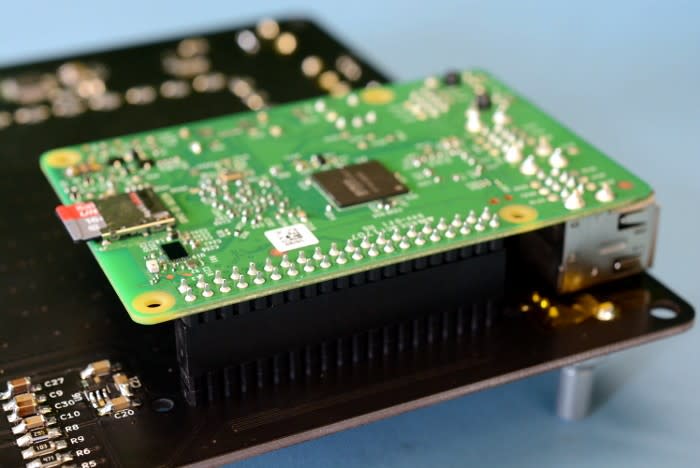
Note that there isn’t much clearance between pins on through-hole parts and the metal Raspberry Pi connector housings, so a piece of Kapton tape was applied over the former to be on the safe side.
This can be seen a little clearer with the Pi fitted above.
Next, the case was cut from red acrylic and an SD card written out. On first boot, a keyboard and monitor was attached so that we could follow the procedure to program the microcontroller — which was pretty straightforward and didn’t take long at all.
Please note that the steps detailed here are not intended as a substitute for the official instructions provided in the GitHub repo and if building your own Open NSynth Super please consult these!
Testing
To test we downloaded a MIDI file from the Internet and then played this out via a Linux laptop and USB/MIDI interface using the command “aplaymidi”. Sure enough, the NSynth Super sprung into life, we could assign instruments to each corner and then interpolate via the wonder of machine learning to create new, hitherto unknown — at least to us! — instruments, such as the “flarimba”.



Comments