Building Android from Scratch Part 2: Fairphone OS Build
Follow article
 Dave from DesignSpark
How do you feel about this article? Help us to provide better content for you.
Dave from DesignSpark
Thank you! Your feedback has been received.
Dave from DesignSpark
There was a problem submitting your feedback, please try again later.
Dave from DesignSpark
What do you think of this article?
Getting hands-on and building an Android distribution from source code.
In the second and concluding article in this series, we walk through the process of setting up the Android build tools and then building the Fairphone OS from source code. But first, we’ll take a look at previous failed attempts at building Android from source and the issues encountered.
Failed attempts
Prior to succeeding in building Android from source code, there had been numerous failed attempts, initially with /e/OS/ and then with LineageOS — which e/OS/ is derived from. Some notes are included here as an illustration of the sort of pitfalls that one can encounter when building Android.
/e/OS/
The e/OS/ operating system seemed like an obvious first choice, given that it is officially supported on Fairphone 4 and Fairphone partner, Murena, even offers handsets with this pre-installed. However, despite following the official instructions and numerous attempts, including with some fixes implemented thanks to support provided by community members on the /e/OS/ forums, we were ultimately unsuccessful in getting the Android distribution to build.
In short, the documentation for building /e/OS/ for Fairphone 4 did not work and there appeared to be a recognition that this was out-of-date, with suggestions to try other methods, e.g. scripts posted to the forums. /e/OS/ clearly can be built for Fairphone 4, but this seems like a case of the documentation needing to be updated by those who maintain the official builds.
LineageOS
A failed build.
Following the lack of success in building e/OS/ it was decided to try building LineageOS, which is upstream of the former and similarly has support for Fairphone 4, hence seemed like a good bet. The issue this time came with obtaining the required “binary blobs” (proprietary components) which are needed for a successful, functioning build, which has key things such as a working cellular radio and IMS support for SMS and voice calling via 4G, 5G and WiFi.

Extracting the binary blobs from LineageOS.
One route to obtaining the binary blobs is to extract these from an official LineageOS installable ZIP file and this was attempted first. The extract was completed with some errors regarding missing IMS components and others, but a subsequent build was attempted nevertheless. This unsurprisingly failed and so an alternative approach was attempted next: installing LineageOS to the FP4 handset first and then extracting the binary blobs from this. Sadly, the outcome was precisely the same.
One community member proposed a fix was to download pre-extracted binary blobs from a third party — but this was decided against, due to not knowing the provenance of these critical components and whether said third party had the right to redistribute them. Once again, it appeared that the official build documentation was out-of-date and resulted in failure.
At this point, it should be noted that Android is a complex platform and no doubt someone much more experienced in building the OS could get past the sort of issues encountered. However, it would be helpful if documentation were kept up-to-date and, better still, if handset vendors also published official binary blob packages and thereby made everyone’s life much simpler!
With this out of the way, we’ll now move on to Android build tooling. Note that we used an Ubuntu 22.04/amd64 system with a 16-core Xeon processor for building Android — it’s a big job... The tools required for building should be more or less the same regardless of the Android distribution.
Tools installation
As discussed in Part 1, we will need to use git and repo client to download the Android source code.
We installed git and various other packaged dependencies with:
$ sudo apt update && sudo apt install git git-lfs gnupg flex bison build-essential zip curl zlib1g-dev libc6-dev-i386 libncurses5 x11proto-core-dev libx11-dev lib32z1-dev libgl1-mesa-dev libxml2-utils xsltproc unzip fontconfigWe could also install the repo tool from the OS package repositories, but this would be quite old and much better to manually install a far more recent version.
Since there was not already a bin sub-directory in the user home dir, this needed to be created with:
$ mkdir ~/binThe latest version of the repo client was then downloaded and verified:
$ export REPO=$(mktemp /tmp/repo.XXXXXXXXX)
$ curl -o ${REPO} https://storage.googleapis.com/git-repo-downloads/repo
$ gpg --recv-keys 8BB9AD793E8E6153AF0F9A4416530D5E920F5C65
$ curl -s https://storage.googleapis.com/git-repo-downloads/repo.asc | gpg --verify - ${REPO} && $ install -m 755 ${REPO} ~/bin/repo
The above steps are taken from the official installation instructions.
Where git has not been previously configured, this needs to be set up with:
$ git config --global user.name Your Name
$ git config --global user.email you@example.com
Finally, we also need the Platform Tools from the Android SDK if we want to flash the custom Android build to a handset. These will also be required if as part of an Android distribution build process, it’s necessary to extract binary blobs from a handset since this involves using adb.
The full Android SDK could be installed, or alternatively, we can just install Platform Tools, which probably makes more sense if we’re not developing Android apps. The tools can be downloaded via the Android website. Following which the ZIP file is extracted into the home directory and the PATH environment variable updated, e.g. by appending the following line to the .profile file:
PATH=$HOME/platform-tools:$PATHThen logging out and back in again, so that we pick up the updated PATH environment variable.
We also wanted to enable the compiler cache, as this greatly speeds up recompilation. However, we encountered a strange issue which is seemingly specific to Android 12, whereby compilation fails if the cache is located on the same filesystem as the source tree. Should a separate filesystem for the cache not be available, a bind mount can be used instead. In our case this was resolved with:
$ sudo mkdir /data/ccache
$ sudo mount --bind ~/.cache/ccache /data/ccache
Following which setting a few environment variables and setting the cache to be 100GB in size:
export USE_CCACHE=1
export CCACHE_EXEC=/usr/bin/ccache
export CCACHE_DIR=/data/ccache
ccache -M 100G -F 0
This could be made permanent by also appending the above to .profile.
Fairphone OS source
After the previous failed attempts with /e/OS/ and LineageOS, we were delighted to see a mostly complete official Fairphone OS source release for Android 11 and 12 on FP4 announced 30th October 2023, and promptly decided to give building this a go.
To build Android we needed a filesystem with around 200GB of free space to be on the safe side. The build server we planned to use had a /data filesystem located on a disk array with >1TB free, so we decided to use this and created an aosp subdirectory for the Android source tree — although technically this is Fairphone OS and not pure AOS, hence fos might have been a better name.
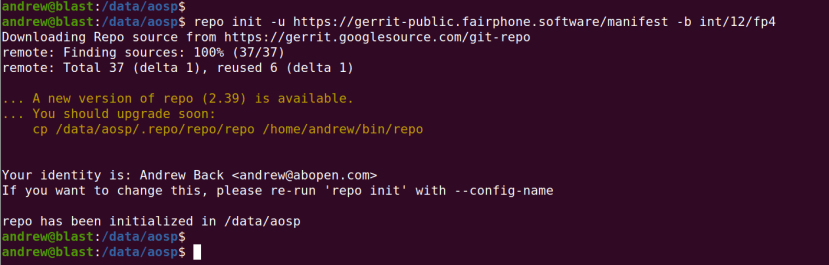
We then cd’ed into the directory and initialised repo client with:
$ repo init -u https://gerrit-public.fairphone.software/manifest -b int/12/fp4Here we are specifying the Fairphone git repo from which to get the Android manifest, plus the “integration” (cleaned up) branch of Android 12 for Fairphone 4. The git branch naming used here is a Fairphone convention and different strategies will be used by different distributions.
$ repo sync --detach --current-branch --no-tagsNext, we performed the actual sync with the repo sync command.

This took quite a while to complete.

Here we can see that once completed the synced source tree came in at 86GB!
Binary blobs
Binary blob packages for Fairphone 4 can be downloaded via the Fairphone website. Which is pretty unusual and Fairphone must be one of very few, if not the only, Android handset vendor to provide these. However, as a package made up of proprietary components from numerous upstream vendors, it should perhaps come as no surprise that they are provided under a “Special License Agreement”. Amongst other things, this limits use to with Fairphone 4 hardware and for non-commercial purposes. So while use in custom Android builds would appear permitted for individual and research purposes, use in commercial Android products is not allowed under this agreement.
That said, Fairphone have partnered with Murena to offer hardware with an alternative Android distribution, /e/OS, pre-installed — which presumably makes use of the exact same binary blobs. Therefore it seems reasonable to assume that Fairphone would be open to entering into custom licensing arrangements, for use of the proprietary components in other commercial products.
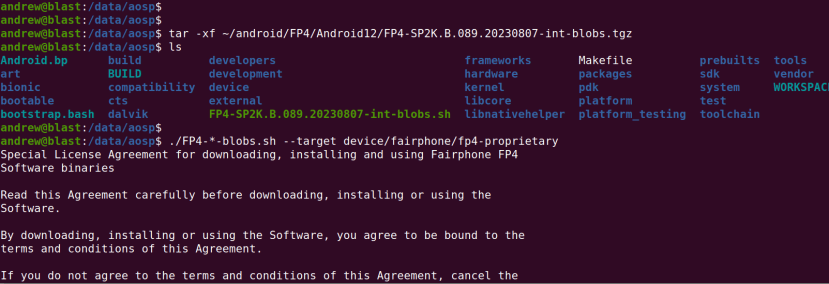
The binary blobs package for Fairphone 4 running Android 12 was downloaded and the tar file was then extracted with:
$ tar -xf ~/android/FP4/Android12/FP4-*-blobs.tgzFollowing which the resulting archive was unpacked into the source tree with:
$ ./FP4-*-blobs.sh --target device/fairphone/fp4-proprietaryThat’s it. Much easier and far more convenient than having to extract binary blobs from stock Android installer files, else from a running handset. If only all handset vendors did the same!
Why didn’t we use these binary blobs with LineageOS? We did try and it didn’t work. Which may be due to the LineageOS source tree that we synced being based on Android 13 rather than 12, or perhaps due to different file naming/locations being used in LineageOS vs. Fairphone OS.
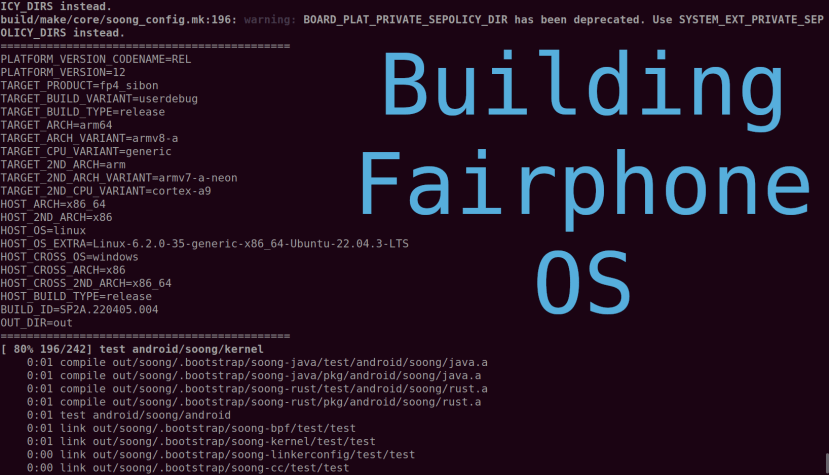
Building Android

With the source tree and binary blobs in place, we next needed to source a script to set up the environment:
$ . build/envsetup.shFollowing which we could use the lunch command to configure the build:
$ lunch fp4_sibon-userdebugAnd then finally, run the build:
$ m
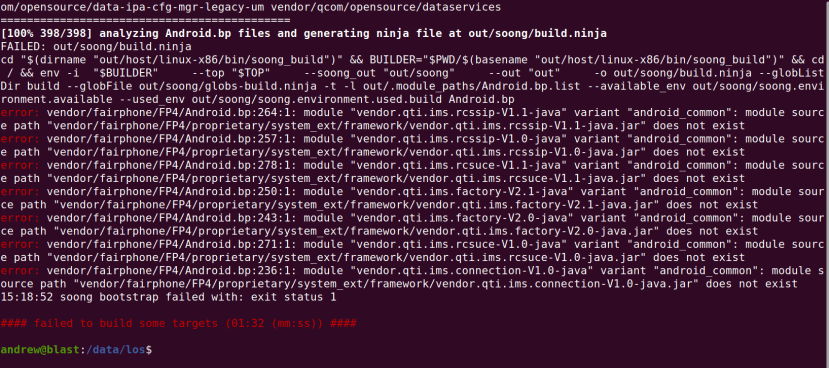
It didn’t take long before the build system cooling fans picked up speed and running top we could see that the CPU cores were being well exercised.
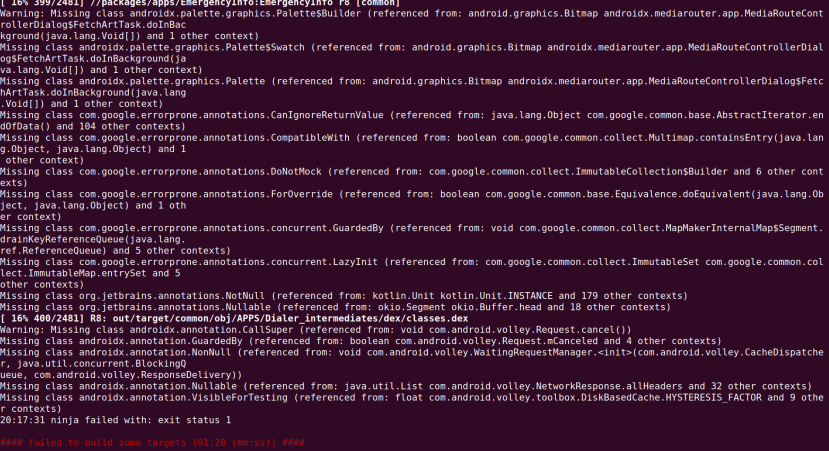
Sadly, after around a couple of hours had elapsed, the build failed. The above screenshot is from the build being re-run to make sure, hence shows a much shorter elapsed build time.
At this point, we were concerned that we might be facing our third failed attempt at building an Android distribution. However, a post to the Fairphone forums resulted in a fix just a day later! Seems there had been a simple omission in the cleaned-up “integration” branch which is published for use outside of Fairphone and partners.

All we had to do was run repo sync again, which completed much faster this time, then build again.
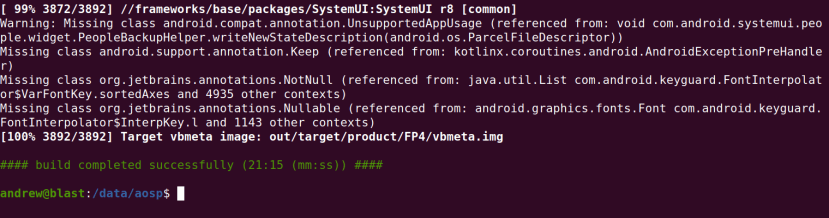
Around 20 minutes elapsed and then we had a successful build at long last!
Final words
Building an entire operating system from source code can not only be computationally demanding, but potentially fraught with issues — particularly if the codebase is reasonably fast-moving, with regular major release cycles and support for many different devices across these releases, plus the added complexity of significant amounts of binary-only code which must be integrated.
When building Android it appears that there can also be an element of “the luck of the draw” as to whether documentation if fully up-to-date and validated. The author’s previous experiences of building GrapheneOS — a security focused Android distribution which focuses purely on Google hardware – for example, were much more plain sailing.
Comments