Building Android from Scratch Part 1: Introduction
Follow article
 Dave from DesignSpark
How do you feel about this article? Help us to provide better content for you.
Dave from DesignSpark
Thank you! Your feedback has been received.
Dave from DesignSpark
There was a problem submitting your feedback, please try again later.
Dave from DesignSpark
What do you think of this article?
The tools and processes involved in building the Android OS from source code.
In a previous article, we took a look at Extending the Life of a Smartphone with a Custom Android Distribution. As part of which we explored the Android platform architecture and its open vs. closed components. We also looked at a selection of freely available custom distributions, with one of these being /e/OS, which supports Fairphone hardware, amongst many other devices.
In this two-part series of articles, we’ll first take a look at some of the tools and processes which are used in building Android, before then proceeding to build a custom ROM and flash this to a device.
Git and Repo
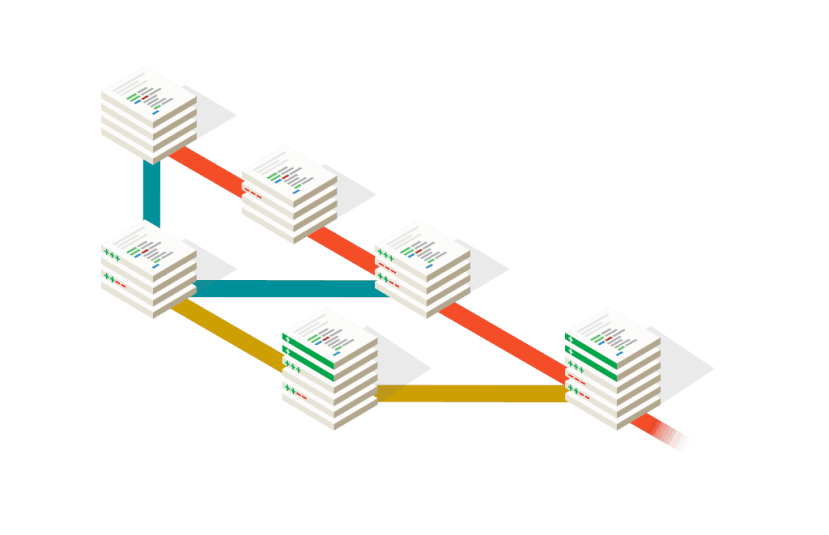
Git branching illustration, git-scm.com.
Git is a distributed version control system (DVCS) which tracks changes in files. It is often used to coordinate work in large software projects and facilitate collaborative development. Git works in a very efficient manner, whereby successive updates to text files are stored as only the changes — a.k.a. “deltas” — and very powerful features are built on top of this simple concept. Such as the ability to have different development “branches”, which might be used for working on new ideas, along with “tags” which reference particular points in development, such as a software release.
Some of the world’s largest software projects use Git and perhaps most notably, the Linux kernel, which it was originally created to support the development of. It is also used by the Android Open Source Project (AOSP), which is made up of many sub-projects — which includes the Android fork of the Linux kernel, plus drivers and libraries etc. — each managed via their own Git repository.
Git has a built-in mechanism whereby a parent project can have subprojects or third-party dependencies, with these each being managed via their respective git repositories; however, the git “submodule” functionality has some drawbacks. Hence Android instead uses another piece of software, the repo tool, to manage the complexity of a very large project which is made up of many git repositories. Repo works with an XML manifest document stored in a git repository, which tracks all the sub-ordinate projects managed using git. This manifest repository will typically also make use of branches for things such as different hardware platforms and Android releases.
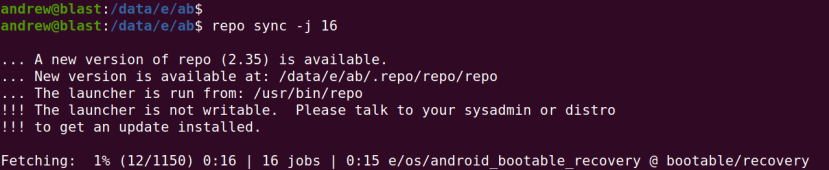
Downloading the Android source
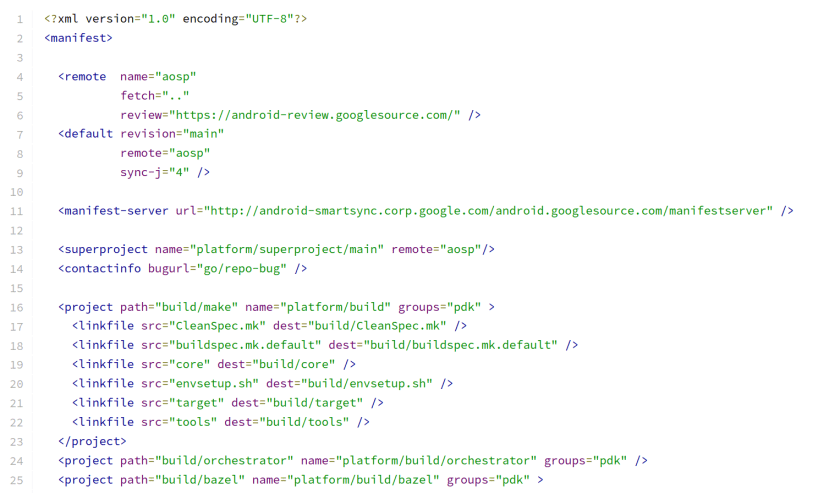
Fragment of an Android repo tool manifest.
The Android Open Source Project provides details of how to set up the repo tool and then use this to download the AOSP source code, by synchronising all the required git repositories.
As noted earlier, the Android platform is typically comprised of a mixture of open-source and closed/proprietary components. Which means that it’s generally not possible to take AOSP alone and build a fully working ROM which you can flash to a device; as part of their build process a vendor will also integrate various proprietary binaries, while an end user or third-party developer may have to first extract these from an official ROM image, then add them to their custom ROM.
The official Android Platform Manifest can be found at:
https://android.googlesource.com/a/platform/manifest
Here we can see there are lots of different branches and tags, for different development efforts and releases etc. These different versions of the manifest, managed by git, describing a particular software recipe which is cooked up from different versions of all the various Android components, which are in turn developed across many more git repos (sub-projects).
This may sound complex, but it mostly just kind of works, provided that you know what particular Android release and device you want to build for — and provided that you have all the components needed to make a functioning build, such as all the required vendor proprietary parts also. However, if things are not quite aligned or missing, you can easily end up with a failing build, or worse still, a built that completes, but which when flashed to a device doesn’t work. An example of the latter being a “boot loop”, where the boot process starts, fails, the device resets, and repeats.
Custom distributions
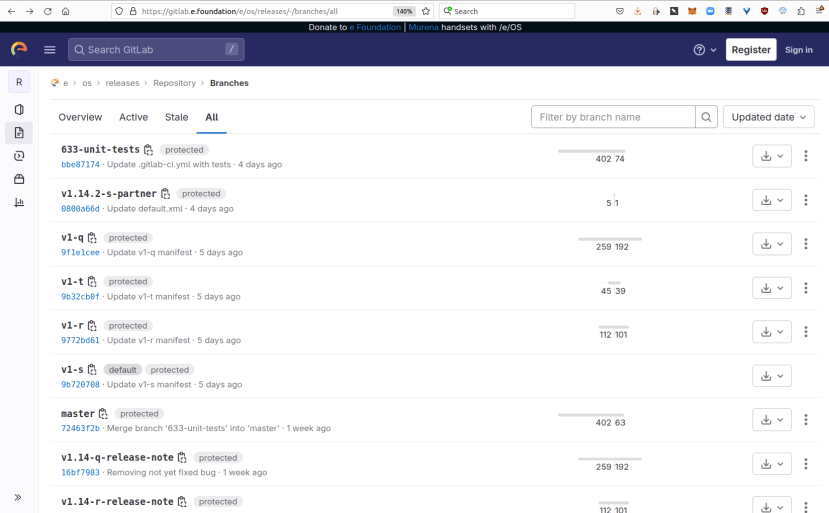
/e/OS branches.
Custom Android distributions publish their own manifests, which are based upon the upstream AOSP manifests and updated to point to additional or different git repos where appropriate. For example, a security-focused Android distribution may develop hardened O/S components, web browsers or advanced security tools, which are then included via their repo tool manifest. Some may equally omit software that they deem unnecessary, else to pose security or privacy risks.
Custom distributions will typically also provide details of how to extract proprietary binaries from official vendor ROM images, then place them in the correct location in the Android source tree for them to be included when the custom ROM image is built.
Versions, Releases and Devices
Android versions up until 9 use sweets as the codename, e.g. Nougat, Oreo and Pie for 7, 8 and 9. With Android 10 onwards there are still internal codenames, but versions are primarily identified by a single letter. For example, 10 is Q, 11 is R and 12 is S. Most of the time we’d probably want to run the latest Android version, with typical exceptions to this including where older hardware might struggle with a recent version, or where hardware support is still in development.
For each Android version we might then have sub-versions, such as the incremental release number, plus whether its status is beta, release candidate (RC) or stable. Most of the time we’d probably want to build the most recent, stable release of a particular Android version. However, if we were experiencing issues we might want to try a beta or RC which incorporates fixes. This is very much a case of caveat emptor and the usual warnings concerning backing up data etc. apply.
Finally, we need to know what device(s) to build for. Codenames are used for different hardware platforms and for example, Google Pixel 2 is codenamed “walleye”.
So to sum up, before we can build Android we need to know:
- Which Android version
- Which release tag
- What hardware to build for
- How to get the vendor files
Coming up
In the second and concluding part in this series, we will walk through the build process for a custom Android distribution, following which flash this to a device.