Building a Cosmic Ray Detector Part 1: Introduction and Planning
Follow articleHow do you feel about this article? Help us to provide better content for you.
Thank you! Your feedback has been received.
There was a problem submitting your feedback, please try again later.
What do you think of this article?
Constructing the CosmicWatch desktop muon detector.
CosmicWatch is a project from MIT in the US and Poland’s National Center for Nuclear Research, that enables anyone with basic electronic skills to build a low-cost desktop detector for the muon particles which are created when cosmic rays collide with the earth’s atmosphere.
In this series of posts, we’ll take a look at constructing the CosmicWatch muon detector and where necessary, modifying the design very slightly to make use of more widely available parts.
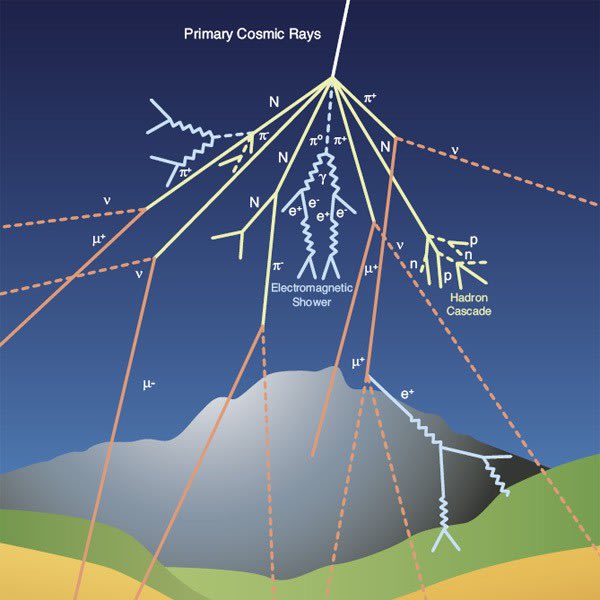
Primary and secondary
Image source: CERN.
Primary cosmic rays are high-energy protons and atomic nuclei that travel through space at close to the speed of light, with evidence to suggest that a significant fraction originates from the supernova explosion of stars. Upon impact with the earth’s atmosphere, these then produce showers of secondary particles, including muons.
A muon is an elementary particle — which is to say one that is not composed of other particles — that is similar to an electron, but with a much greater mass of around 207 times that of an electron. Thanks to their mass they accelerate more slowly than electrons in electromagnetic fields and hence for a given energy are able to penetrate much deeper into matter.
It is these muons or secondary cosmic rays that we are interested in since they are able to penetrate the atmosphere, reaching land and even into deep mines.
Detecting muons
When we think of particle detectors the first thing that usually comes to mind is a Geiger counter, which makes use of a tube filled with inert gas, to which a high voltage is applied and then we count the ionisation events that result as particles enter the tube. This has a number of limitations and perhaps most notably that the signal output is always of the same magnitude, regardless of the type and energy of the incident radiation.
Scintillator material.
A somewhat more sophisticated alternative is to use a scintillation detector, whereby instead we have a scintillator material that produces a flash of light upon incident radiation, which is then observed by a light detector. Scintillation detectors offer numerous benefits over Geiger counters and this includes that, through the selection of the scintillation material used they can be constructed to respond to a particular type of radiation. In addition to which they are also faster, much more sensitive, and are able to measure the energy and intensity of radiation.
A vintage photomultiplier tube-based scintillation detector.
Traditionally this type of detector has utilised a photomultiplier tube (PMT) to measure the light generated by the scintillator material, since these are extremely sensitive, to the point where they can detect even a single photon striking their surface.
Photomultiplier tube.
However, there is a downside and PMTs are not only relatively expensive but also require the use of a high voltage power supply.
SiPM device.
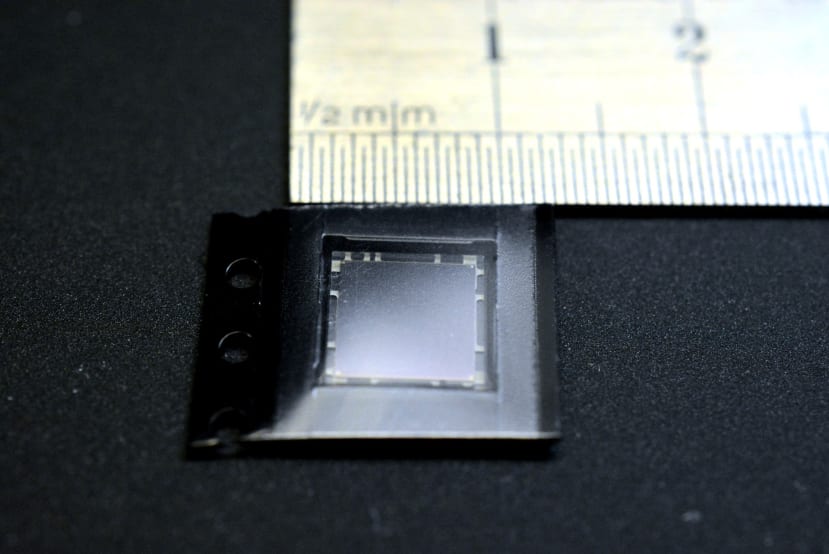
Fortunately, in more recent years we have seen the advent of the silicon photomultiplier (SiPM), a far more compact and eminently convenient semiconductor alternative, that like the PMT, may be sensitive to a single photon. CosmicWatch makes use of a C-Series SiPM sensor from onsemi (185-9609) , which can be seen pictured above in its protecting packaging.
Main components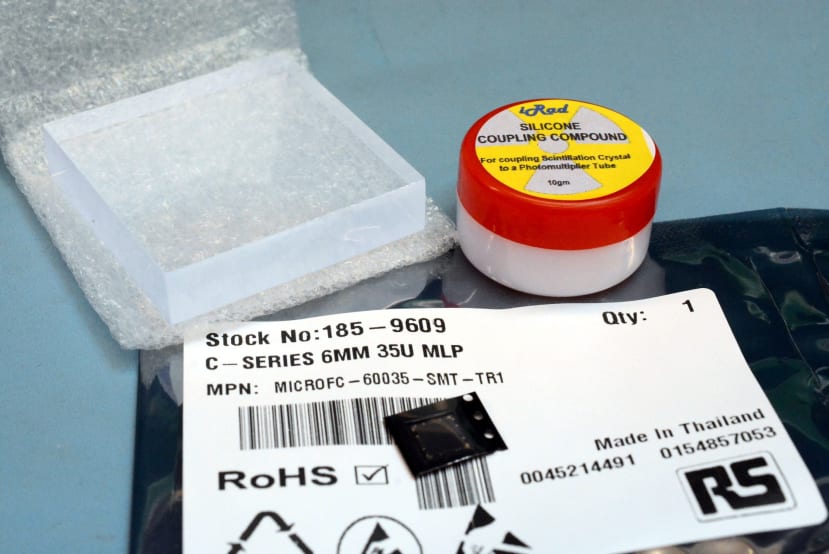
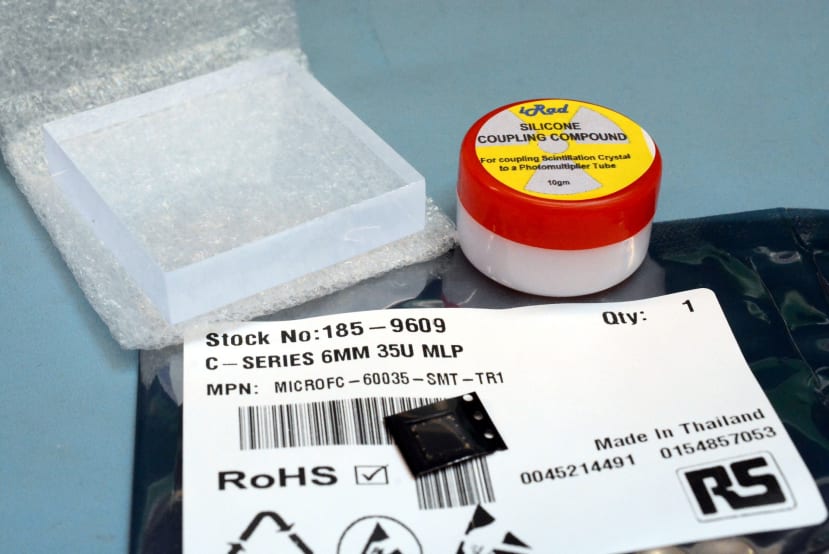
Above we can see the scintillator and SiPM sensor, plus a small tub of silicone optical coupling compound that will be used at the interface between the two. The scintillator and silicone compound were both obtained from an eBay vendor who was conveniently offering material cut to size and small quantities of the compound, specifically for constructors of the CosmicWatch detector.
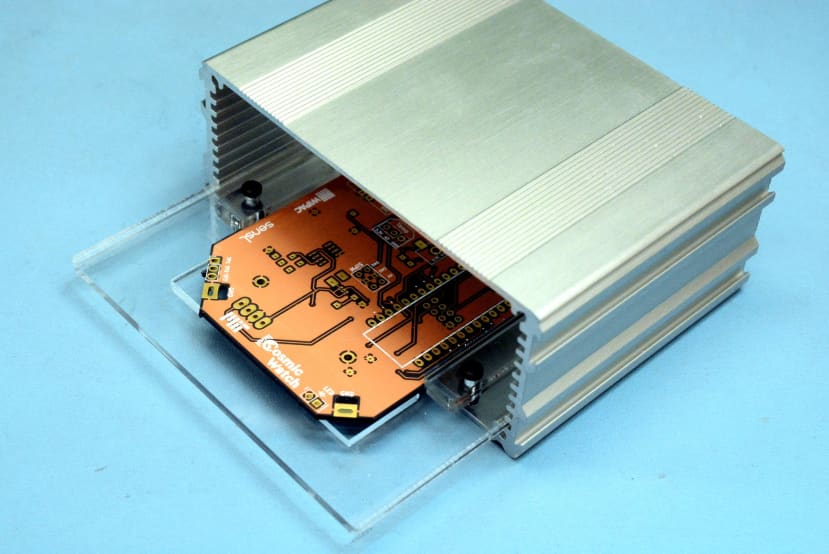
So now that we have the physics end of our detector, what else do we need? Well, an enclosure of some sort would be advisable and the CosmicWatch design specifies one from a particular US manufacturer, which unfortunately we were unable to source here in the UK. So instead we settled on an RS Pro one (195-1545) of a similar design and slightly larger, but we can laser cut a mounting plate for and secure the main PCB to this, following which slide the plate into the case PCB guides.
Along with the main PCB we have one for the SiPM sensor and scintillator, and a small board for a Micro SD card socket. The sensor assembly will first need to be wrapped in reflective foil and then black tape to block out ambient light, before being attached to the mainboard. The mainboard integrates a power supply for the sensor, plus amplifier and peak detector circuits for its output.
The conditioned SiPM sensor signal is then fed into an ADC input on an Arduino Nano (696-1667) , which can be used to send data over USB to an attached computer or record it to a Micro SD card.
In addition, to which, the Arduino Nano can also output statistics to an attached I2C display. The CosmicWatch design specifies a generic 0.96” 128x64 OLED part, noting that you need to be careful to ensure that you obtain the variant with the correct pin header ordering. Given that this sort of thing can be a bit hit and miss, particularly where you may only have a stock photo to go on, we decided instead to try using a similar display from Seeed Studio (174-3239) . Since we’re using a slightly longer enclosure this will need to be cabled to the main PCB in any case.
Next steps
At this point, we have a rough understanding of how the cosmic ray detector will work and as we progress with the build in the next post, we’ll explore this in a little more detail. We’ll also take a look at processing the signal and what can be done to distinguish background radiation.


