Python and LoRaWAN enabling the Siemens IoT2020
Follow articleHow do you feel about this article? Help us to provide better content for you.
Thank you! Your feedback has been received.
There was a problem submitting your feedback, please try again later.
What do you think of this article?
Setting up a Python environment on the industrial IoT platform and configuring onboard serial, then using these to drive a Microchip RN2483 LoRaWAN module.
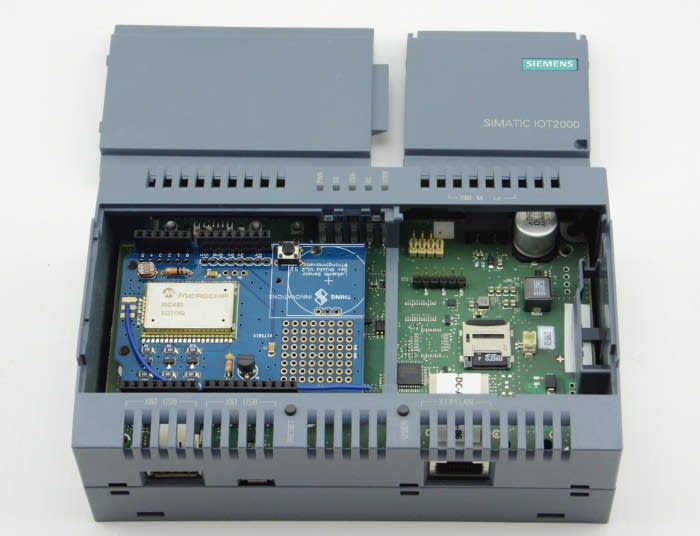
The Siemens IoT 2020 is designed for use as a gateway between industrial installations and cloud platforms. This would typically be achieved by using the Ethernet port to connect to a network with Internet access, while the Arduino headers are used to interface with local systems. However, in this post we take a look look at a simple configuration which would support the reverse, with local system access via Ethernet and the Arduino headers used to integrate a LoRaWAN module.
This sort of configuration could prove particularly useful with remote sites that would usually be served by a cellular modem or even a landline, where use of LoRaWAN instead could result in significant cost savings.
Network configuration
Once the provided example O/S image — v2.1 at the time of writing and see the previous post for setting up details — has been written out to a Micro SD card, the network configuration needs to be updated in order to enable access to the Internet. With the card inserted into a Linux computer, mount the root filesystem and then edit the /etc/network/interfaces file.
The original section starting iface eth0 should be commented out and then add before it:
iface eth0 inet dhcp
Note that the O/S image is also intended for use the Siemens IoT2040, which features two Ethernet ports. While it’s not strictly necessary, if the configuration for eth1 is also commented out at this point, it will prevent the networking subsystem from trying and failing to configure the second port.
#autoeth1
#iface eth1 inet dhcp
Filesystem resizing
Free space on the root filesystem of the Micro SD card if this is not expanded
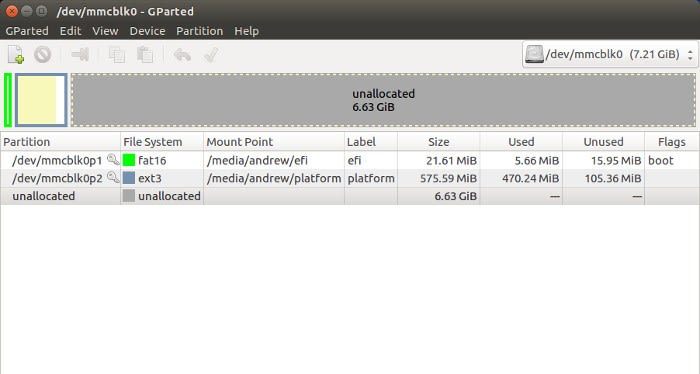
Prior to inserting the Micro SD card into the IoT 2020, it’s also worth expanding the root filesystem to fill the card. The easiest way to do this is via gparted with the card inserted into a Linux PC.
Above we can see the root filesystem (2nd partition) on an 8GB Micro SD card before it has been expanded. This was expanded to fill the card by selecting it, right-clicking and selecting to resize.

There is now a great deal more room for application development after resizing the root filesystem.
Package manager
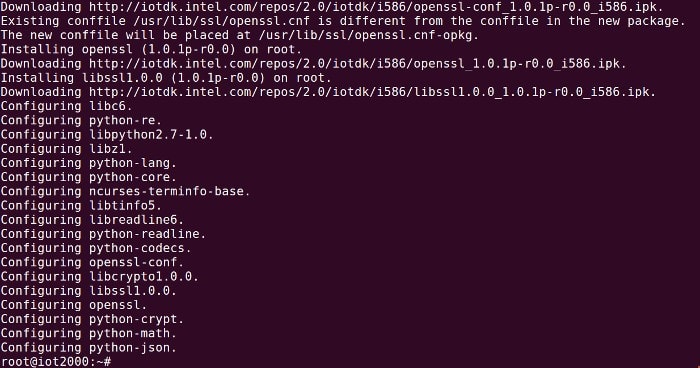
The Yocto Linux O/S makes use of a lightweight package management system called Opkg. By default no repositories are configured and so this must be done before packages can be installed. First the /etc/opkg/opkg.conf file should be edited and lines added for the repositories:
src iotdk-all http://iotdk.intel.com/repos/2.0/iotdk/all
src iotdk-i586 http://iotdk.intel.com/repos/2.0/iotdk/i586
src iotdk-quark http://iotdk.intel.com/repos/2.0/iotdk/quark
src iotdk-x86 http://iotdk.intel.com/repos/2.0/iotdk/x86
Next the /etc/opkg/arch.conf file should be edited and the following lines inserted:
arch i586 12
arch quark 13
arch x86 14
Following which the package database can be updated with:
root@iot2000:~# opkg update
Now we can install a selection of useful packages:
root@iot2000:~# opkg install ca-certificates python-json python-io python-re python-xmlrpc python-ctypes openssh-sshd
Python
The default Python install is baked into the base O/S image and lives outside of the package management system, while the Python libraries available via the previously configured repositories appear to be built against a different version. This means that, until we install certain Python libraries via packages as described above, we would experience errors such as the following:
ImportError: /usr/lib/python2.7/lib-dynload/_ctypes.so: undefined symbol: _PyInt_AsInt
If errors such as the above are encountered, it is recommended to search for and install the appropriate Python package from the repositories, so as to overwrite the default library install.
Fortunately, we don’t have to worry about there being Opkg packages for every different Python library we might require, since once we have those previously installed via the repositories, it is then possible to install Python’s own package management system, pip, with just two commands:
root@iot2000:~# curl --insecure -L "https://bootstrap.pypa.io/get-pip.py" > get-pip.py
root@iot2000:~# python get-pip.py
Note that the insecure option has to be passed to curl since the ca-certificates package from the repositories, which provides a bundle of CA certificates, appears to be quite dated.
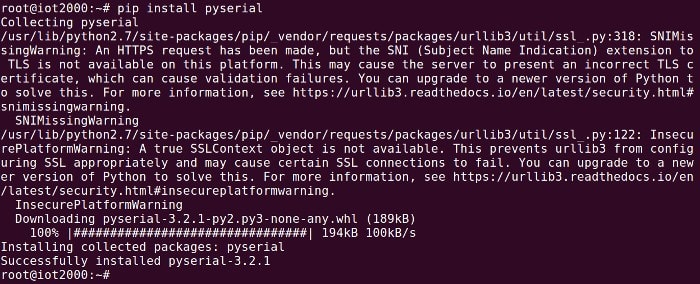
With pip configured we can now install the pyserial library with simply:
root@iot2000:~# pip install pyserial
Close to 100,000 Python packages can now be installed via pip from the Python Package Index!
Serial port
The IoT 2020 has three serial ports:
- ttyGS0 (micro USB port)
- ttyS0 (Arduino header pins 0 & 1)
- ttyS1 (“FTDI” header)
The first is used for loading Arduino sketches and the third for providing a hardware console, which we can use for debugging and to log in to Linux with when there is no network access.
The second port, ttyS0, is the one we are interested in. However, since the I/O pins can be configured for different uses, we need to configure the pin mux for 0 & 1 appropriately.
There are quite a few places on the Internet that describe how to do this for the Intel Galileo, but beware that many of the descriptions are for gen1 hardware, whereas the IoT2020 is based on the Intel Galileo gen2, which is sufficiently different for those instructions not to work.
If we create a text file, e.g. ttyS0setup.sh, with the following contents:
#!/bin/sh
 echo -n "28" > /sys/class/gpio/export
 echo -n "32" > /sys/class/gpio/export
 echo -n "45" > /sys/class/gpio/export

 echo -n "out" > /sys/class/gpio/gpio28/direction
 echo -n "0" > /sys/class/gpio/gpio28/value

 echo -n "out" > /sys/class/gpio/gpio32/direction
 echo -n "1" > /sys/class/gpio/gpio32/value

 echo -n "out" > /sys/class/gpio/gpio45/direction
 echo -n "1" > /sys/class/gpio/gpio45/value
Then make this file executable:
root@iot2000:~# chmod +x ttyS0setup.sh
The shell script can then be run prior to running any applications that make use of ttyS0.
root@iot2000:~# ./ttyS0setup.sh
Microchip RN2483 shield
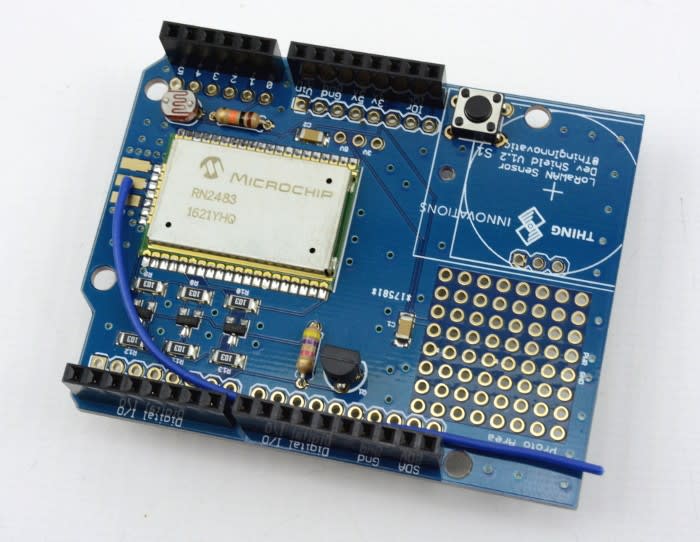
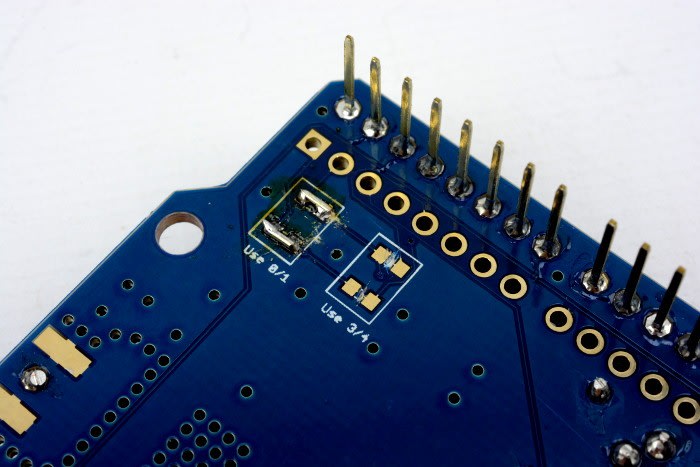
The Microchip RN2483-based LoRaWAN Sensor Shield from Thing Innovations was used to add LoRaWAN connectivity to the IoT2020. By default this uses pins 3 and 4 for serial (software serial on the Arduino UNO), but this can be changed to use pins 0 and 1 by cutting two traces on the underside and bridging two sets of pads (you’ll have to excuse the somewhat messy links, as I couldn’t lay my hands on the 0 ohm resistors!)
Other RN2483-based modules could also be used, such as the (904-8468) RN2483 LoRa PICtail, and it’s just important to ensure that the module and IoT2020 are both configured to use the same I/O voltage. This can be configured for 3v3 and 5v on the IoT2020, via a jumper by the Arduino headers.
The Things Network uplink test
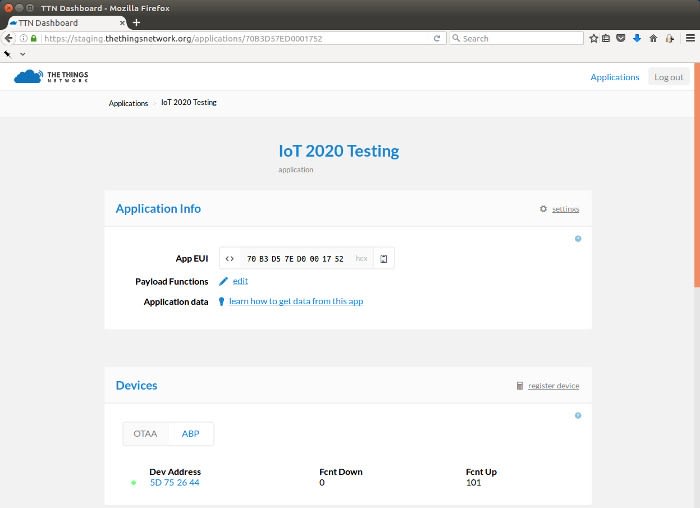
Since we have a local The Things Network (TTN) gateway it made sense to test using this. After logging into the TTN Dashboard (web interface to the backend), a new application called IoT 2020 Testing was created. Following which a device was provisioning for the application, using Activation By Personalisation (ABP).
For a quick introduction to LoRaWAN, see the post, A Closer Look at LoRaWAN and The Things Network. However, please note that TTN now supports many more LoRaWAN capabilities.
With an application configured and a device provisioned on the network, a simple Python script could be created to test sending unconfirmed uplink messages to TTN.
Create a new file, e.g. abp-tx-test.py, with the contents:
#!/usr/bin/python
 # -*- encoding: utf-8 -*-
 import time
 import serial

 writeconfig=1

 # your devaddr here
 devaddr="DDDDDDDD"

 def send(data):
   p = serial.Serial("/dev/ttyS0" , 57600 )
   p.write(data+"\x0d\x0a")
    data.rstrip()
   print(data)
   time.sleep(2)
   rdata=p.readline()
    rdata=rdata[:-1]
   print rdata

 send("sys reset")
 time.sleep(1)

 if writeconfig is 1:
   time.sleep(1)
   send("mac set nwkskey NNNNNNNNNNNNNNNNNNNNNNNNNNNNNNNN")
   send("mac set appskey AAAAAAAAAAAAAAAAAAAAAAAAAAAAAAAA")
   send("mac set devaddr "+devaddr)
   send("mac set adr off")
   send("mac save")
   time.sleep(5)

send("mac join abp")

 while True:
   msg="aa"
   send("mac tx uncnf 1 "+msg)
   time.sleep(60)
Obviously, substituting your values for the D, N and A characters with:
- devaddr
- nwkskey
- appskey
Make the Python script executable:
root@iot2000:~# chmod +x abp-tx-test.py
And then run with:
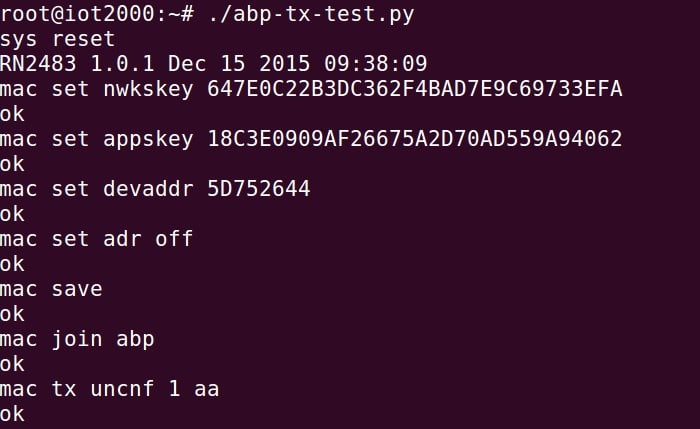
root@iot2000:~# ./abp-tx-test.py
Following which there should be an output similar to the above printed out to the terminal.
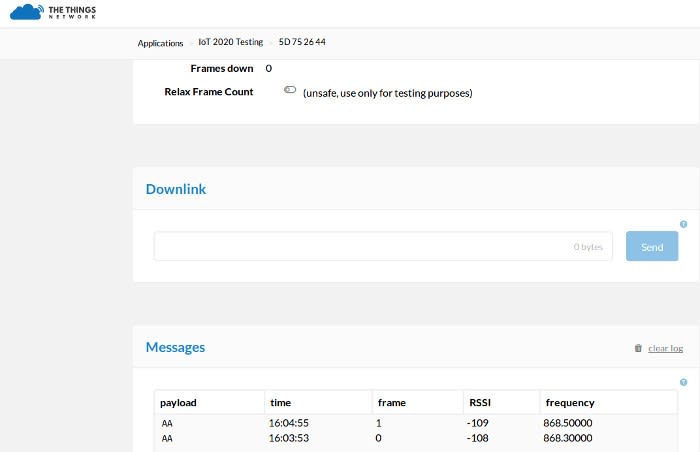
And if we then look at the TTN Dashboard we should hopefully see uplink packets being received.
Conclusion
It’s fairly straightforward to get pip configured and then via this convenient access to almost 100,000 Python packages, for everything from text processing and math, to network servers and sensor interfacing. Thereby enabling rapid prototyping of applications that integrate sensors and outputs, perform local processing and communicate over wired and wireless networks.
Thanks to the IoT2020 Arduino headers we can easily extend the hardware platform via one of the great many existing shields available, such as the Thing Innovations LoRaWAN Sensor Shield.
In this post we only performed a simple test of LoRaWAN uplink, but it wouldn’t take much to integrate MQTT messaging — or some other network protocol — over Ethernet, or to add inputs and outputs making use of the unused pins, via the female headers on the Thing Innovations shield.


