OKdo ROCK 4C+ Starter Kit - Out-of-Box Experience
Follow article Dave from DesignSpark
How do you feel about this article? Help us to provide better content for you.
Dave from DesignSpark
Thank you! Your feedback has been received.
Dave from DesignSpark
There was a problem submitting your feedback, please try again later.
Dave from DesignSpark
What do you think of this article?
Great to have been selected to receive a Rock 4C+ starter kit:
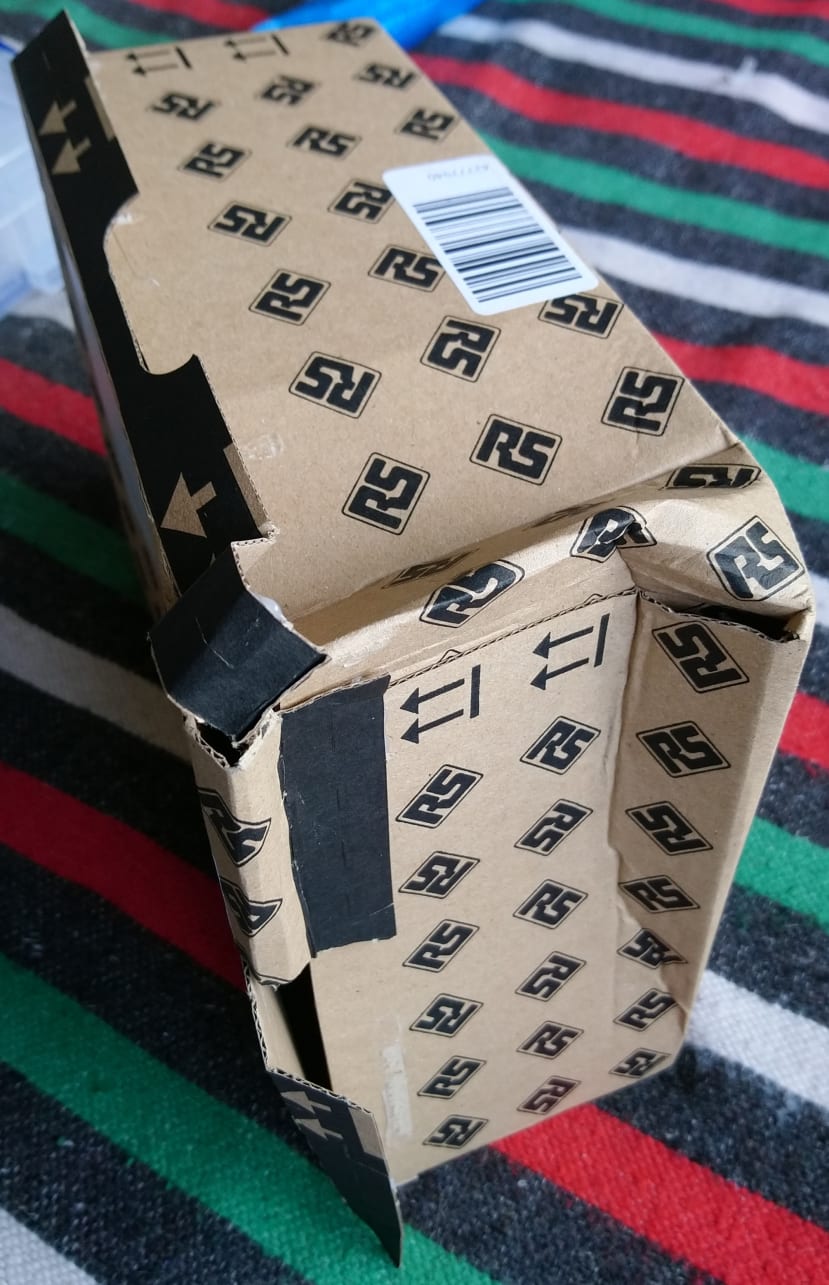
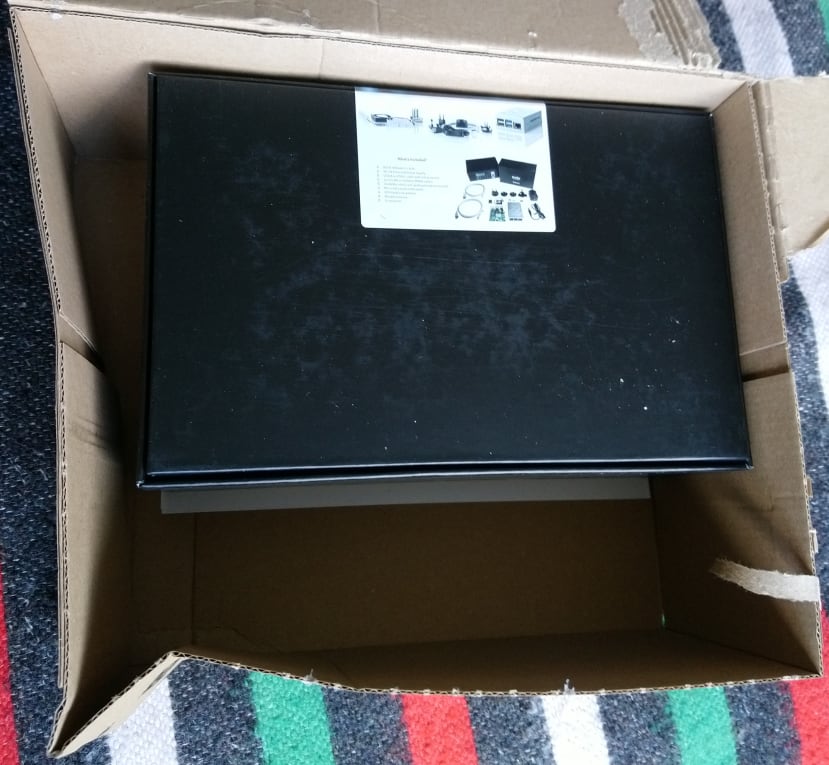
The package arrived in a rather battered state, but the kit was unharmed within:
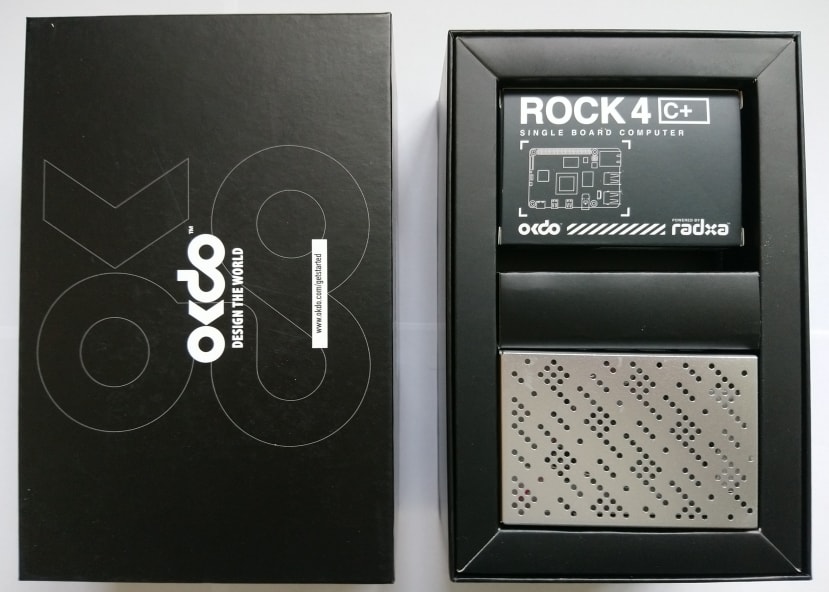
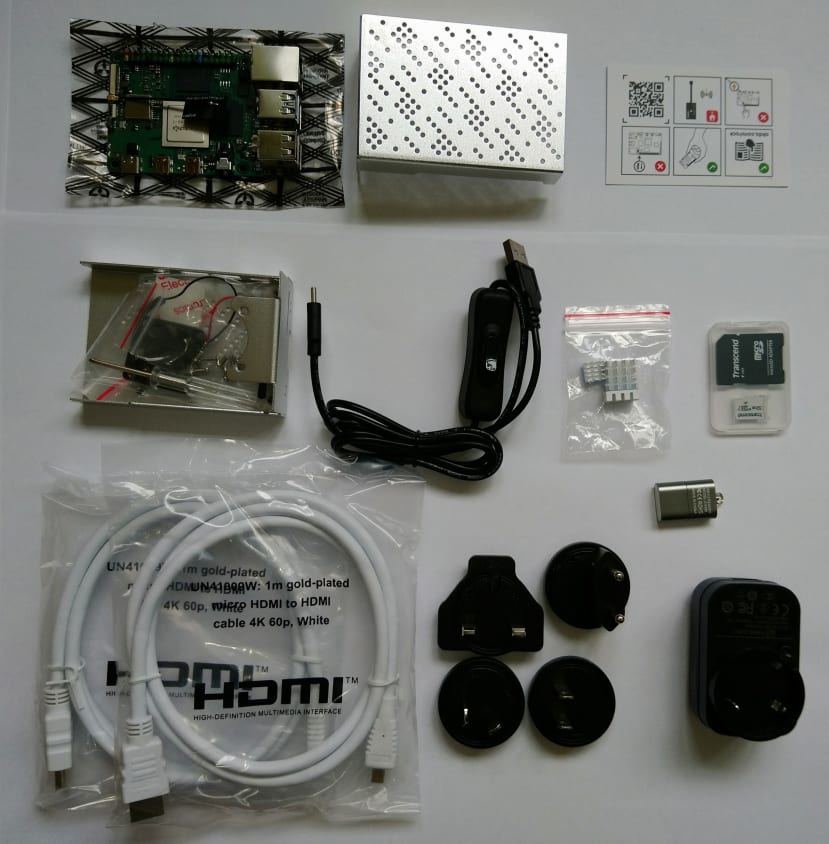
The kit is very nicely presented, with the actual Rock 4C+ and a case in the top tier, and other accessories below:
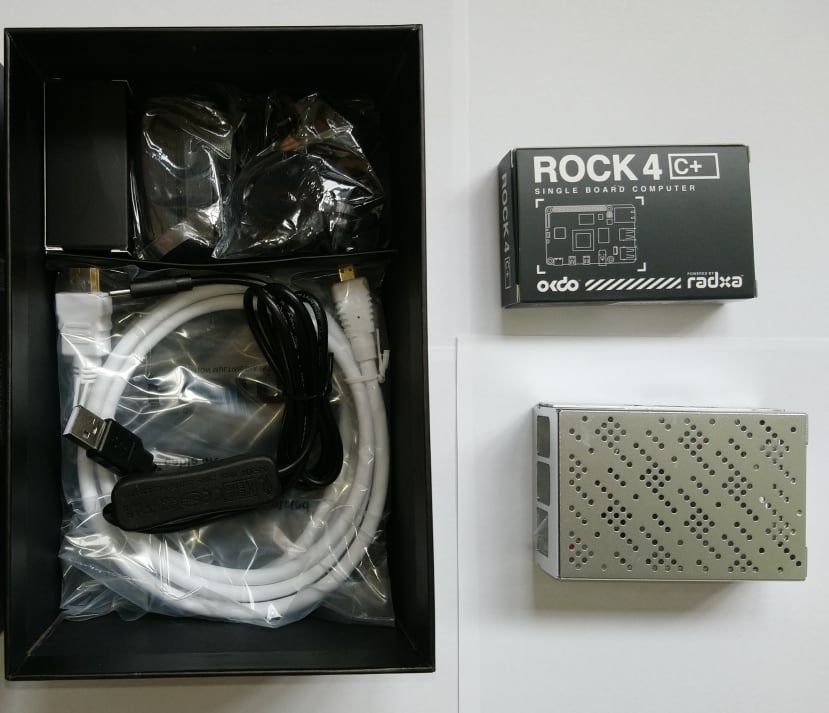
The full kit - even includes a little screwdriver to put the case together:
As is common nowadays, there is no printed documentation included; nor even a CD - but there is a QR code to scan:
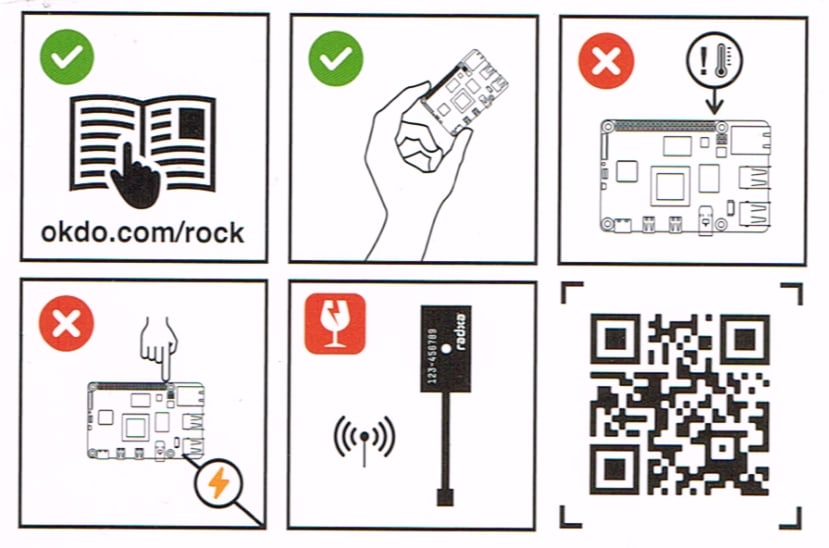
Sadly, the QR code just takes you to a generic landing page for all of OKdo's ROCK products - not a specific page for this kit.
After a bit of wandering around the OKdo site, I found Getting Started Guides (or "Get Started Guides") under the Knowledge Hub
Again, this is a generic page with all of the "Get Started" guides for the entire OKdo range, with a tab that collects all the guides for all the ROCK products:

The guides aren't grouped - all the products are just mixed together - and there are two called "Get started with the ROCK 4C+ Starter Kit..." - it's not clear which is the one covering unboxing & assembly.
The one we want is Get started with the OKdo ROCK 4C+ 4GB Single-Board Computer Starter kit:
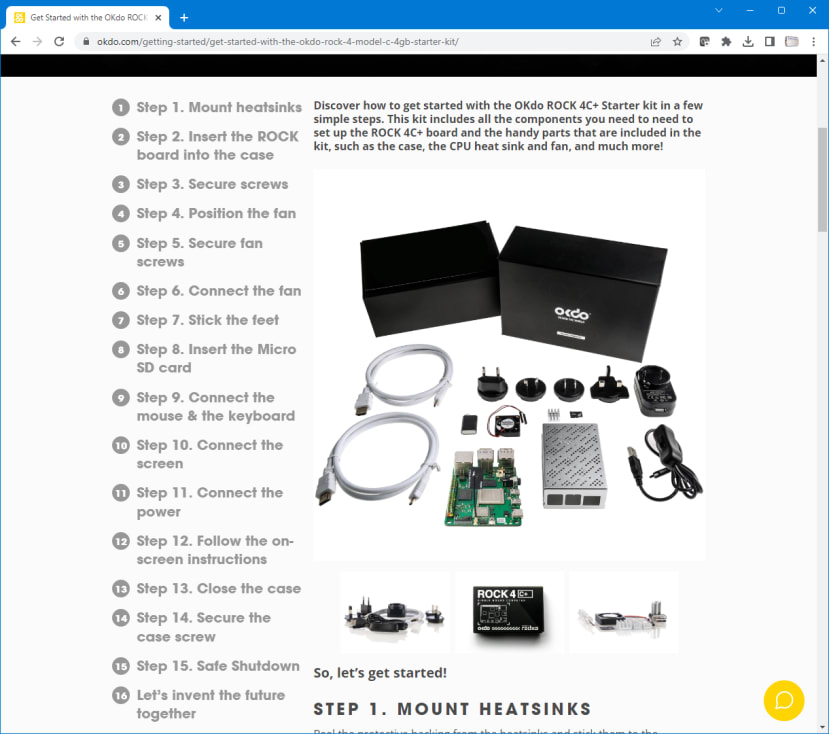
So, indeed - let's get started!

The kit is supplied with three heatsinks, but there are four components they would fit:
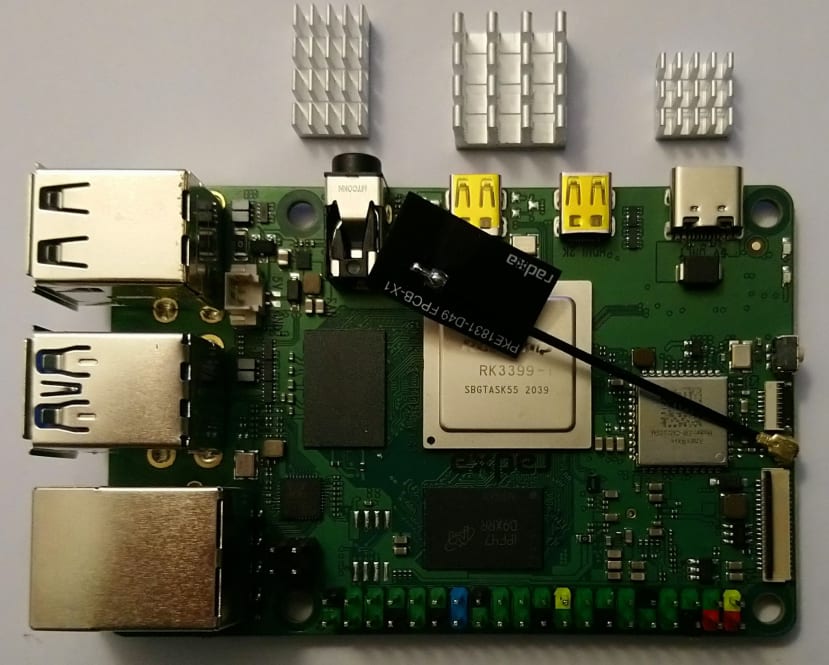
The options for the two square heatsinks are obvious, but there are two identical chips which could possibly take the rectangular heatsink.
In this thread, DesignSpark member RaulHernandezFernandez1 suggests that all except the main SoC heatsink are unnecessary.
The kit came with a bag of screws - 3 different types, all in together:
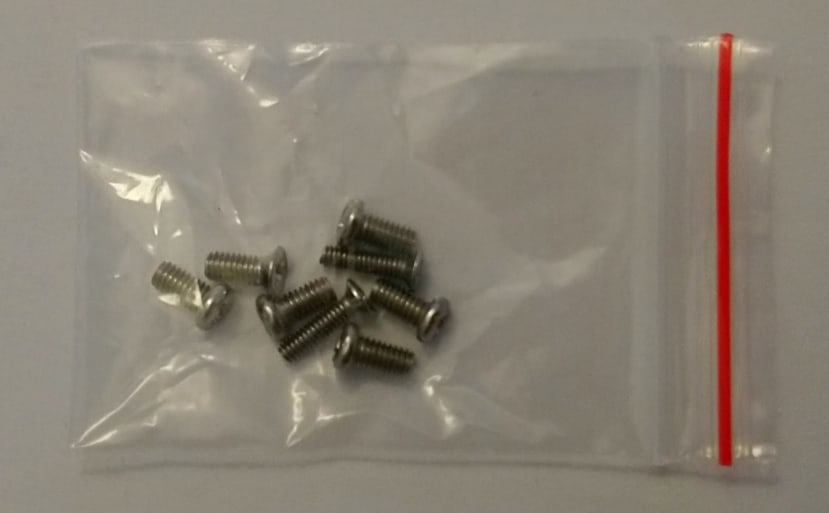

As there's only one type with more than four items, I assume they must be the ones to use here.
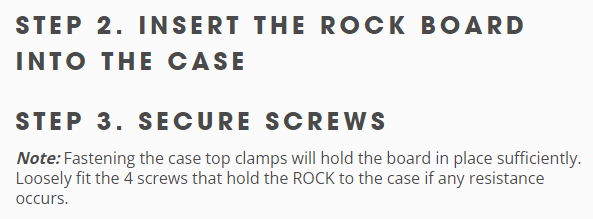
I found that the case did not hold the board in place at all - fitting the screws was essential.
The supplied case blocks access to the push button.
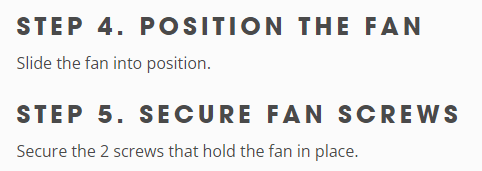
As there's only one type of screw with two items, I started by assuming they must be the ones to use here.
It turns out that these two have a slightly smaller thread - so they're the only ones that will fit the fan.
This leaves us with two screws - but, apparently, only one more is needed?
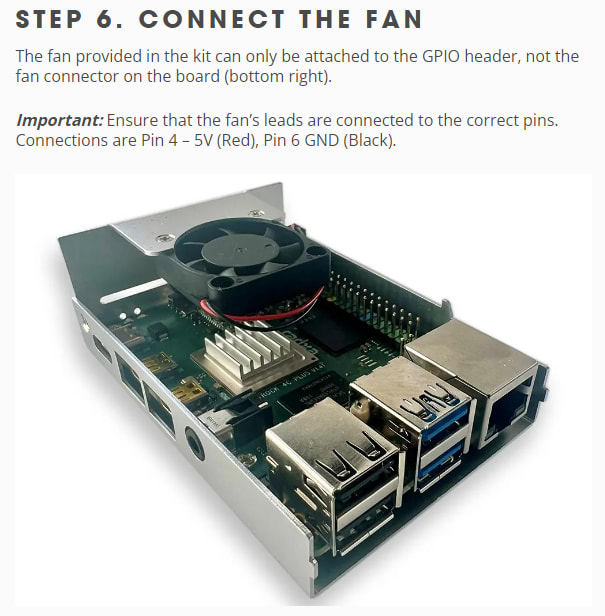
At this point, there hasn't been anything to identify which is "the GPIO header", nor how its pins are numbered, and it can't be seen from the photo.
There doesn't seem to be a Documentation section to the OKdo website, but I did find documents on the product page in the Shop:
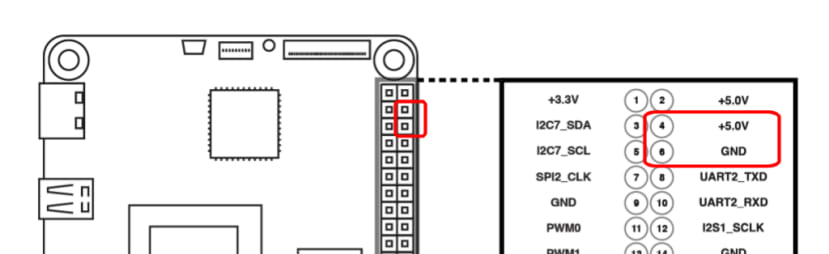
Getting to these pins with the board in the case and the fan fitted is a little fiddly - it would have been easier to fit the wires to the board before fitting it into the case.
Given that the board does have a fan connector, why not supply a fan which can be connected to that?
Would be useful to identify what comes on the included micro SD card.
Which way around should the card go?
It would be helpful to have a diagram to identify the connectors - particularly for the HDMI.
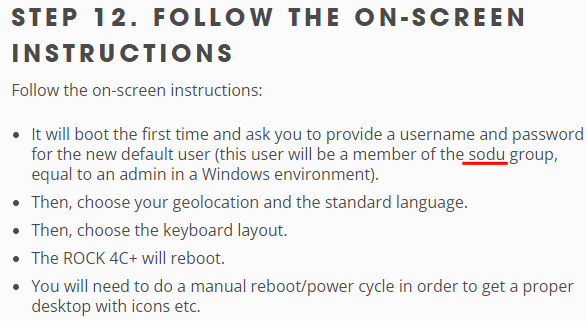
That should be sudo group
Having entered my geolocation as Europe and London, why does it then start by showing me US keyboard layouts?
Surely, it should start with UK layouts?
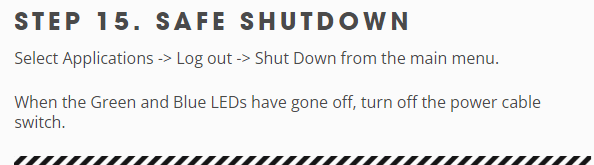
Is there any way other than a power cycle to do a manual reboot at this point?
Would be useful to describe here what should be expected on the LEDs.
It seems that the green LED is permanently on, and the blue LED does a double-blink every one second (approx).

This is going to enclose the antenna inside the metal case - that's not going to give an optimum performance!

There are actually two screws remaining at this point - I guess it's the countersunk one that's needed here?
So now we do have a working SBC with some sort of Linux installed.
Could do with a 'Step 16' here pointing to "next-step" materials, documentation, etc.
Conclusion
The kit has everything needed for a cased computer booting Linux.
The physical packaging and presentation are excellent.
Documentation seems somewhat lacking; if this is intended as a Raspberry Pi contender, it has some very strong competition to live up to!
Comments