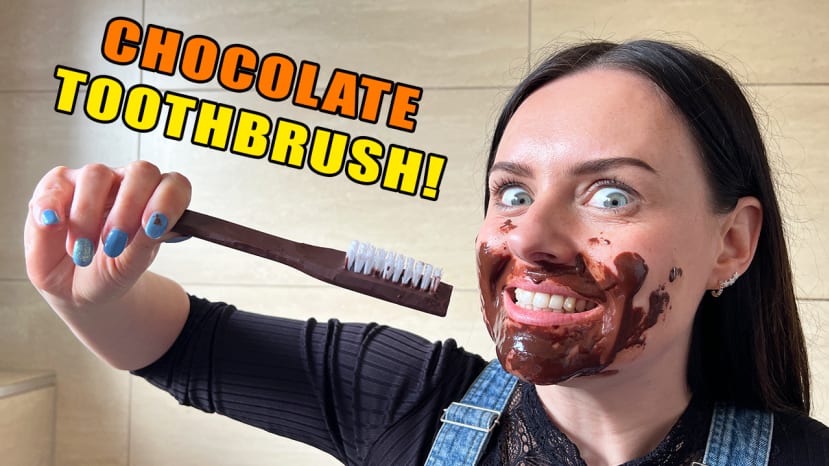
How to Make a Musical Chocolate Toothbrush
Follow projectHow do you feel about this article? Help us to provide better content for you.
Thank you! Your feedback has been received.
There was a problem submitting your feedback, please try again later.
What do you think of this article?
 Here's how to create your own music-playing chocolate toothbrush, using a MakeyMakey board - for those times when you really want to upset your dentist!
Parts list
| Qty | Product | Part number | |
|---|---|---|---|
| 1 | Makey Makey Invention Kit Classic | 210-1380 | |
| 1 | Conductive Stainless Thread (50-60O) | 247-3238 | |
| 1 | Toothbrush | ||
| 1 | Nail Brush | ||
| 1 | 100g Chocolate Bar | ||
| 1 | 2-part Silicon Moulding Kit | ||
| 1 | Tray or other receptacle for moulding | ||
This is a pretty simple project, but the end result is very satisfying and has loads of potential to be customised. Plus it involves chocolate, so that's a win.
Step 1:
Use tweezers or pliers to de-bristle your toothbrush. This bristle-less toothbrush will give us the toothbrush shape we're going to create our silicone mould around.
Step 2:
Lay out your moulding tray and add your de-bristled toothbrush to the tray. We used a silicone tray for this, but any flat tray you don't mind sacrificing should do the trick (as you may need to cut it to remove your mould).
Step 3:
Mix your two-part silicone compound as per the kit instructions (typically a ratio of 50:50) and then pour it into your tray, bringing the level just above the surface of the toothbrush.
Step 4:
Leave your silicone to set, as per your moulding kit instructions (typically around 3 hours).
Step 5:
Remove your set mould from the tray.
Step 6:
Carefully remove your donor toothbrush from the mould. A scalpel or knife is helpful to allow you to carefully cut away the base of the mould to expose the toothbrush.
Step 7:
Cut a 1-metre length of conductive thread using scissors.
Step 8:
Using a handsaw, jigsaw or bandsaw, cut a small section of bristles from your nail brush, at an appropriate size to play within the mould to act as your toothbrush bristles.
Step 9:
Drill a small hole in your bristle section to allow you to poke through the end of the conductive thread; creating a single conductive brush bristle.
Step 10:
Melt your chocolate by placing a heatproof dish in a pan full of boiling water.
Step 11:
Pour your melted chocolate into the mould until you have a layer of chocolate approximately 3mm deep. Then insert your bristle section, laying the conductive thread along the length of the mould, creating a long trailing end of thread out of the end of the brush handle.
Step 12:
Pour additional chocolate into the mould, covering the bristle section base and the conductive thread.
Step 13:
Place the chocolate-filled mould in the fridge for around 1 hour until set.
Step 14:
Follow the MakeyMakey kit instructions to connect your MakeyMakey board to your computer.
Step 15:
Remove your mould from the fridge and carefully release your chocolate brush from the mould, using a knife to tidy up any messier chocolate edges.
Step 16:
Clip one of your MakeyMakey crocodile clips to the end of your conductive thread.
Step 17:
To play sounds using the toothbrush you can either use existing sounds available through the MakeyMakey projects and tutorials, or you can use the 'Click' option on the MakeyMakey board and use it to trigger sounds in your own audio software. We used the free JinglePalette software (https://jinglepalettereloaded.com/). We found that the green 'Touch Play' option worked best in JinglePalette.
Step 18:
Brush your teeth with chocolate and experiment with different ways to trigger and play music from your wonderfully impractical DIY tooth-cleaning device!


Comments