How to build industrial open source motion control for a robotic arm - part 1
Follow articleHow do you feel about this article? Help us to provide better content for you.
Thank you! Your feedback has been received.
There was a problem submitting your feedback, please try again later.
What do you think of this article?
When industrial automation begins to incorporate open source hardware solutions, like those provided by Industrial Shields, a new range of possibilities opens up. RS Components, together with Industrial Shields, wanted to demonstrate the advantages of open source hardware combined with the reliability of industrial standards.
Naturally, the field of robotics seemed like the perfect way to showcase what open source hardware can do, opening also to smaller companies the doors of robotics which has been so far accessible only from the larger ones.
The project followed four steps:
- The idea: to develop an open source motion control system suitable to be applied to a robotic arm.
- The real test: to bring the robotic arm in a real industrial environment to test the motion control system. (Part 2)
- The industrial integration: to transfer the motion control system to a real industrial robotic arm.
- The next step: to move forward dressing the robotic arm with sensors and smart tools for further applications and developments.
For the first part of the project, we involved the Italian maker and tech guru Massimo Temporelli to help create an exciting robotics project using the world’s first Arduino-based open source industrial controller, the Industrial Shields PLC, as the driving hardware.
Massimo Temporelli is President and Founder of The Fablab, a shared digital fabrication workshop and a central hub for maker culture in Italy. For 20 years he has worked at the intersection of science, technology, and innovation, bringing his expertise to universities, top museums, publications, and on television, radio, and the web. His latest book, Innovatori!, explores the mindsets and perspectives of the world’s biggest innovators.
For this project Massimo was tasked with building a robotic arm capable of being used in sophisticated industrial automation applications. The complexity of a robotic arm with several components which have to be logically controlled to obtain smooth and precise movements was exactly the kind of challenge we were looking for to demonstrate the Industrial Shields PLC capabilities.
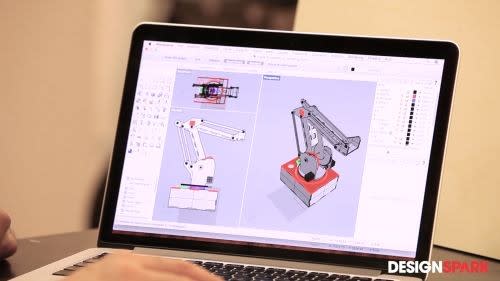
Thanks to open source hardware solutions like the Industrial Shields PLC and support from the maker community, it’s easier than ever to build an industrial robotic arm. We started with an open source design from Ruc Fablab in the Netherlands, who provides all of the mechanical designs and Arduino code needed for the project. In the spirit of working out of a fablab we naturally wanted to make some slight modifications to the original design from Ruc.
All the modified designs together with the customised Arduino code and ready to be 3D printed STL files for this cool project are available for free download at the the end of this article!
The controller powering the robot will be the open source Industrial Shields M-Duino PLC.
When choosing the building materials for the robot, we thought it would be interesting to use a natural material like wood to provide a fun contrast with the technical nature of the project, making the robot appear bit more friendly.
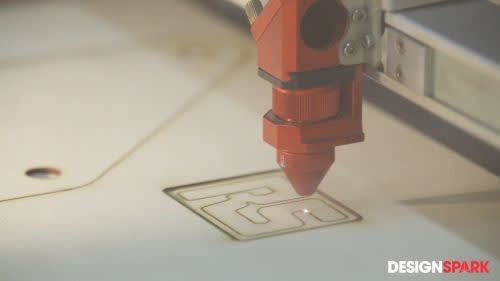
Once we have selected our building material, it’s time to go to the laser cutter to cut it into the shapes we need. In just a few minutes, the laser cutter cuts out all of the mechanical parts needed for the robotic arm.
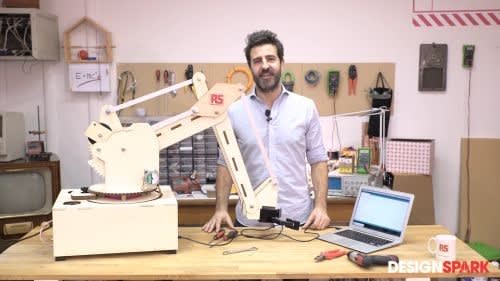
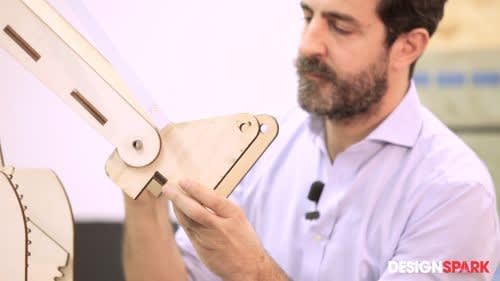
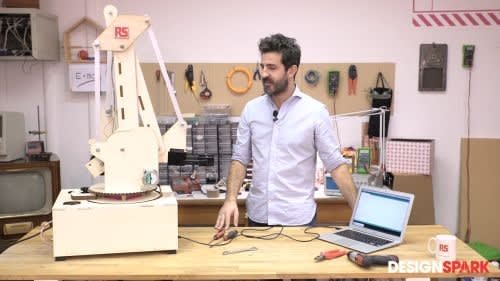
Thanks to the clever design, putting together all of the individual laser cut pieces is remarkably quick and simple. In just 25 minutes Massimo was able to build the entire robotic arm.
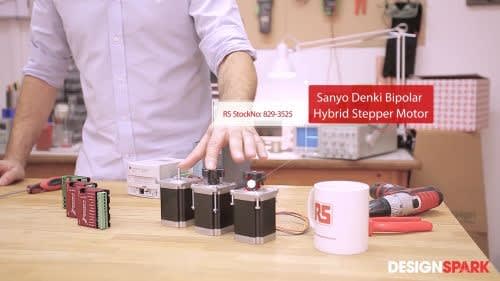
Once the laser cut pieces are all assembled, it’s time to insert the electronics components needed to power and drive the arm, including stepper motors and drivers, then of course the Industrial Shields PLC for piloting the robot.
Here are the individual components needed:
- 3 Sanyo Denki Bipolar stepper motors, one for each axis RS Stock No: (829-3525)
- 3 Geckodrive stepper motor drivers RS Stock No: (793-4127)
- 2 3D-printed clamps (download files below)
- 2 Parallax Inc servo motors RS StockNo: (790-5220)
- 1 Siemens SITOP DIN rail power supply RS Stock No: (776-7729)
- 1 Industrial Shields M-DUINO PLC RS Stock No: (885-0926)
- 1 Reel white automotive wire 0.5mm2 RS Stock No: (369-4800)
- 1 Reel black automotive wire 0.5mm2 RS Stock No: (369-4771)
- 1 Reel red automotive wire 0.5mm2 RS Stock No: (369-4787)
- 1 Reel green automotive wire 0.5mm2 RS Stock No: (369-4793)
3D models of all 3D printed parts are available for FREE download at the end of this article
After all of the electronic components are installed and wired, the next step is to transfer the instructions from the computer to the robot using a normal connection cable. Now the robot is all assembled and ready to work!
Of course, the real test of the project will be using the robotic arm in an industrial setting. For this second part of the project Massimo Temporelli will take the assembled robot to the RS Components warehouse in Milan to demonstrate its capabilities for real-world industrial applications.



Comments