#WhereIsMyBus
Suivez l'articleQue pensez-vous de cet article ? Aidez-nous à vous fournir un meilleur contenu.
Merci! Vos commentaires ont été reçus.
There was a problem submitting your feedback, please try again later.
Que pensez-vous de cet article ?
Fed up of waiting in the rain for your bus? Get distracted by emails and social media when you check the bus times app on your phone?
#WhereIsMyBus is designed for you!
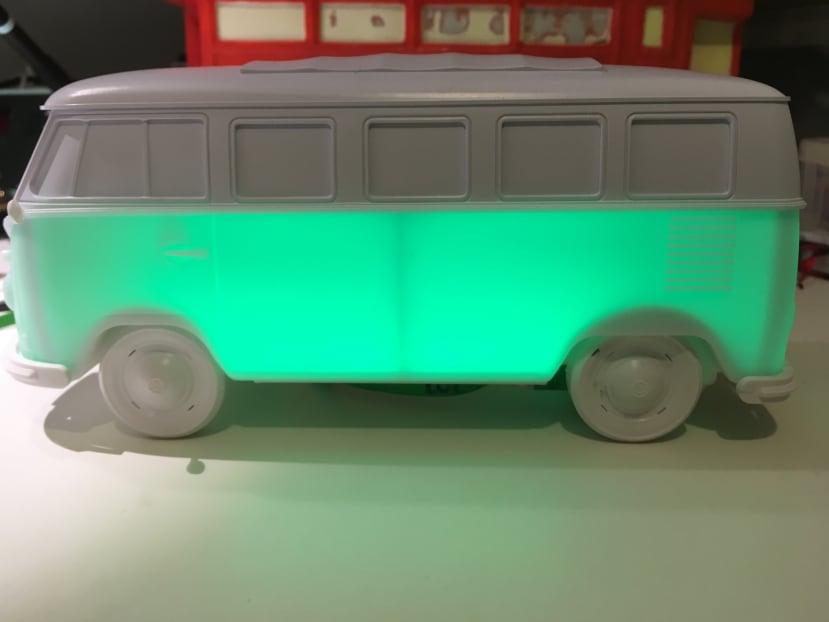
- A visual alert to tell you to leave for the bus stop – and your bus will miraculously arrive just after you do.
- #WhereIsMyBus will also warn you if there are no buses running, so you can make other plans.
- And if that isn’t enough, when it is not in use as a bus alert, it becomes a #Cheerlights lights.
Not available in the shops – but here are the secret instructions to make your own …
TOP SECRET INSTRUCTIONS THEY DO NOT WANT YOU TO HAVE
For this project you will need to do a small amount of soldering and the following:
- Raspberry Pi connected to the Internet
- *ESP8266 device such as - Adafruit Feather HUZZAH inc ESP8266 WiFi
- *Other ESP8266 options -
- WeMos D1 Mini (https://www.wemos.cc/product/d1-mini.html),
- Adafruit Huzzah https://www.adafruit.com/product/2471
- Feather Huzzah https://www.adafruit.com/products/2821
- Strip of eight neopixels https://www.adafruit.com/products/1461
- Wires to connect WeMos pins to Neopixel.
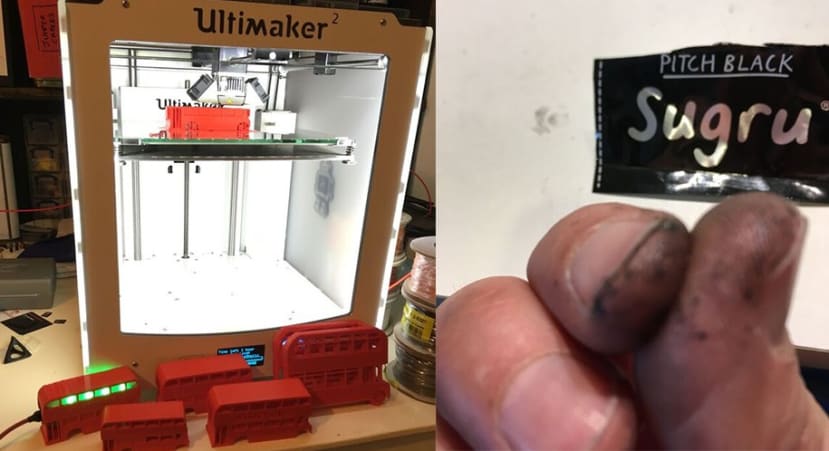
- Sugru for sticking everything together
- Something to use as a Neopixel diffuser, such as: - 3D printed bus
Raspberry Pi Setup
Connect the Pi to your wifi and find the IP address of it. (You can find it by hovering the mouse over the wifi icon on the top right of the screen or by typing “ifconfig” into a terminal window:
ifconfig
The Internet address is likely to be listed by the Wlan0 block – it should look something like “inet addr:192.168.1.XX”
You need to make sure your Pi is up to date and has some extra software on it. Type these instructions into a terminal window. Some take a long time to install and require you to respond with y/n.
sudo apt-get update
sudo apt-get dist-upgrade
sudo systemctl enable nodered.service
sudo apt-get install mosquitto
sudo reboot
The Pi can now be run “headless” – it no longer requires a monitor, keyboard or mouse to be connected.
On another computer connected to the same wifi network, type in the IP address:1880 (type the actual IP address of the Pi e.g. 192.168.1.13:1880). The Node-RED flow page will be shown.
Node-RED is a visual flow programming tool – there is more information about it at www.nodered.org
Get the Node-RED flow here -
https://github.com/DrLucyRogers/WhereIsMyBus/blob/master/WhereIsMyBusNodeRedFlow
Click on Raw
Copy all the code to the clipboard.
In the Node-RED flow page click on the Menu (three horizontal lines at the top right)
Click Import
Click Clipboard
Paste the flow into the grey box
Click Import
Click somewhere on the flow screen (white area in the middle) to drop the code.
Click Deploy
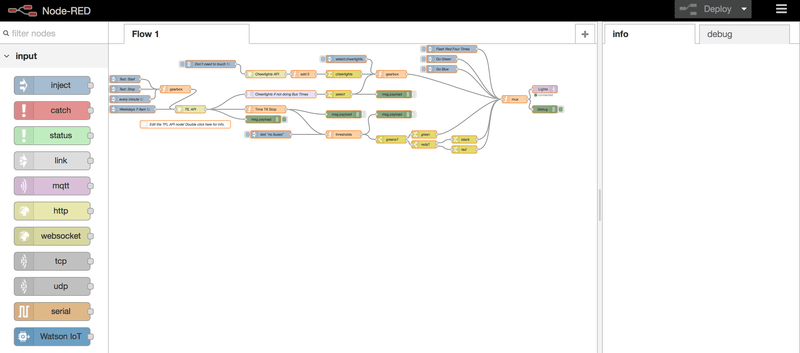
You should now have something that looks like this:
Double click the white “Edit the TFL API node! Double click here for info.” Node for instructions on how to get the bus route, bus stop and direction information that you need.
Double click the “TfL API node” and edit the URL with the information you require.
Click Deploy
That’s the Pi done!
If you want to change the 3-6 minute threshold, adapt the Function node labelled “thresholds”.
For more information on what each node does you’ll have to buy the book “Wiring the IoT” by Lucy Rogers and Andy Stanford-Clark http://shop.oreilly.com/product/0636920049104.do#
Hardware
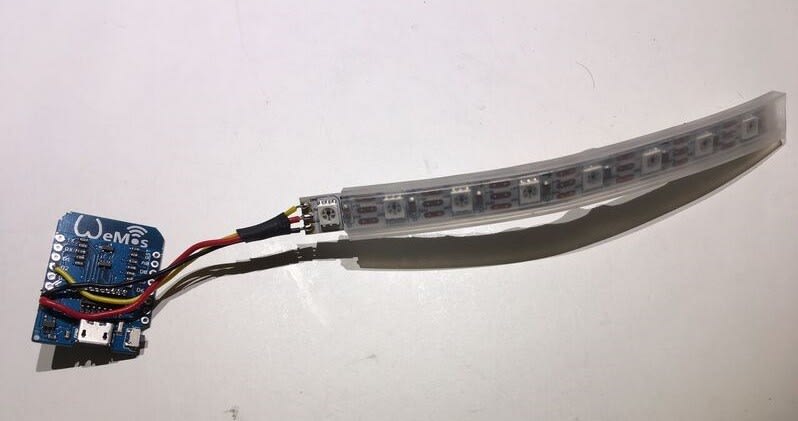
Solder a wire between:
- +5V of the neopixels and the WeMos.
- Gnd of the neopixels to the Gnd of the WeMos
- Data In (DIN) of the neopixels to the Pin 4 (D2) of the WeMos
WeMos Code:
Use the latest open-source Arduino Software (IDE). You can download it here: https://www.arduino.cc
Plug the WeMos into your computer using a USB cable.
You will need to install the following - the readme files have installation instructions.
- https://github.com/esp8266/Arduino/blob/master/libraries/ESP8266WiFi/src/ESP8266WiFi.h
- https://github.com/knolleary/pubsubclient
- https://github.com/adafruit/Adafruit_NeoPixel/blob/master/Adafruit_NeoPixel.h
In the Tools menu:
- Select the "WeMos D1 R2 & mini" board in the board manager menu.
- Select CPU frequency: 160MHz
- Select Flash Size 4M (3M SPIFFS)
- Select: Upload speed 115200
- Port: – make sure this is the correct one
Download and open the Arduino file busLocalPiv3.ino
In the code, replace the ****’s in
const char* wifi_ssid = "****"
and
const char* wifi_password = "****"
with your wifi name (ssid) and password.
Update
#define BROKER "192.168.1.28"
with the IP address of your Pi:
If you want to use more than one WeMos connecting to the Pi, each must have a unique CLIENTID. It can be whatever you want.
e.g. #define CLIENTID "BusWeMos1"
3D Printed bus (Optional)
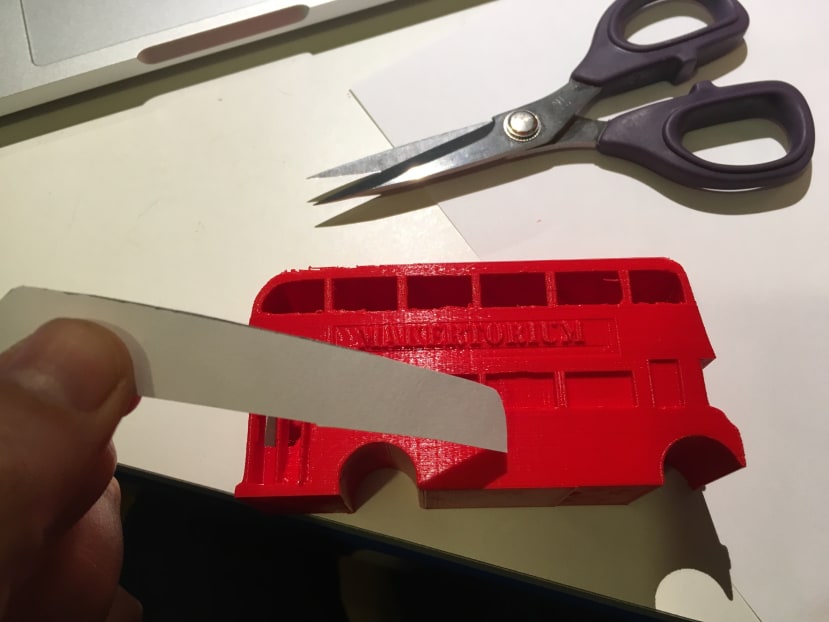
Print the file 20161111BusShellj.stl (the shell of the bus) and two lots of 20161111Wheels2.stl (the wheels).
The inside of the upstairs windows can be covered with plasticard to diffuse the neopixel light.
Hacked Camper Light (Optional)
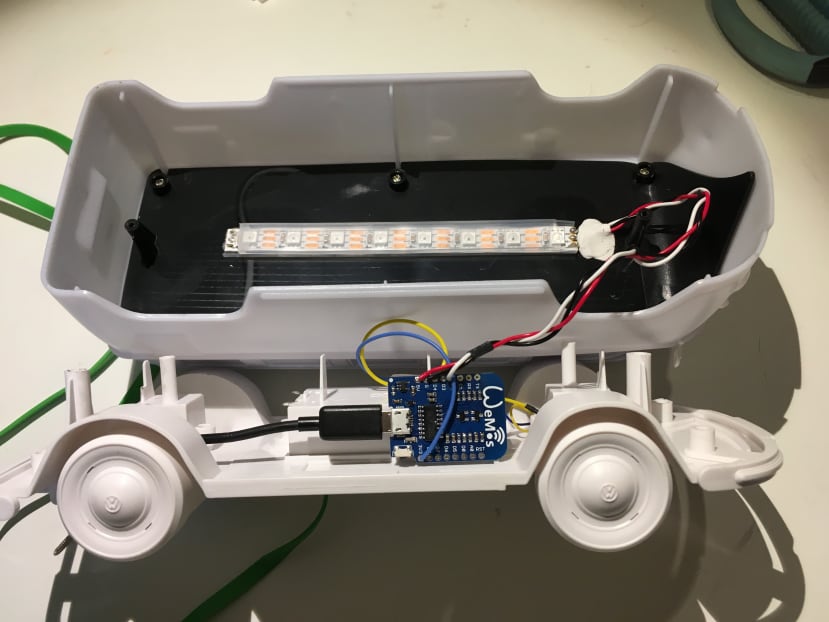
Take a light, such as http://www.robertdyas.co.uk/vw-camper-van-light, open it up and remove the electronics that are already in it.
Stick the neopixels to the inside top, and place the WeMos inside the camper. Use a micro USB extension to connect the Pi to the USB socket in front of the back wheels.
Credits:
- Arduino Code - BusLocalPiv3.ino by Andy Stanford-Clark with contributions by James Macfarlane and Lucy Rogers
- Node-RED flow - Lucy Rogers and Andy Stanford-Clark
- 3D print bus STL files - Steve Cox for initial design, Lucy Rogers for adaptations. Also thanks to Luke Webster-Scott and Joy Choudhuri from DesignSpark who helped with the first bus prototypes.




Commentaires