XinaBox Weather Station with ubidots Cloud
Follow project Dave from DesignSpark
How do you feel about this article? Help us to provide better content for you.
Dave from DesignSpark
Thank you! Your feedback has been received.
Dave from DesignSpark
There was a problem submitting your feedback, please try again later.
Dave from DesignSpark
What do you think of this article?
 Zerynth, XinaBox and ubidots Cloud are practical tools for IoT prototyping. This article is designed to help you program XinaBox to collect SW03 sensor weather data and connect to the ubidots cloud to display data on ubidots dashboard.
Parts list
| Qty | Product | Part number | |
|---|---|---|---|
| 1 | XinaBox SW03, Weather Sensor Module for MPL3115A2 | 174-3746 | |
| 1 | XinaBox xCHIP Wi-Fi & Bluetooth Core Module CW02 | 174-3702 | |
| 1 | XinaBox, USB Programming Interface Module for FT232R - IP01 | 174-3703 | |
| 1 | Zerynth Studio | ||
| 1 | ubidots | ||
For Chinese version, please visit at <实例 - XinaBox气象站和ubidots云>.
What is XinaBox?

XinaBox is modular electronics with different core modules and sensor modules. It does not require wires, soldering, breadboard or hardware knowledge, so allowing you to prototype in a short time. This project uses the CW02 core module and the SW03 sensor module. The CW02 is a core module with an ESP8266 / ESP-12F Wi-Fi chip. SW03 is a weather sensor module for collecting data from the surrounding environment.
For information on XinaBox, please visit https://xinabox.cc/pages/overview.
What is Zerynth?
According to Zerynth, "Zerynth is a software toolkit that allows programming of the most popular 32-bit microcontrollers in Python or mixed C/Python". Therefore, you can use Zerynth to write 32-bit microcontrollers, such as XinaBox, without touching C code, which reduces complexity. From Zerynth support, you can see what devices are supported by Zerynth.
For information on Zerynth, please visit https://www.zerynth.com/.
What is ubidots?
ubidots is the cloud platform of the Internet of Things. Its main functions include data capture, analysis visualization and rule management. The ubidots GUI is simple and easy to use. You can build your own dashboard to display the data, which ubidots receives. With the APIs in ubidots, you can connect your devices, capture sensor data and visualize your data in just a few steps. Most importantly, it is free.
For information on ubidots, please visithttps://ubidots.com/.
The first step: Hardware Assembly
Connect the module as shown below:
- Connect XinaBox CW02 to the USB programming interface module IP01.
- Connect the SW03 weather sensor to the CW02.

If you are interested in hardware, please visit the XinaBox CW02 technical specifications or the Zerynth Doc for more information.
Step 2: Setting up Zerynth Studio
Zerynth Studio is an IDE that supports writing embedded hardware in Python. It is free and cross-platform, and supports Windows 64-bit, Linux 64-bit and Mac OS X. Click on the link below to download the installation file for your PC OS.
Download Zerynth Studio: https://www.zerynth.com/zerynth-studio/
Easy installation in just a few steps. Click the link below to check the installation guide.
Zerynth Studio Installation Guide:
https://docs.zerynth.com/latest/official/core.zerynth.docs/installationguide/docs/index.htmlStep
Step 3: Programming XinaBox CW02
Setting up the device in Zerynth Studio
After installation, launch the Zerynth Studio.
Following the steps mentioned in Zerynth Docs,
Link: https://docs.zerynth.com/latest/official/core.zerynth.docs/gettingstarted/docs/index.html
- Create a User Account to access Zerynth
- Connect the XinaBox to your PC
- Select the XinaBox CW02 (ESP32) on Device Management Toolbar in Zerynth Studio (unplug and plug it again if XinaBox CW02 is not shown; also ensure the driver is installed).
- Register the device by clicking the "Z" button from the Zerynth Studio.
- Create a Virtual Machine for the device by clicking the "Z" button for the second time.
- Virtualize the device by clicking the "Z" button for the third time.

Steps are shown in the video (are the same as CW02).
After that, you are ready to program the XinaBox.
Collecting data from SW03 weather sensor
If you encounter any difficulties in this section, you can refer to the Getting Started Guide.
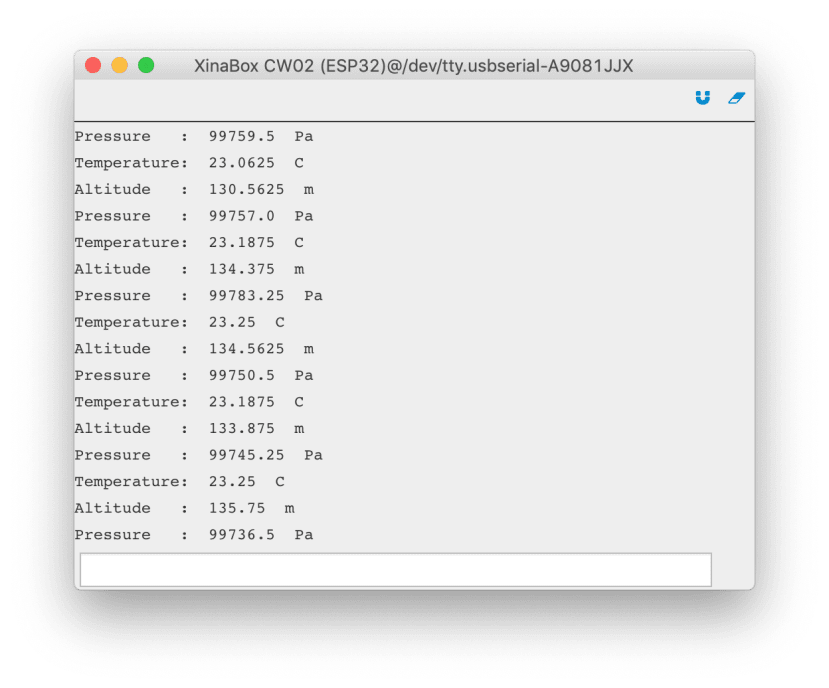
The program code can be found in Zerynth Studio. It's easy. In Zerynth Studio, you simply navigate to "Examples" and search for "SW03", clone the "data environment" project and upload the program to XinaBox. The data output of the program code can be viewed in the console.
##############################################
#   This is an example for SW03 ambient
#   temperature, altitude and pressure
#   sensor.
#
#   Ambient temperature, altitude and pressure
#   is measured and printed out on the console.
##############################################
import streams
from xinabox.sw03 import sw03

streams.serial()

# SW03 instance
SW03 = sw03.SW03(I2C0)

# configure SW03
SW03.init()

while True:
    temp = SW03.getTempC()      # return temp in degree celcius
    alt = SW03.getAltitude()    # return alitude in meters
    pres = SW03.getPressure()   # return pressure in pascals

    print('Temperature: ', temp, ' C')
    print('Altitude   : ', alt, ' m')
    print('Pressure   : ', pres, ' Pa')

    sleep(1000)
Console:
Step 4: Setting up ubidots
Creating an account in ubidots
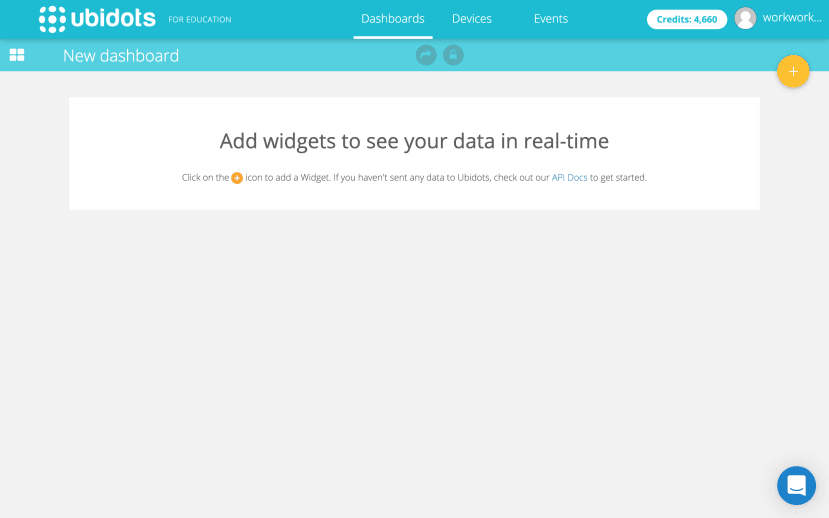
Register your account by using your email address, selected username and password at https://app.ubidots.com/accounts/signin/. After logging in, you will see a similar page below.
Connecting your device
You must first create a new "Device" and "Variables" to receive data published by the device. Click on "Devices" → "Add Device" and type in the desired name (e.g. xinabox). Click on the Device you just created and you can see something similar below.

Next, create a new variable to enable ubidots to receive content sent by the device. Click "Add Variable" → "Default" and enter the name of the variable as "temperature" as shown below.

Step 5: Sending random data to ubidots
Launch Zerynth Studio and look for "Ubidots → IOT → Controlled publish period" in "Examples", or you can download the attachment at the bottom of this page.
look at the folder of this project,

Code for main.py:
# Ubidots Controlled publish period
# Created at 2017-10-03 08:49:48.182639

import streams
import json
from wireless import wifi

# choose a wifi chip supporting secure sockets
from espressif.esp32net import esp32wifi as wifi_driver

# import ubidots iot module
from ubidots.iot import iot

# import helpers functions to easily device configuration
import helpers

# SET DEVICE CONFIGURATION INSIDE THE FOLLOWING JSON FILE
new_resource('device.conf.json')

# define a callback for period updates
def period_callback(value):
    global publish_period
    print('requested publish period:', int(value))
    publish_period = int(value)

streams.serial()
wifi_driver.auto_init()

print('connecting to wifi...')
# place here your wifi configuration
#### !!!! Change HERE !!!!
wifi.link("SSID",wifi.WIFI_WPA2,"PSD")

device_conf = helpers.load_device_conf()
publish_period = 1000

# create ubidots iot device instance, connect to mqtt broker, set variable update callback and start mqtt reception loop
device = iot.Device(device_conf['device_label'], device_conf['user_type'], device_conf['api_token'])
print('connecting to mqtt broker...')
device.mqtt.connect()

device.on_variable_update(device_conf['device_label'], 'publish_period', period_callback, json=False)
device.mqtt.loop()

while True:
    print('publish random sample...')
    device.publish({ 'value': random(0,10) }, variable='temperature')
    sleep(publish_period)
Look at the code for main.py. This function
device.publish({ 'value': random(0,10) }, variable='temperature')will send the MQTT packet contained payload { 'value': random(0,10) } to ubidots. It is a function sent data to ubidots.
In main.py, you need to change the value of 2 variables, the SSID and PSW on line 31.
# place here your wifi configuration
wifi.link("SSID",wifi.WIFI_WPA2,"PSW")
SSID and PSW (password) are in your Wi-Fi network setting. I use my mobile phone as a Wi-Fi hotspot, of course, my mobile phone is connected to the Internet (via 4G cellular network).
device.conf.json - store the configuration of the device, we need to modify the value of "device_label" and "api_token".
{
    "user_type": "educational",
    "device_label": "my-dev",
    "api_token": "api-token"
}
About "my_dev" and "api-token", which are the unique information used to authenticate devices in the cloud. You can get the unique device_label and api_token in ubidots.
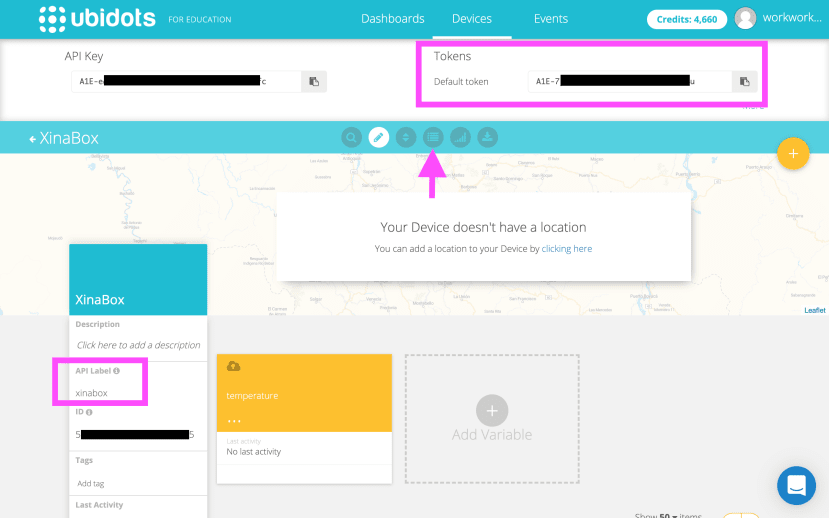
Go back to your browser. In the Device you created, click on the button pointed by the arrow to change the display mode, find the device_label "xinabox" on the left (be careful to the uppercase/lowercase). Click on the name in the upper right corner and click on "API Credentials" to copy the contents of the "Default token" to the api_token.
After modification, device.conf.json is as follows
{
    "user_type": "educational",
    "device_label": "xinabox",
    "api_token": "A1E-7xxxu"
}
After verifying this main.py file in Zerynth Studio, upload it to XinaBox. The result is as follows:


Step 6: Creating an online dashboard
In ubidots, you can decide which data to display and which methods to display the data at the Dashboard.
Check out the video to learn how to build a simple dashboard.
Step 7: Forward the SW03 sensor data to the ubidots.
We only need to integrate the above code to send the SW03 data to the ubidots Cloud. Sensor data transmission can be displayed in the ubidots dashboard.
This is the code for the merged main.py, which can also be downloaded from the attachment:
# test_20190813_ubidots
# Created at 2019-08-13 04:01:02.692687
#################### SETTING 1 <BEGIN> ####################
#################### Uploading data to Ubidots Dashboard
## Example: Ubidots Controlled publish period
import streams
import json
from wireless import wifi
# choose a wifi chip supporting secure sockets
from espressif.esp32net import esp32wifi as wifi_driver
# import ubidots iot module
from ubidots.iot import iot
# import helpers functions to easily device configuration
import helpers
# SET DEVICE CONFIGURATION INSIDE THE FOLLOWING JSON FILE
new_resource('device.conf.json')
# define a callback for period updates
def period_callback(value):
global publish_period
print('requested publish period:', int(value))
publish_period = int(value)
streams.serial()
wifi_driver.auto_init()
print('connecting to wifi...')
# place here your wifi configuration
wifi.link("Rxxxs",wifi.WIFI_WPA2,"axxx4")
device_conf = helpers.load_device_conf()
publish_period = 1000
# create ubidots iot device instance, connect to mqtt broker, set variable update callback and start mqtt reception loop
device = iot.Device(device_conf['device_label'], device_conf['user_type'], device_conf['api_token'])
print('connecting to mqtt broker...')
device.mqtt.connect()
device.on_variable_update(device_conf['device_label'], 'publish_period', period_callback, json=False)
device.mqtt.loop()
#################### SETTING 1 <END> ####################
#################### SETTING 2 <BEGIN> ####################
## Example: environmental_data, for SW03 weather sensor
## This is an example for SW03 ambient temperature, altitude and pressure sensor.
#import streams
from xinabox.sw03 import sw03
#streams.serial()
# SW03 instance
SW03 = sw03.SW03(I2C0)
# configure SW03
SW03.init()
#################### SETTING 2 <END> ####################
a=0
while True:
###### SW03 weather sensor <BEGIN> ######
temp = SW03.getTempC() # return temp in degree celcius
alt = SW03.getAltitude() # return alitude in meters
pres = SW03.getPressure() # return pressure in pascals
###### SW03 weather sensor <END> ######
sleep(1)
###### Publish data to Ubidots Cloud <BEGIN> ######
a=a+1
print('#', a)
print('Temperature: ', temp, ' C')
device.publish({ 'value': temp}, variable='temperature')
sleep(1000)
print('Altitude : ', alt, ' m')
device.publish({ 'value': alt}, variable='altitude')
sleep(1000)
print('Pressure : ', pres, ' Pa')
device.publish({ 'value': pres}, variable='pressure')
print(".\n\n\n")
sleep(publish_period)
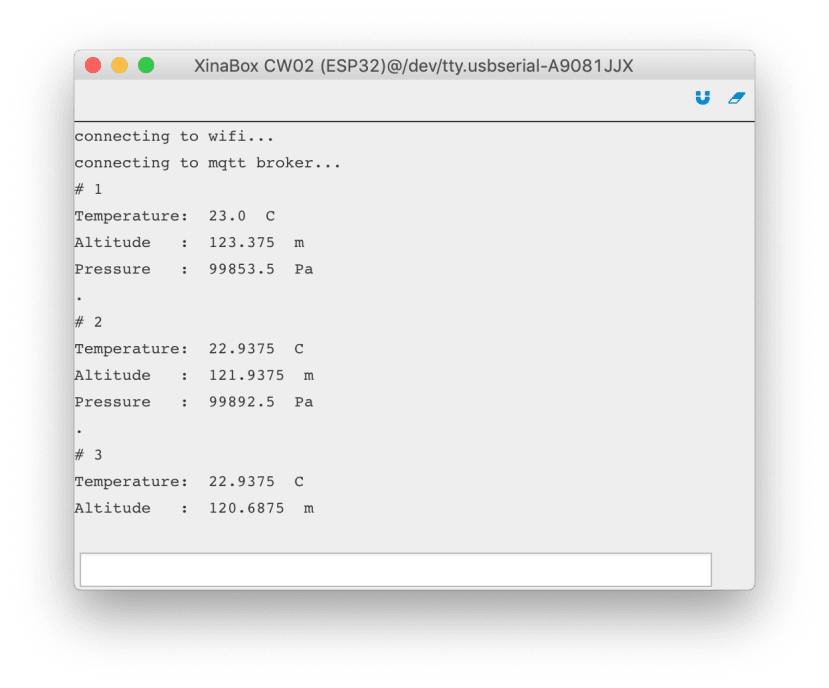
###### Publish data to Ubidots Cloud <END> ######Note: You must change the SSID, PSW in main.py and change the device_label and api_token in device.conf.json.
Result:

My articles
1. Building a Hill Fire Detection IoT with LoRa
2. Connecting XinaBox IoT with Zerynth to Cloud
Part 1: Introduction and Simple Example
Part 2: Uploading Data to OKdo Cloud and Visualising Data