What you can do in 10 minutes: Add Gesture control to your Raspberry Pi
Follow article
 Dave from DesignSpark
How do you feel about this article? Help us to provide better content for you.
Dave from DesignSpark
Thank you! Your feedback has been received.
Dave from DesignSpark
There was a problem submitting your feedback, please try again later.
Dave from DesignSpark
What do you think of this article?
10 years ago you clicked with a mouse, now it’s all about touchscreen – but soon everything will be gesture controlled. Already an option on BMW and VW cars, amongst others, gesture control is being seen as the next HMI interface (what will be next!?).
Perfect for when you’re in the car and want to casually skip that embarrassing Spice Girls track you secretly love whilst sat at the lights, or you’re just feeling too happy for Radiohead.
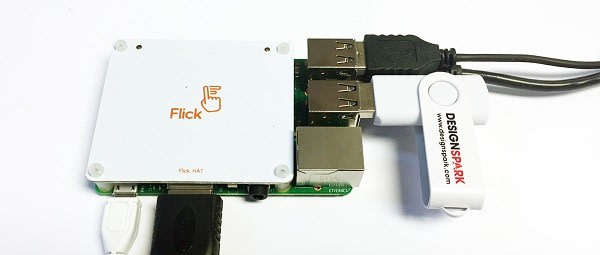
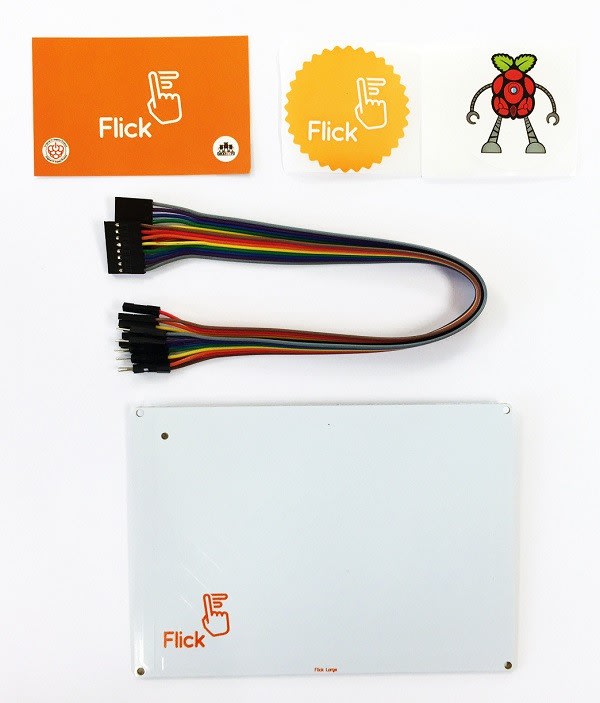
Based around the Microchip MGC3130 3D Tracking and Gesture Controller, the new Flick boards come in three flavours for the Pi Zero, the standard Pi HAT format or a larger pad which comes with a ribbon cable to connect it.
I chose the HAT format to see how the Flick board worked. After fixing the HAT to the Raspberry Pi 3 with the provided standoffs, I booted up the Pi. Our Pi is currently running Pixel and as this was tested prelaunch I had the files I needed on a memory stick. When you receive your Flick board, just run this line and Flick will be setup and installed:
curl -sSL https://pisupp.ly/flickcode | sudo bash
Once you’ve installed the board, Pi Supply has a flick demo script which reads the output of the HAT. It will output on the screen the actual position of what it's tracking, the reading of the gesture, east-west, north-south etc., touch and double tap.
My favourite, however, is the Airwheel. Scroll your finger round clockwise over the board and it will increase the value, and anti-clockwise left, good for controlling volume or dimmer functions.
Conclusion
This was a great addition to our Raspberry Pi and the simplest demonstration I’ve seen of the Microchip gesture control IC in action. If you are looking for a simple HMI for your next Pi project, the Flick board is a great place to start.