SnapMagic part finder - How do I download and import models into DesignSpark PCB?
Artikel folgen
 Dave von DesignSpark
Wie finden Sie diesen Artikel? Helfen Sie uns, bessere Inhalte für Sie bereitzustellen.
Dave von DesignSpark
Vielen Dank! Ihr Feedback ist eingegangen.
Dave von DesignSpark
There was a problem submitting your feedback, please try again later.
Dave von DesignSpark
Was denken Sie über diesen Artikel?
The following is a step by step guide on how to download and import 2D part models into DesignSpark PCB or DesignSpark PCB with an Engineer subscription from the SnapMagic (formerly known as SnapEDA) parts finder. Note that the screenshots have been captured from DesignSpark PCB v10.0.
A. Search and download DesignSpark PCB model from the SnapMagic parts finder:
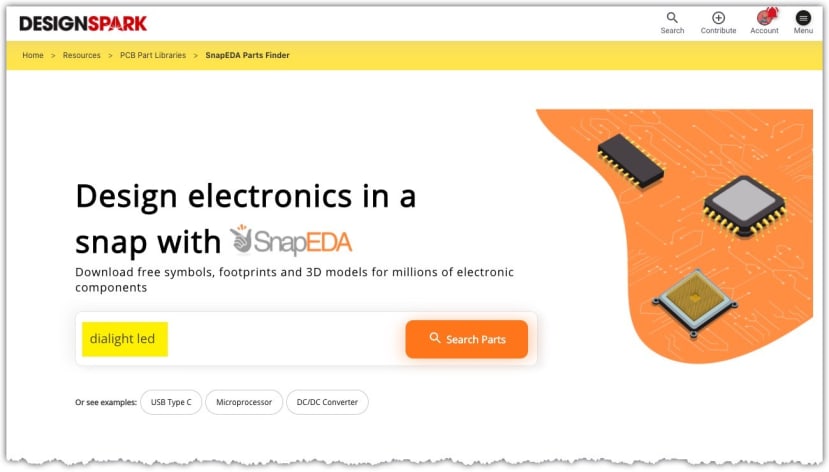
- Go to https://www.rs-online.com/designspark/snapmagic-parts-finder#/
- Search for the required component using a keyword or the manufacturer part number. For this guide, we will use a discrete LED from Dialight. We have the part number at hand (597-2311-407F). You can also search for it using ‘Dialight LED’.
- From the search results, open the part’s webpage by clicking the part number. Verify from the symbol and footprint image that it is what you are looking for.
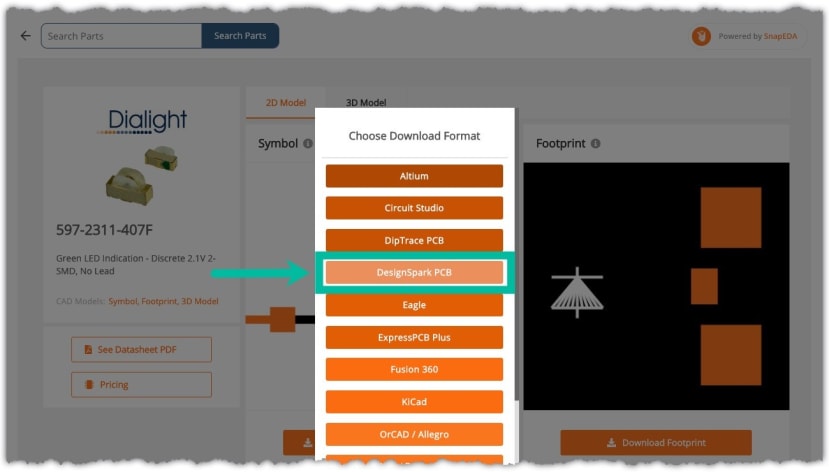
- Once you’re ready, click on ‘download symbol and footprint’ and then on the ‘DesignSpark PCB’ format button.
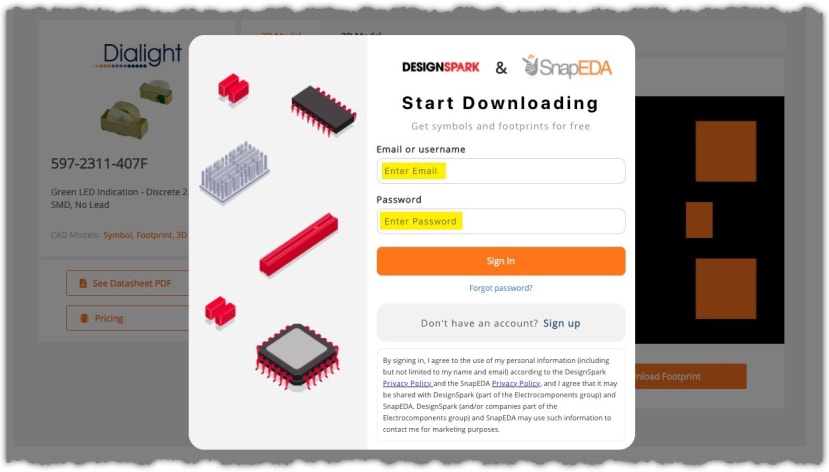
- You will now need to log in with your SnapEDA.com account to finish downloading. If you don’t have one, please sign up via the link.
- Once logged in, select your preferred folder to download this ZIP file containing the symbol and footprint to. In this case, we save it to the desktop folder.
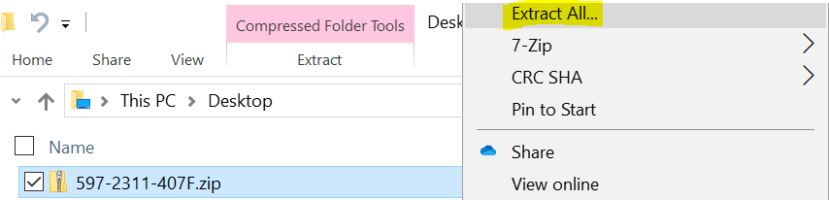
- On the desktop, locate this ZIP file, then right-click on it and select “Extract All”. The destination folder is also the desktop.
- Open this extracted folder and check that you have a file ending in a .DSL extension. This is the DesignSpark PCB native format for part models.


B. DSL Import.
You are now ready to insert the component into your DSPCB User Library.
This requires the import of the schematic symbol, the PCB footprint and the Component; the latter maps the schematic symbol to the footprint and adds the component ‘values’.
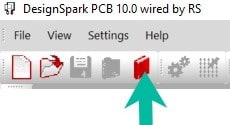
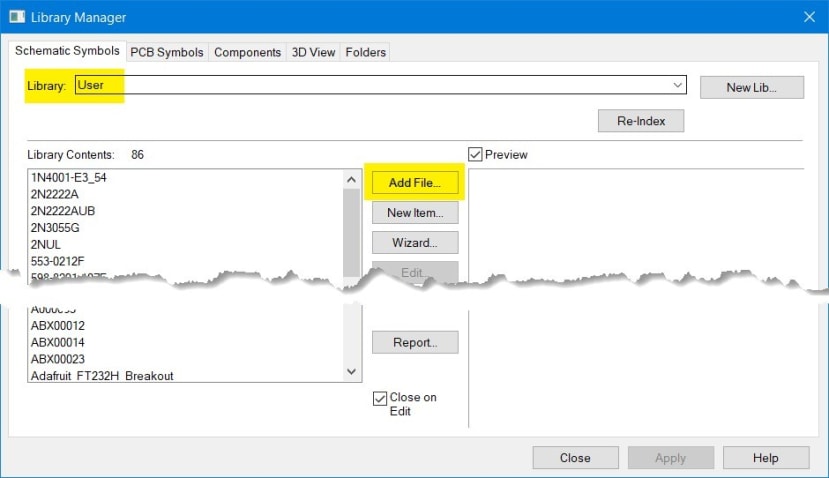
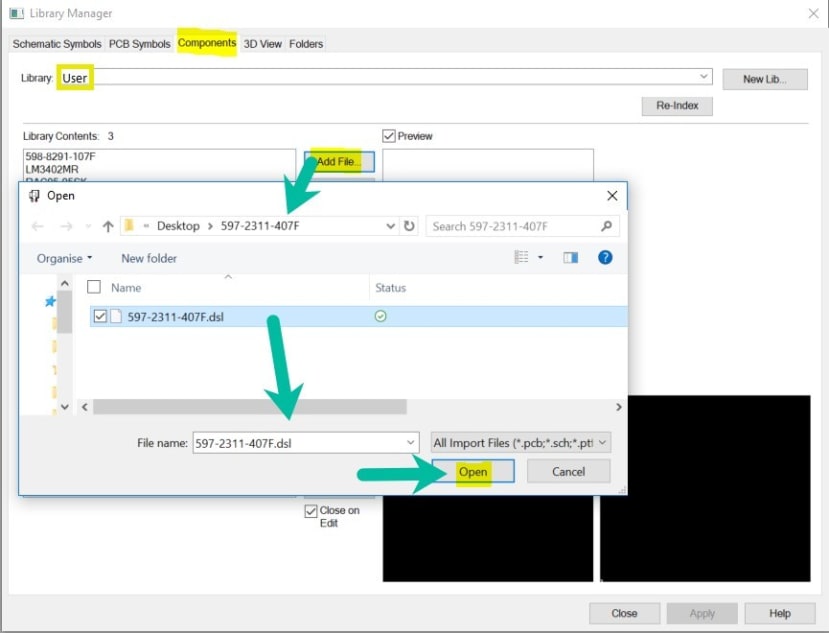
- Launch the Library Manager and select the “Schematic Symbols” tab. From the Library, pull-down options select your User library and then click on the “Add File” button.
- Browse to the folder where you extracted the .dsl file and select this, then click “Open”.
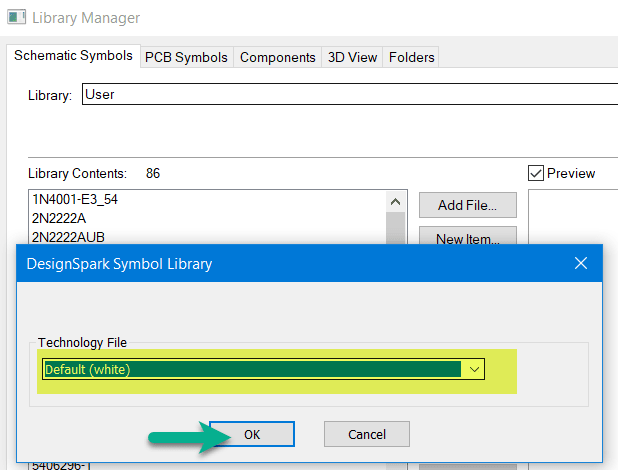
- You are now required to select the appropriate Technology File from the pull-down window, here we have selected “Default (white)”, then click the OK button.
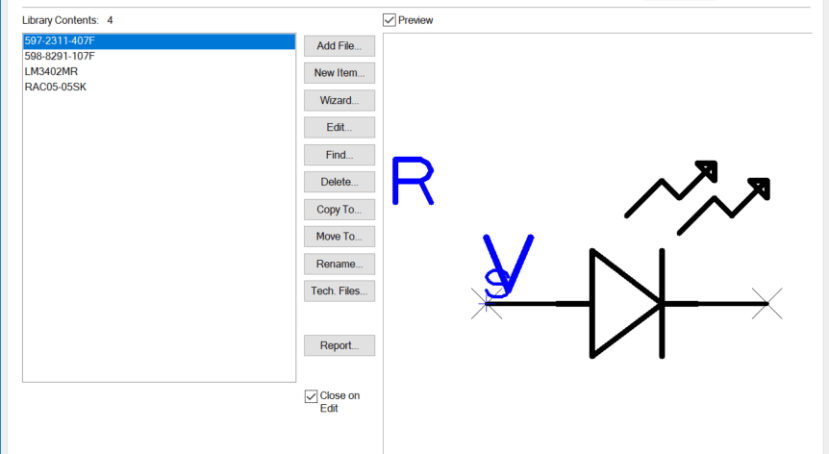
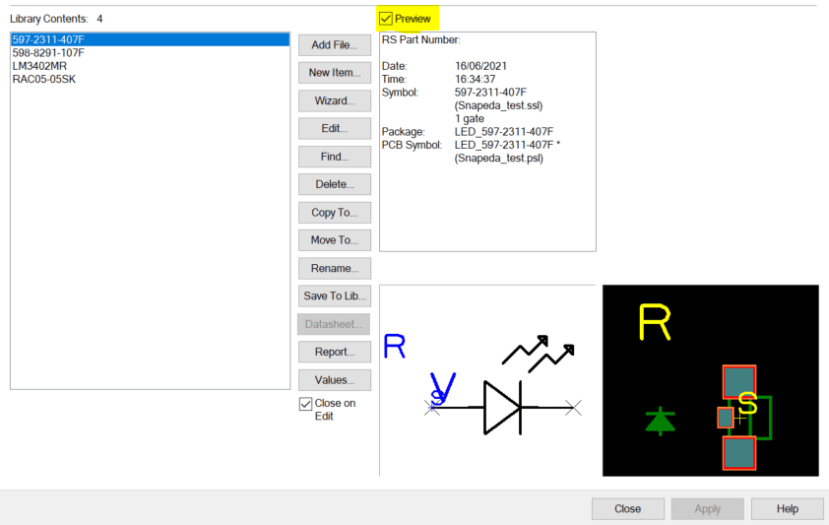
- The new symbol will now appear in your User library and if you click to highlight it and have the preview check box ticked the symbol will appear.
Now the schematic symbol is installed in your library you need to repeat the steps for the PCB footprint.
- Select the PCB Symbol tab, check your User library is selected, click “Add File”, select the same .dsl file as previously and click the “Open” button.
- We now need to select a Design Technology file and suggest the “Double Sided” which is imperial measurements or the “Double Sided (metric)”. It is not necessary to worry about which is selected as the DesignSpark PCB software will convert the symbol to the units and layers being used in the design.
- The footprint symbol is now extracted into your PCB Symbols User library. You can preview the footprint if you have the preview enabled and select the footprint.
- Finally, we extract the component information from the .dsl file.
Select the Components tab, check your User library is selected, click the “Add File” button, select the same DSL files and click “Open”. - The new component is added to the User library. Select the component and you will see a preview showing the schematic and PCB footprint along with the values listed.
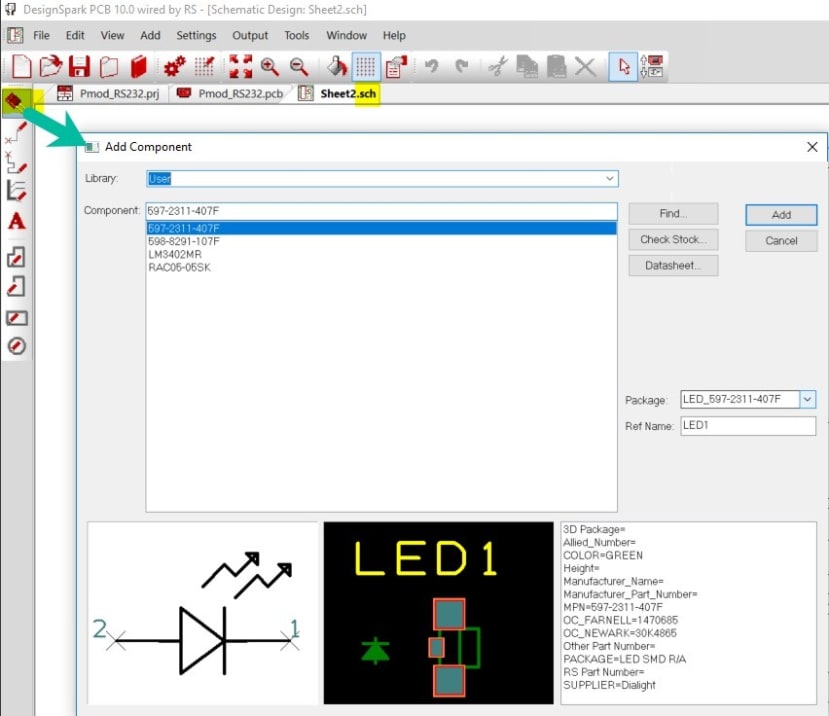
The component is now part of your library. - If you now have a project open in DSPCB and select the schematic sheet when you click “Add Component” and select the component from the User library you will see the same preview as above and can now click the “Add” button to insert it into your design.