Upgrading the Air Quality Application to the December 2022 Release
Follow articleHow do you feel about this article? Help us to provide better content for you.
Thank you! Your feedback has been received.
There was a problem submitting your feedback, please try again later.
What do you think of this article?
Latest release includes support for new sensors and new features such as a LAN dashboard.
A new Air Quality application device image for ESDK hardware is now available for download and includes a number of updates, including new features for the local device display and a brand new LAN web interface. In addition to which a bug was fixed which could cause the integrated display to not function if there was no Ethernet connection.
Upgrade steps
Since this upgrade involves writing out a new image, it’s important to first backup the configuration file, /boot/aq/aq.toml, along with any CSV logs in /aq/data/.
The latest image can be downloaded via:
https://downloads.designspark.io/projects/aq-device/images/aq-pi-011222.zip
Following which this can be written out to the Micro SD card using either the command line dd utility (Linux and Mac) or a graphical tool, such as balenaEtcher. Finally, the configuration file aq.toml can be copied back to the aq directory in the boot partition.
New sensors
Support has been added to the DesignSpark.ESDK library and in turn the aq-device application which uses this, for the following new ESDK sensor modules:
Thereby enabling sensing for a key atmospheric pollutant, a known carcinogen, and nuclear radiation. For further details, please see the above-linked articles. A small number of each of these boards is being assembled for the Air Quality beta community, but as with the rest of the ESDK platform, these are open hardware designs and anyone is free to assemble their own boards.
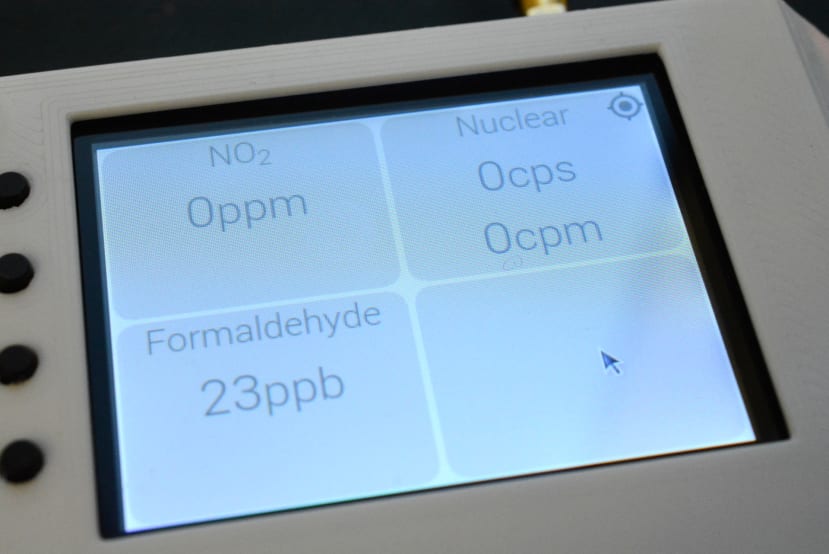
Since there was not sufficient space on the default screen to add panels for the new sensors, there is now a second sensor data screen — which can be seen above — and switching between the two is done using the ESDK inner two physical buttons. It’s possible that the application may be further extended in future to support additional sensors — either official modules, else third-party modules integrated via the plug-in mechanism — and more screens may be added in the same manner.
GPS status
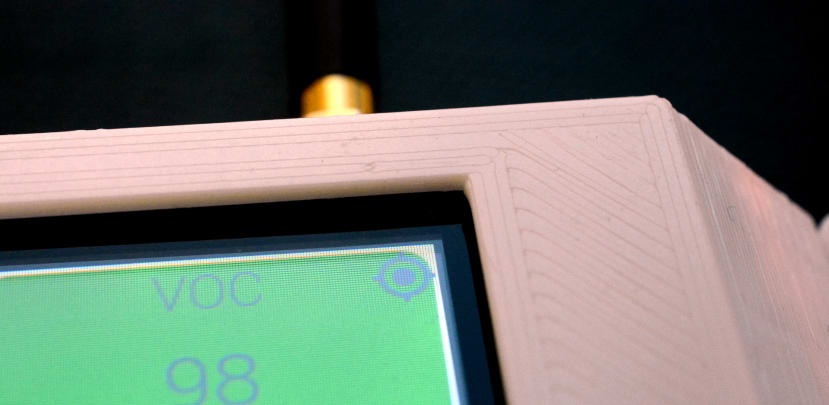
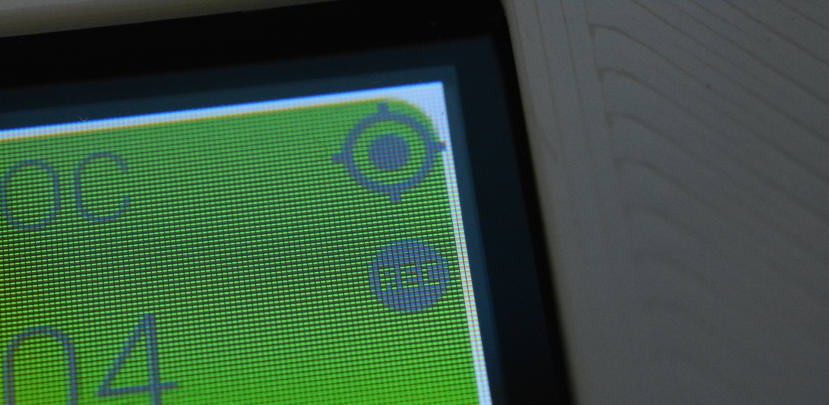
Those who make use of the GPS receiver will be pleased to learn that the local display now indicates when this has a position fix, via a small cross hairs icon which appears top-right.
CSV logging
Similarly, the local display also indicates when CSV logging is enabled. Logging can be enabled to start at boot time via aq.toml, and also toggled via the top physical button. However, please be aware that there can be a delay of a few seconds before the button press is registered and so repeatedly pressing this should be avoided.
Local debug
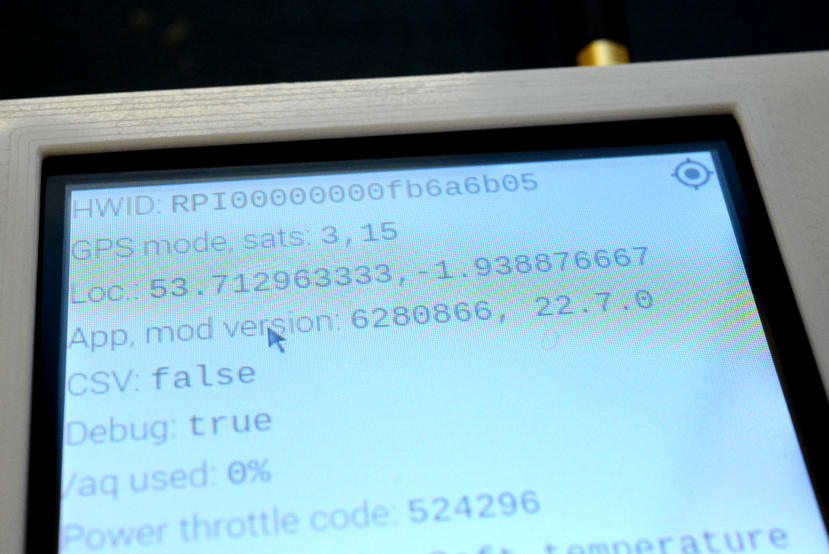
A debug screen may be accessed via a long press on the touch screen. The information provided here includes, if it is enabled, details of the GPS receiver mode and how many satellites it can see. Along with the location also, which if the GPS receiver is not enabled, is taken from aq.toml.
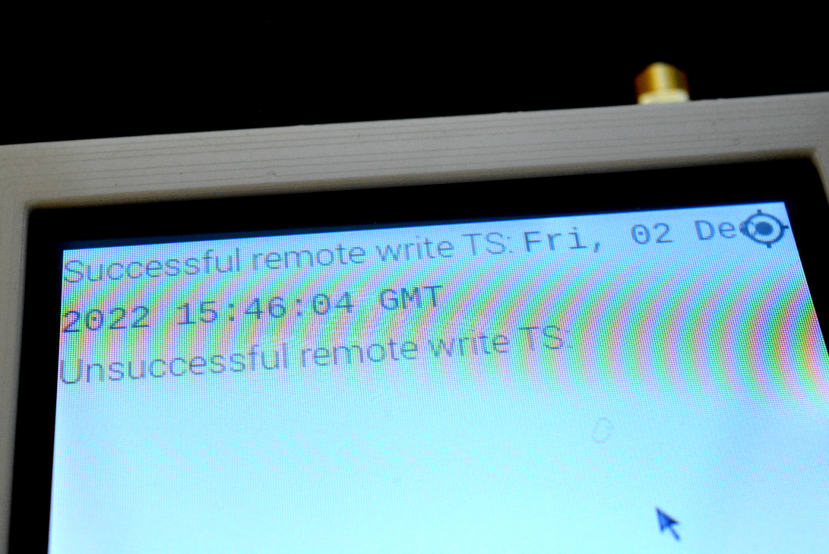
A second debug screen may be accessed via a short press and this provides details of the last successful and unsuccessful attempts at publishing data to the DesignSpark Metrics cloud.
Another long press on the touch screen will return to the sensor dashboard.
LAN dashboard
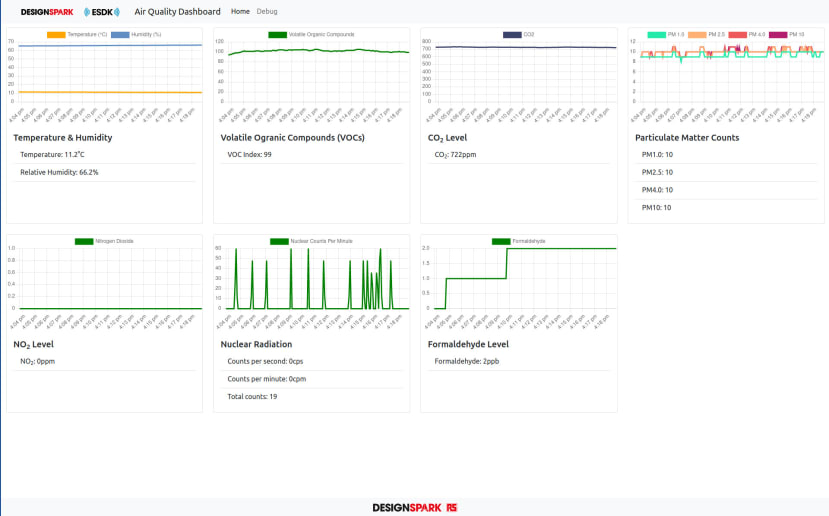
A major new feature in this release is a network dashboard, which provides the same information as the local dashboard, albeit over a LAN connection and with all sensor data plotted. Where a plot has multiple metrics these may be toggled on/off by clicking on the corresponding legend, which can prove particularly useful with sensors such as PM2, which provides four measurements.
The dashboard may be accessed via the URL:
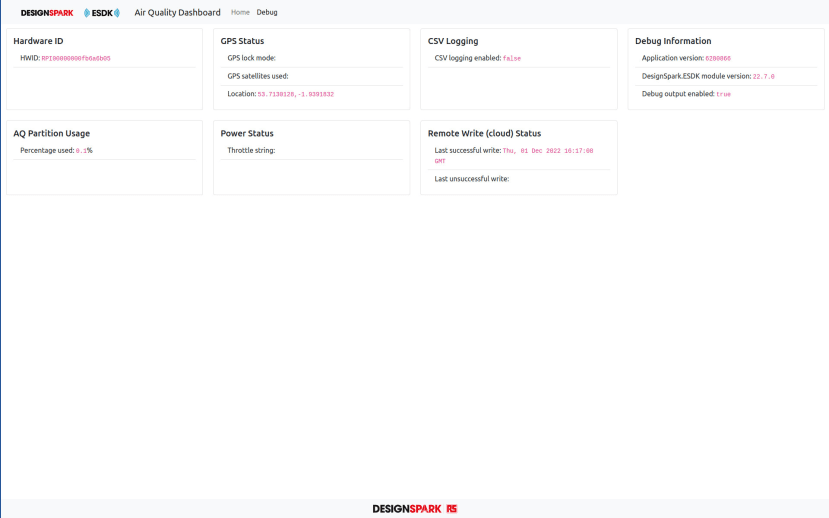
Debug information is also available via this interface and may be selected using the menu item.
See the above video for a demonstration.
Wrapping up
In this article, we’ve taken a look at the new features in the December 2022 release of the Air Quality device application and how to upgrade to this. As ever the official documentation should be consulted for all the configuration details.


