Smart glacier / Part 2: Final design
この記事を購読
 Dave from DesignSpark
こちらの記事について、内容・翻訳・視点・長さなど、皆様のご意見をお送りください。今後の記事製作の参考にしたいと思います。
Dave from DesignSpark
Thank you! Your feedback has been received.
Dave from DesignSpark
There was a problem submitting your feedback, please try again later.
Dave from DesignSpark
こちらの記事の感想をお聞かせください。
Intro: an amazing journey
It has been a long time since I redacted my last article. I would like to apologize for the delay. Anyhow, sometimes well-done things need some maturation and curation time to make them incredible. The Smart Glacier is the most complete project that I have developed in my designing career. From the concept to beginning coding so its connections run A-OK. This has been an incredible experience that has taken me out of my comfort zone. This has also been a dream becoming true. For the past few years, I have had in mind to develop a project that contains electronics and this one hit the key.
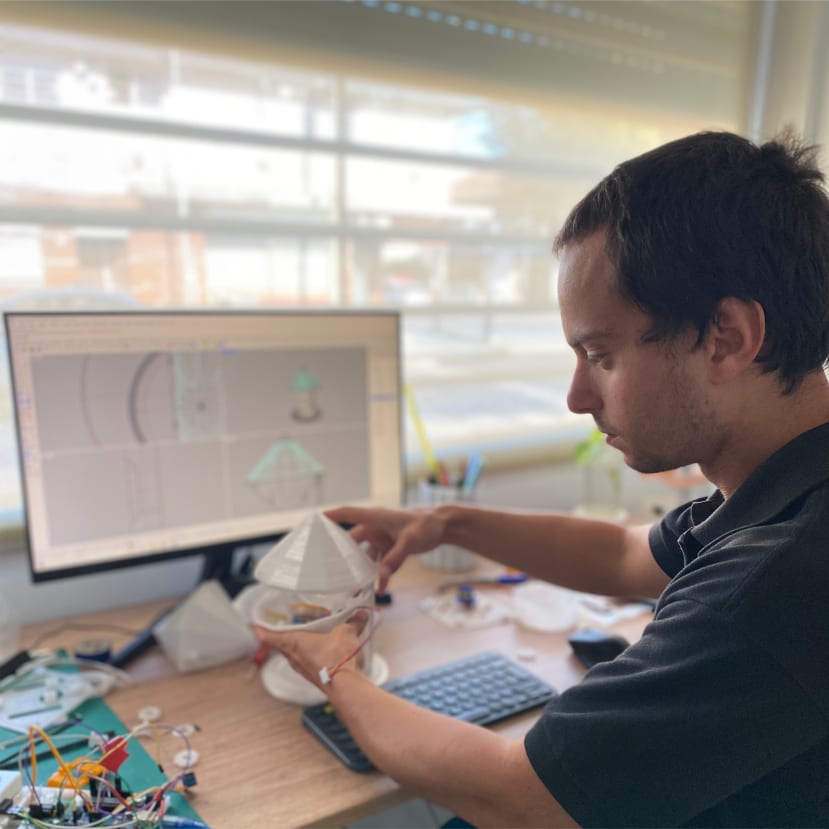
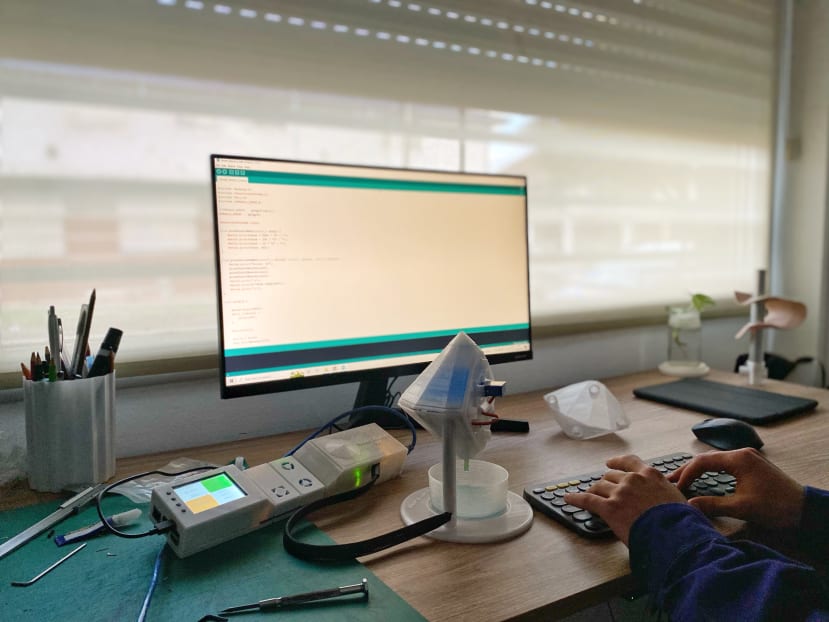
the hard part: coding and electronics
The best way to solve a complex product development - as a developer myself- is to split it into different stages. I always start with the hardest one to solve, in my case coding and electronics. I think that there is a wide range of solutions with more or less complexity but if not your primary field, all are more difficult to solve.
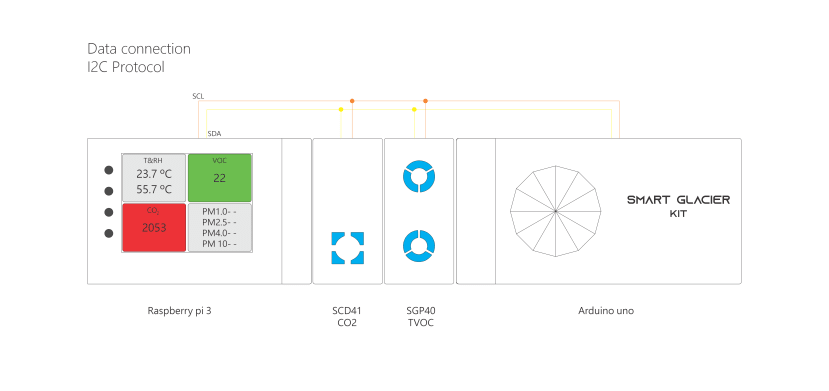
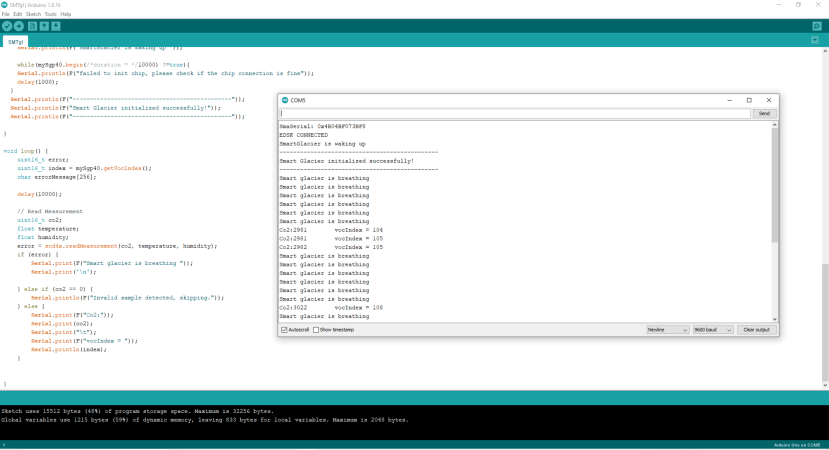
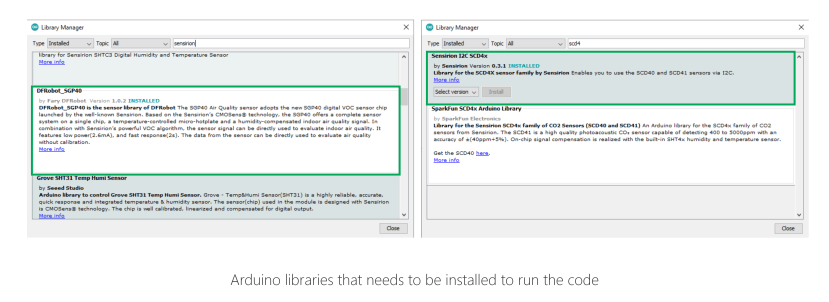
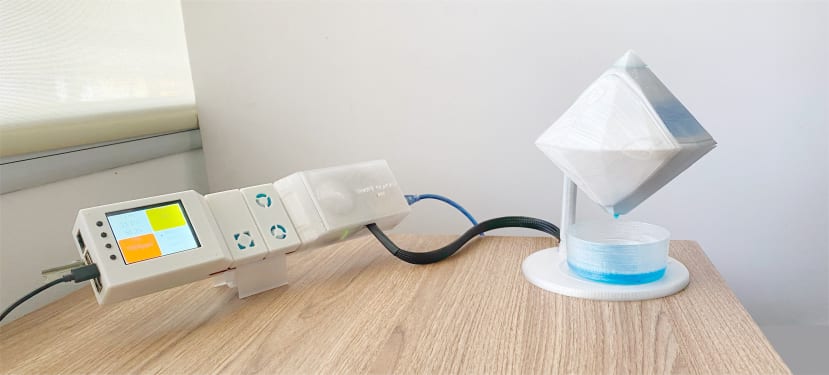
The Smart Glacier works with a specially designed module that takes all the advantages of the modular resolution of the ESDK. The SGM (Smart Glacier Module) is connected using the same principle I2C protocol as the sensors with the mainboard. The SGM obtain the readings and with them manages the glacier behaviours with conditional syntax.
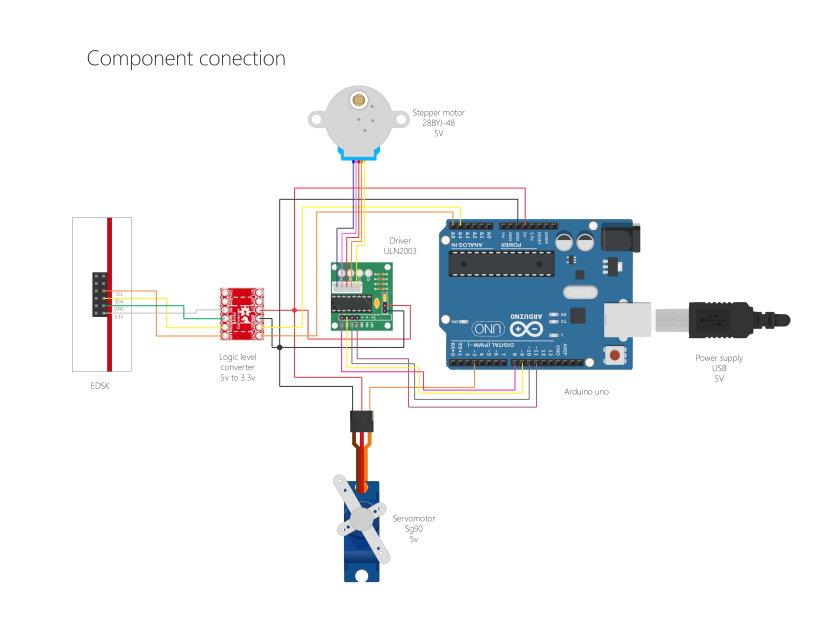
The first way I thought to solve it was to send directly the movement instructions to the Arduino via I2C to get the sensor data on the kit. However, my experience with Python was not enough to do it properly. At this point, I would like to give a big shootout to @captain, for his assistance with connections and my first’s steps with the main code and the sensors modules.

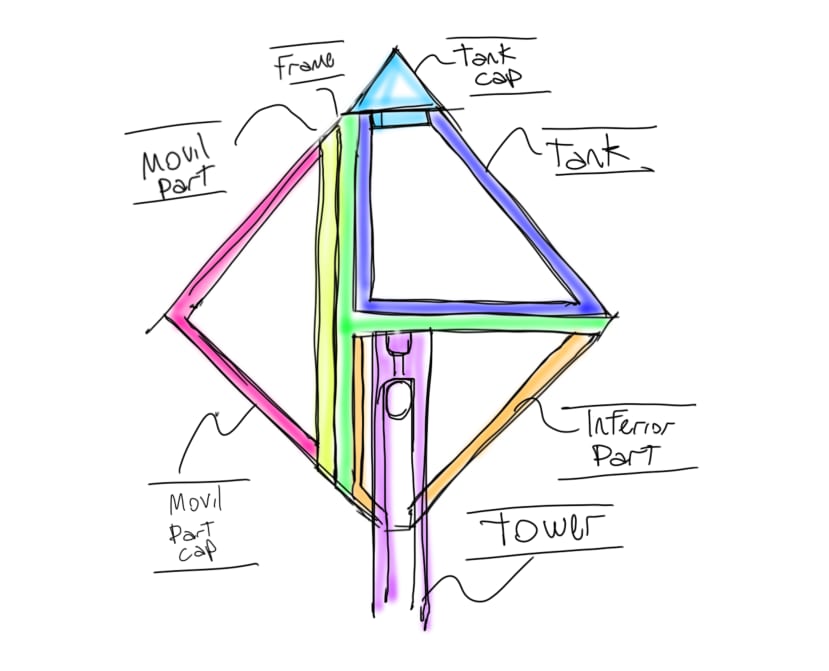
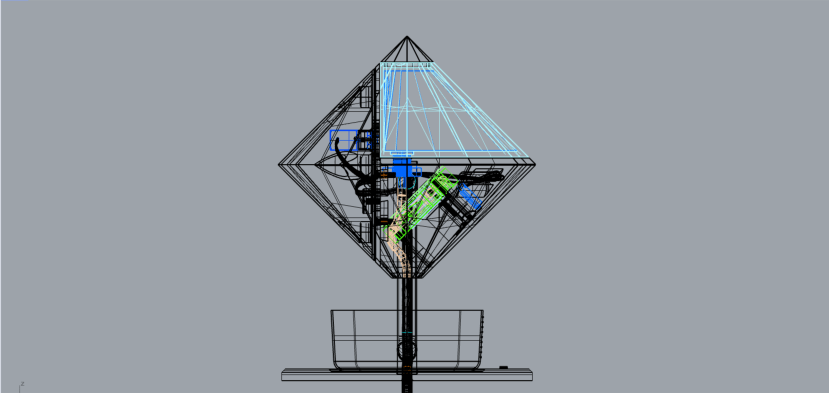
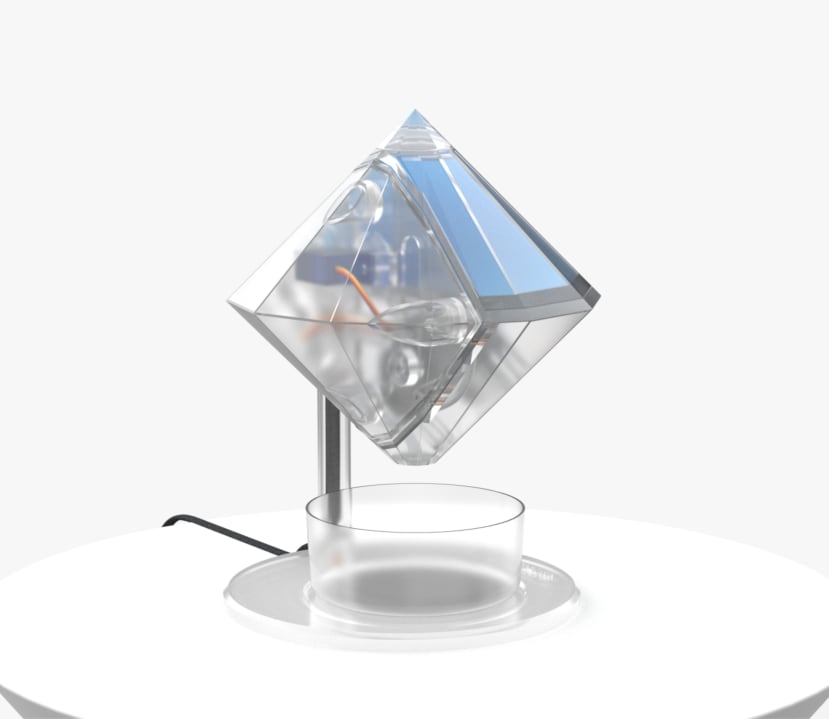
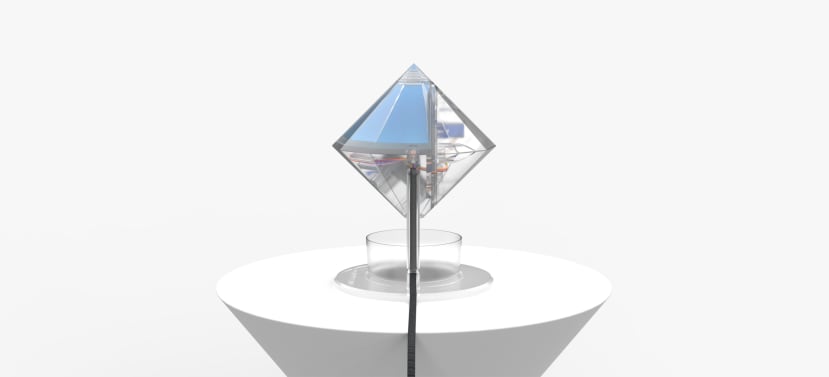
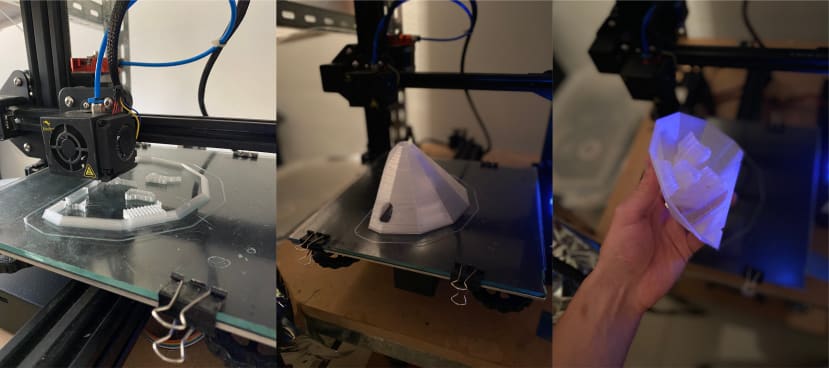
Making it real: product design
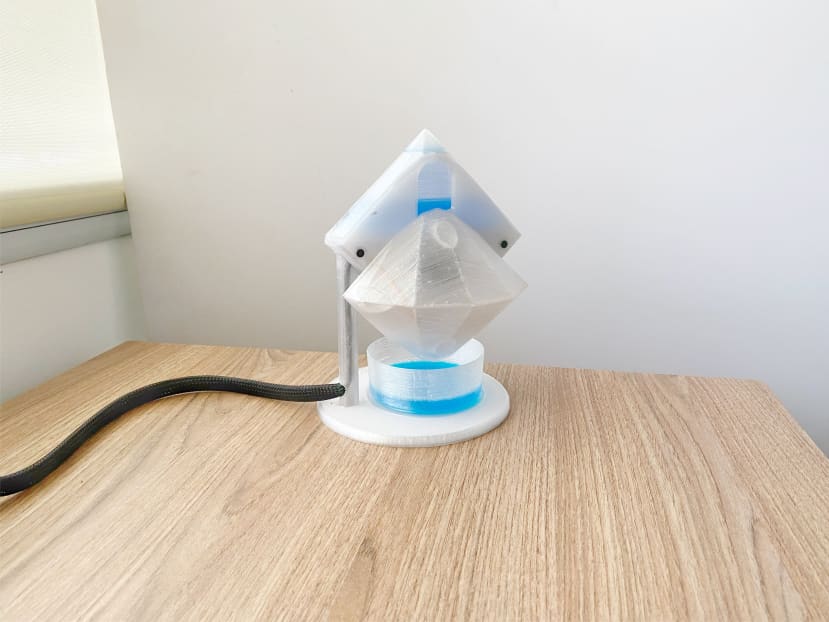
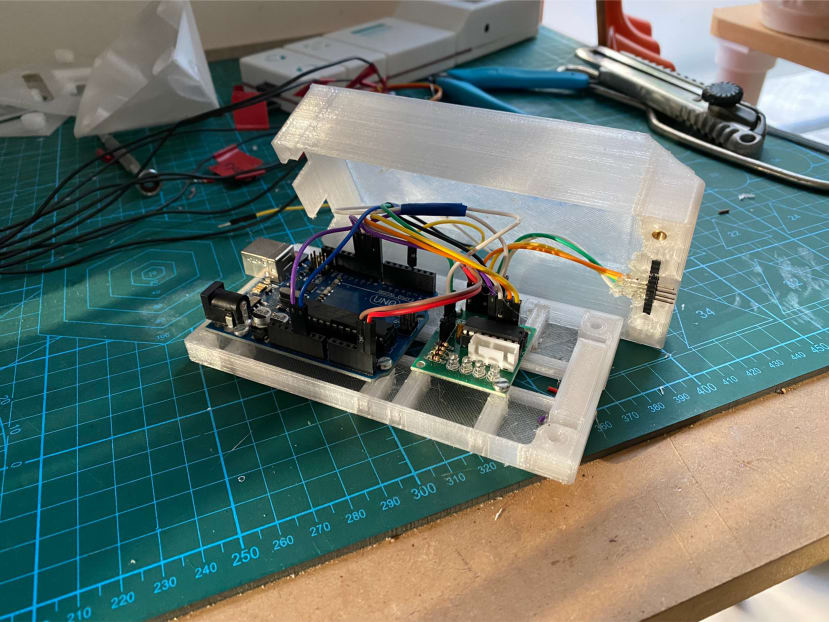
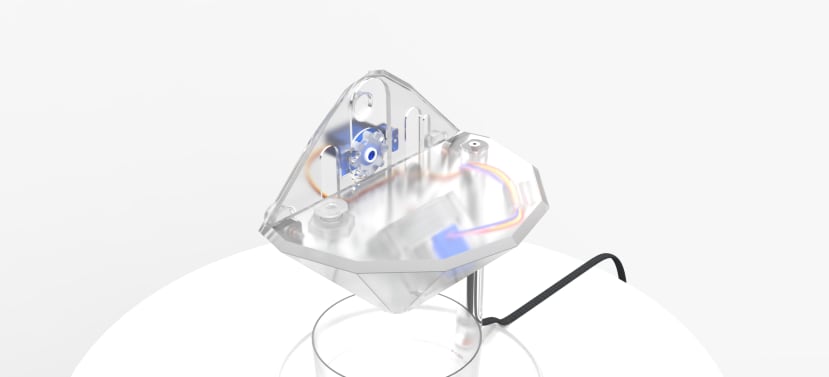
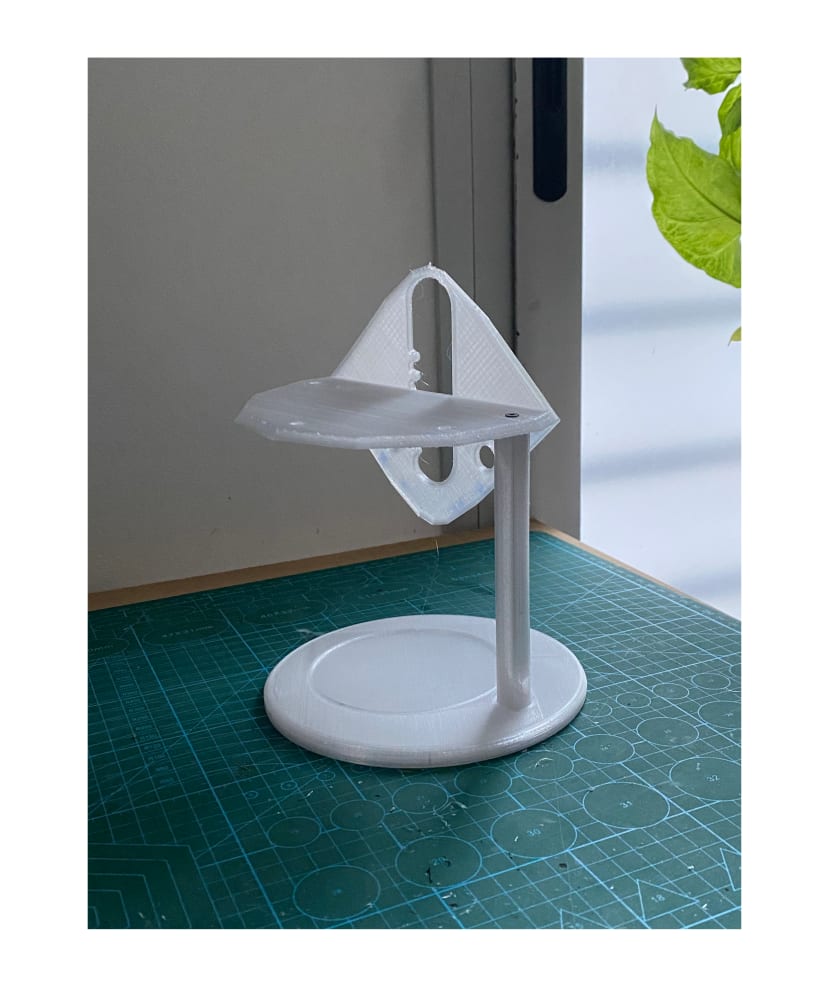
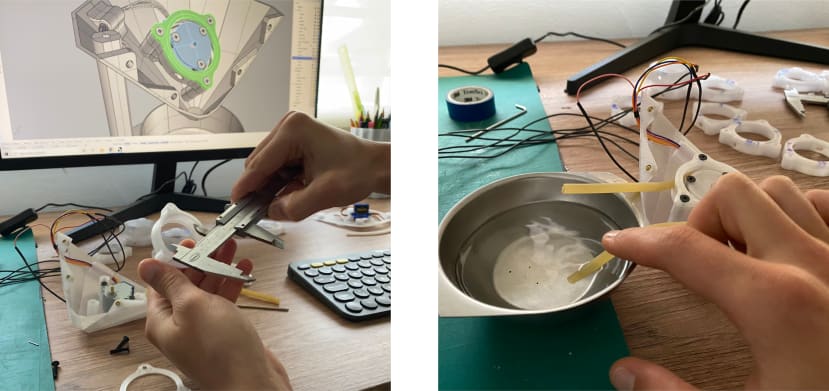
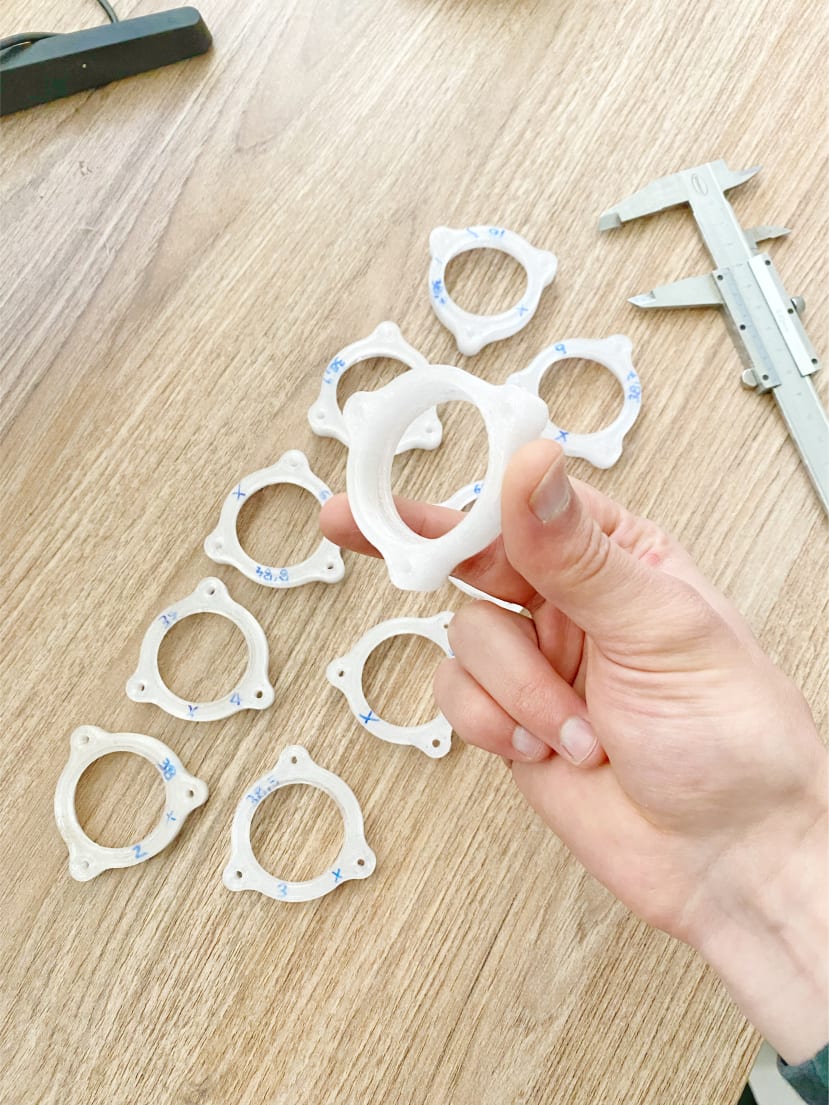
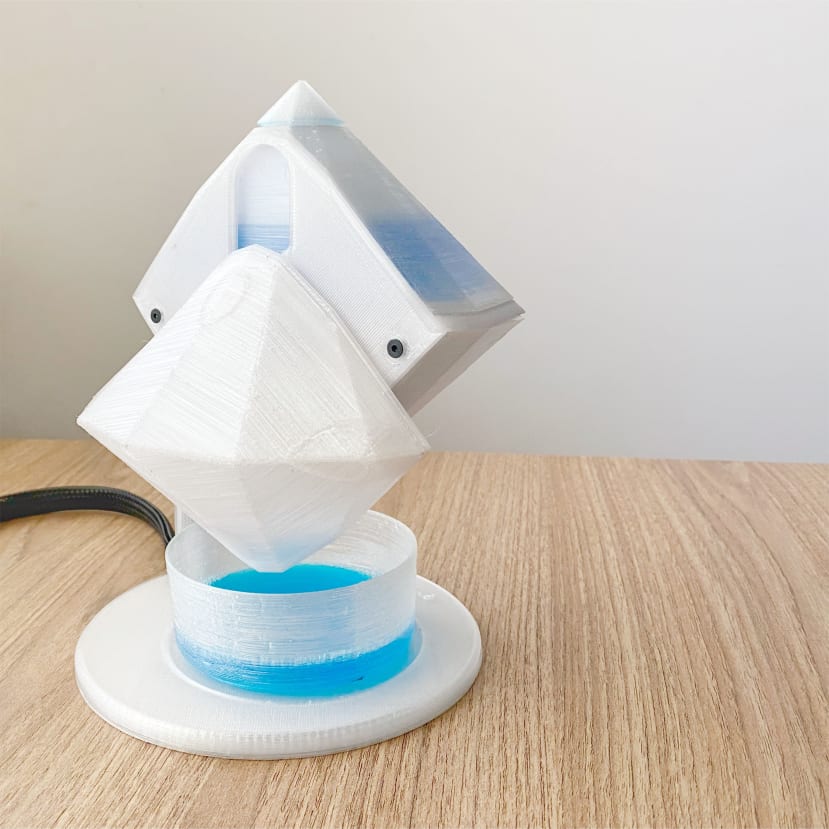
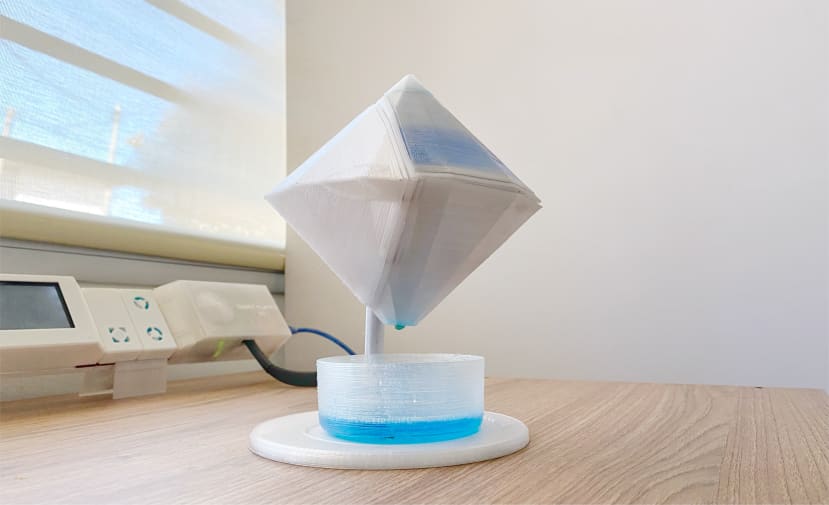
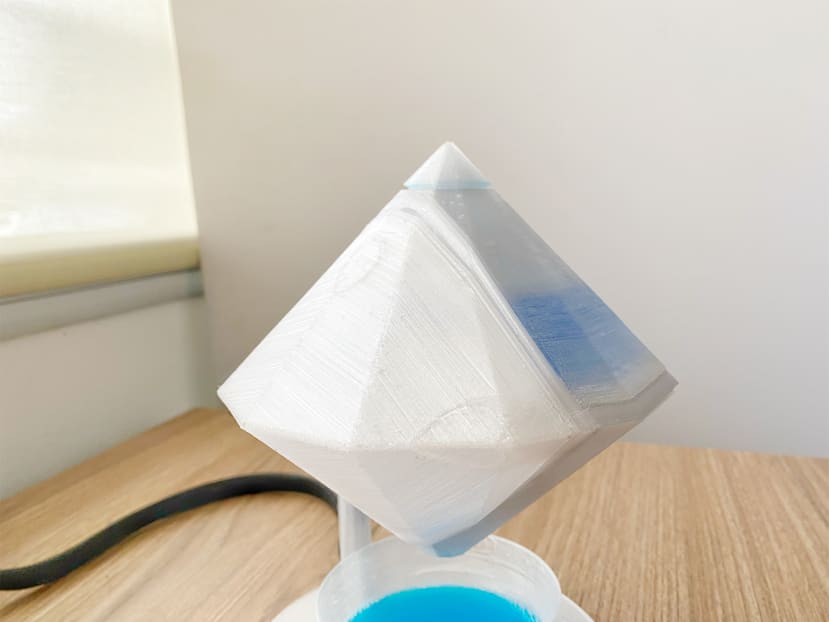
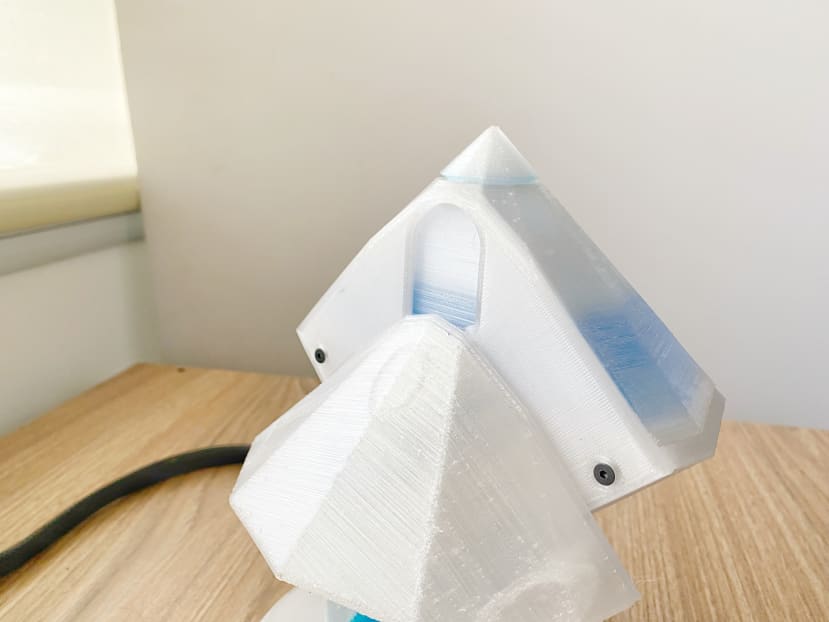
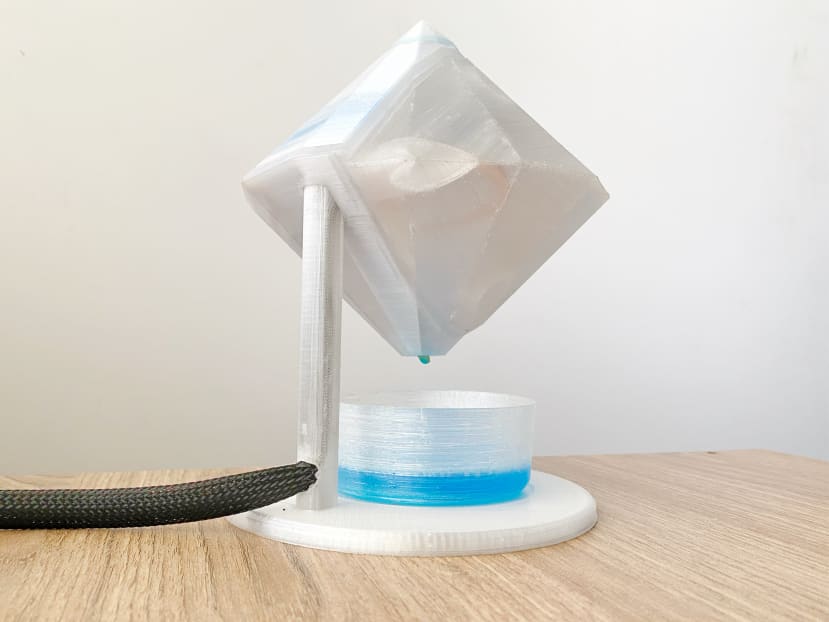
In terms of construction, the smart glacier is partitioned into 10 fundamental parts. The most important one is the frame, which allows fixing the different systems to it, thus generating a solid structure.
It was an incredible development to achieve it right, because one of the challenges was to obtain a clean, without screws on view and with the possibility to be assembled easily with only one Allen key. The process behind this piece took me three times to reach the final design.
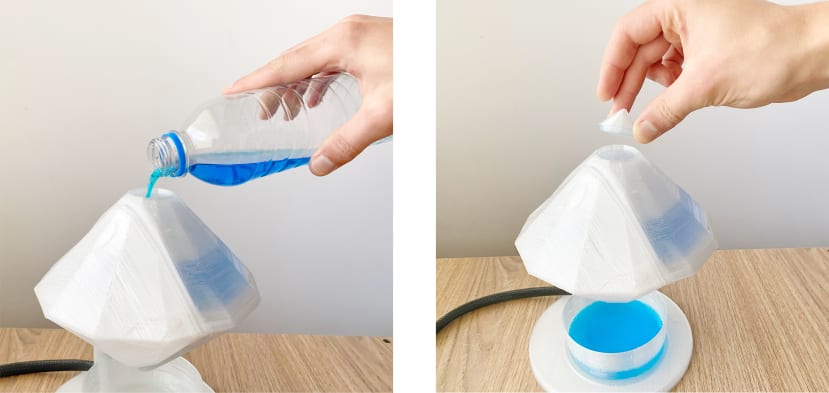
Still, the winner in failures was the peristaltic pump; getting the right tolerance to obtain a fluid suction without blocks of the motor was a fine detail work. Eleven failures were enough to do it ok. Persistence working with it was the secret


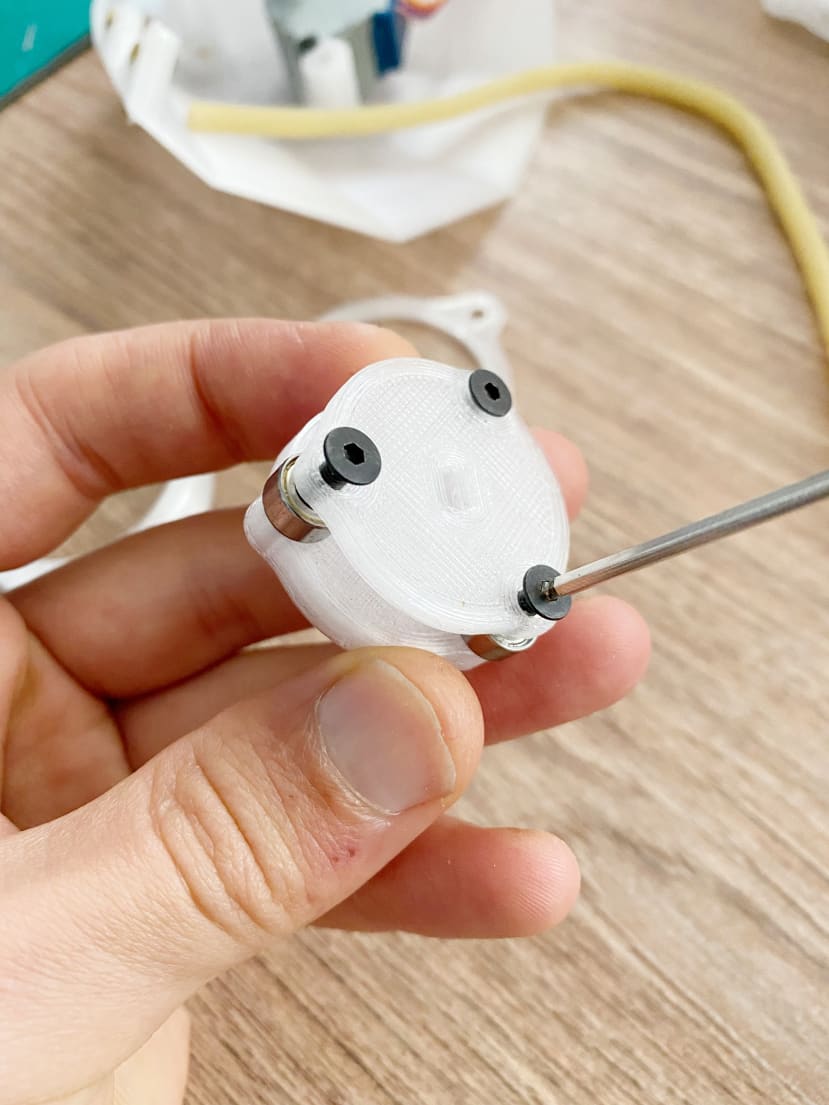

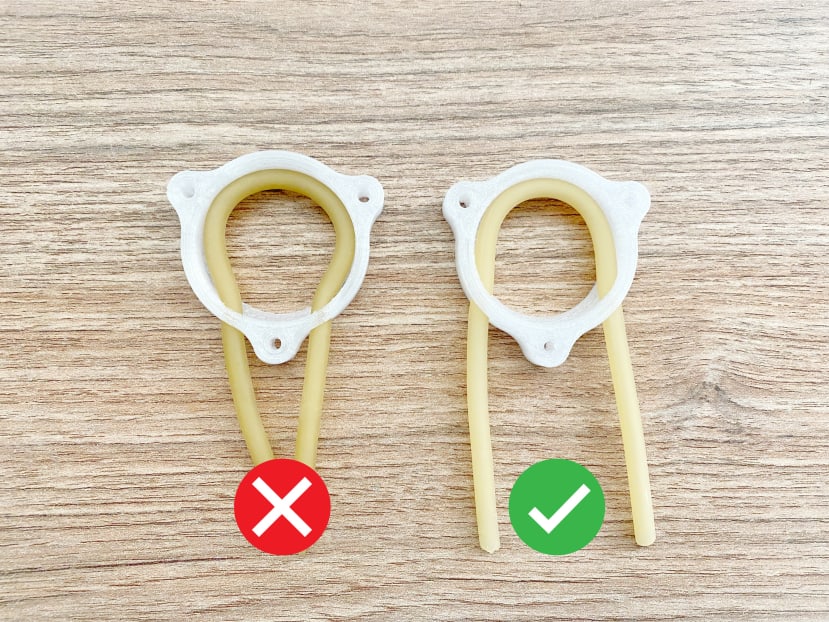
The right one is the correct way to fix the rubber tube in this peristaltic pump, the other generates a block of the rotor and with that problems of suction. The only way that I found to understand how the mechanism fails is to watch it working wrong and appreciate the details and with that take the conclusions to improve it.


Conclusion
The Smart Glacier is an open-source project generated to raise awareness about the quality of the air. For itself, it will not change the world, but can wake up a new conscience of how important an element vital for our lives that is completely invisible.
As every project, is not perfect, it has room to be improved with more functions or different resolutions, for example, a better code or a better component selection. So if you think that you can give a hand with something to make this experience better don´t hesitate to drop me a line or give your opinion in the comments below.
All open files will be available in the next part of this series!