How to make a Raspberry Pi Video Looper
Follow article Dave from DesignSpark
How do you feel about this article? Help us to provide better content for you.
Dave from DesignSpark
Thank you! Your feedback has been received.
Dave from DesignSpark
There was a problem submitting your feedback, please try again later.
Dave from DesignSpark
What do you think of this article?

Introduction:
In this article we will show you how to set up a simple Raspberry Pi video looper, to play seamless 1080p video loops. This is ideal for use in art installations, theatre, events, info screens, advertisements, etc. We will be using the Adafruit pi video looper library
Note: Versions of the Raspberry Pi ”bullseye” OS are incompatible with omxplayer, which is used for video playback. Future updates may rectify this, however, it is best to use a legacy OS. In this tutorial, we will be using “Buster” version 10. Installation guide below:
The “pi_video_looper” library provides an interface for playing video loops on your Raspberry Pi using the omxplayer program. It does not require any additional hardware beyond a Raspberry Pi 3, a USB drive, and a display.
How to burn a disk image
To burn a disk image using the Raspberry Pi Imager software, you will need:
- An SD card that is at least as large as the disk image you want to burn. Using a card with a capacity of 8GB or more is recommended.
- A computer with an SD card reader, or an external SD card reader.
- The Raspberry Pi Imager software, which you can download from the Raspberry Pi website.
To burn a disk image using the Raspberry Pi Imager:
- Insert the SD card into your computer's SD card reader.
- Run the Raspberry Pi Imager software.
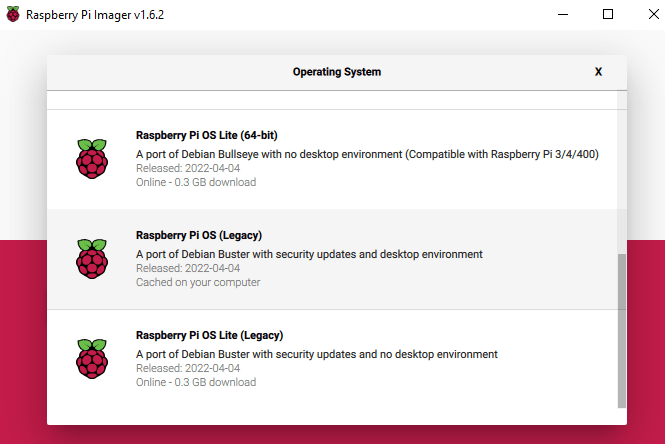
- Select the "CHOOSE OS" option.
- Select the "Raspberry PI OS (other)" option and choose the “Raspberry Pi OS (Legacy)” option to install a port of Debian Buster.
- Select the SD card as the target.
- Click the "WRITE" button to start burning the disk image to the SD card.

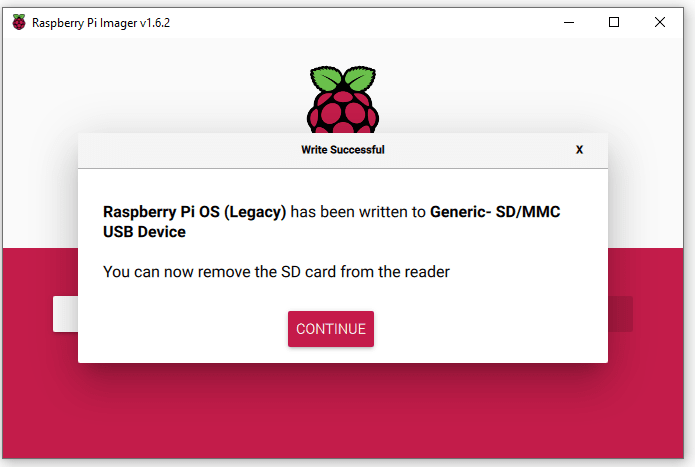
Wait for the burning process to complete. This may take several minutes, depending on the size of the disk image and the speed of your SD card.
After the disk image has been burned to the SD card, you can insert the SD card into your Raspberry Pi and boot it up to start using the operating system contained in the disk image.
Install
To install the video looper software on your Raspberry Pi, you will need to follow these steps:
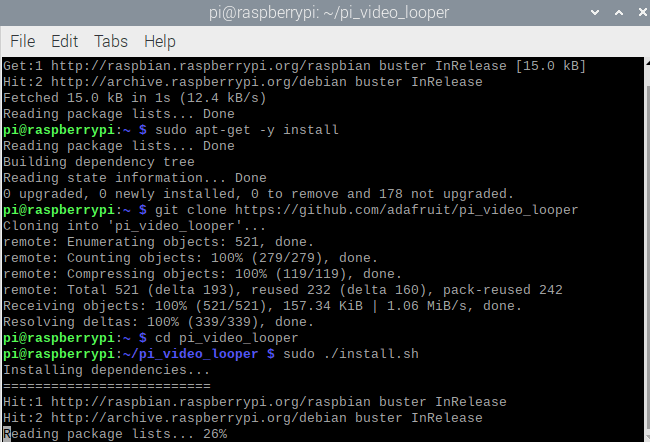
- Update the package manager's list of available packages by running the following command:
sudo apt-get update - Install Git by running the following command:
sudo apt-get install -y git - Use Git to clone the repository containing the pi_video_looper software by running the following command:
git clone https://github.com/adafruit/pi_video_looper.git - Change into the directory containing the pi_video_looper software by running the following command:
cd pi_video_looper - Lastly, finish install by running the following command:
sudo ./install.sh
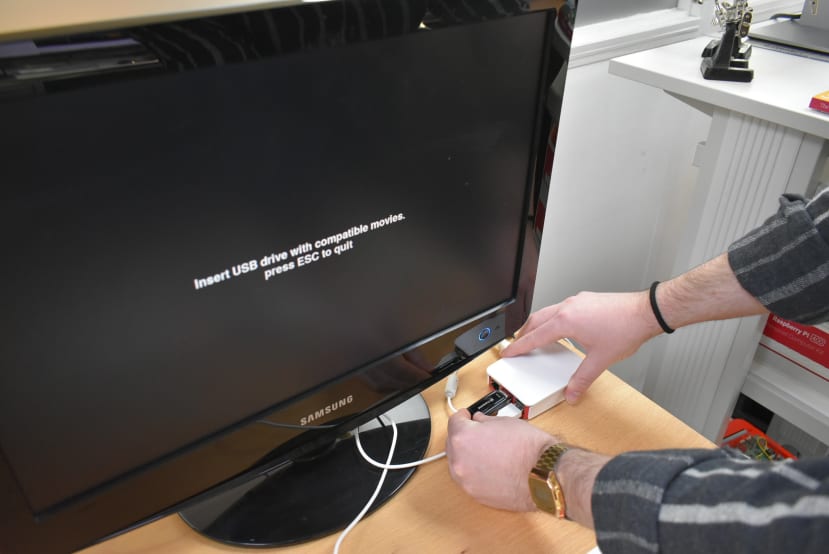
After about 2 minutes the installation will be complete, watch the terminal for any error messages that may pop up. If following this tutorial correctly everything should work the first time. The raspberry pi will now reboot and show the loading screen. Insert your USB stick with your videos, it can play most videos encoded with the H.264 video codec and in a video format with an extension like .avi, .mov, .mkv, .mp4, or .m4v.
Finished product:
Should you have any questions, please post them below. Thank you for reading!