Raspberry Pi 4 Personal Datacentre Part 2: Home Assistant
Follow articleHow do you feel about this article? Help us to provide better content for you.
Thank you! Your feedback has been received.
There was a problem submitting your feedback, please try again later.
What do you think of this article?
Setting up Home Assistant on our private cloud server and configuring EnOcean support.
In this series of posts, we show how a Raspberry Pi 4 can be used to create a personal cloud solution that is managed using Ansible and Docker — powerful tools that are used by many large scale cloud platforms, which automate configuration tasks and provide containerisation for applications.
The first post took a look at initial Raspbian configuration, followed by setting up Ansible and Docker, and then finally the installation of Nextcloud using these tools.
This post looks at setting up Home Assistant, a powerful open-source home/building automation solution that puts local control and privacy first. Following which this is then configured as a gateway (control system) for energy harvesting wireless devices from EnOcean.
Hardware
The OKdo Raspberry Pi 4 4GB Model B Starter Kit (192-5286) provides everything that we need to get up and running with the base platform and this was covered in Part 1.
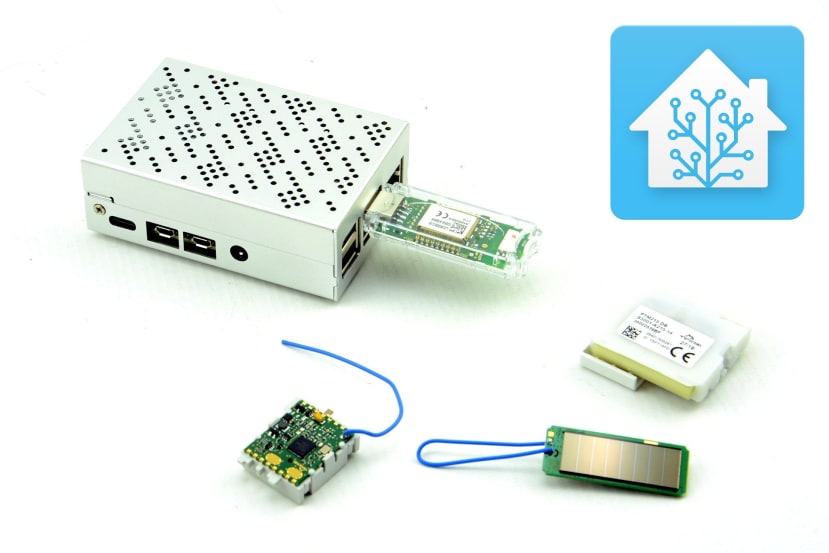
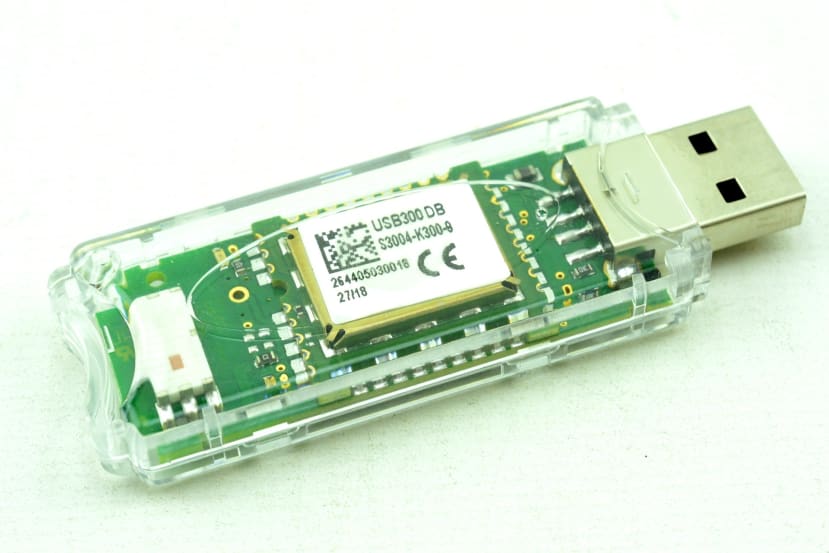
There are many different systems that Home Assistant could be integrated with and much of the time this could be done without any additional hardware, simply using TCP/IP. However, here we will show how EnOcean wireless devices can be integrated using a USB 300 module. This is available as part of a Starter Kit complete with wireless devices (786-3186) or by itself (786-3227) .
We’ll be using the Starter Kit, since this gives us a convenient package with the USB 300 module, along with a temperature sensor and switches, and is ideal for testing and development purposes. Although in practice you might already have a variety of consumer products that are built on the EnOcean platform and there are plenty of user-friendly options to choose from.
Docker container
---
- name: "Home Assistant playbook"
  hosts: localhost
  connection: local
  become: yes
  vars:
    app_name: 'homeassistant'
    time_zone: 'Europe/London'
  tasks:
    - name: Create Home Assistant container
      docker_container:
        restart: yes
        restart_policy: always
        image: homeassistant/raspberrypi4-homeassistant
        pull: yes
        state: started
        name: '{{ app_name }}'
        env:
          TZ: '{{ time_zone }}'
        volumes:
          - '{{ app_name }}:/config'
        network_mode: host
        devices:
          - '/dev/ttyUSB0:/dev/ttyUSB0'
Above we can see the contents of the homeassistant.yml playbook that we will use to deploy a Home Assistant container. Before we do this, let’s take a look at some additional Ansible and Docker features that this makes use of.
Firstly, we have a vars section and here we can define variables, such as app_name, which in this case is set to homeassistant. By doing this it means that we can then later access the variable using {{ app_name }}. Here we are using it to set the name of the container and the associated data volume. With some Ansible playbooks, we may have much more repetition and the use of variables makes it easier to maintain configuration. For example, if we wanted to change the name of the application and its resources, we’d just update the value of the app_name variable in a single place.
When creating a new Docker container we have a section called env, where we define environment variables that will be available to the container. In this case, one called TZ, which is set to Ansible variable time_zone, which in turn was set earlier on in the playbook. What this means is that Home Assistant will pick up an environment variable called TZ that is set to Europe/London. This mechanism is frequently used to pass configuration settings to applications that are running inside Docker containers, meaning that you don’t have additional configuration files to look after.
Whereas with Nextcloud we mapped IP ports from outside to inside the container, here we instead set the network_mode to host. This gives the container full access to the host computer (our Raspberry Pi) networking stack. Generally speaking, mapping individual ports is preferable as it gives a much finer-grained level of control and in turn security. However, Home Assistant has a pretty nice auto-discovery feature and without setting network_mode: host this may not operate correctly, since access to the local area network would be restricted.
Finally, we have a new devices section and the /dev/ttyUSB0:/dev/ttyUSB0 line says that we want to make a USB serial device outside the container, available to the application running inside. This is the USB 300 module that Home Assistant will use to access the EnOcean wireless network.
To deploy the new container we simply enter:
$ ansible-playbook homeassistant.ymlAnd if all goes well this should complete without any failed plays.
Basic setup
Home Assistant runs on port 8123 and so assuming our Raspberry Pi has a hostname of cloud, we would access this with the URL:
http://cloud.local:8123
On first loading the web interface we will then be prompted to create an initial user account.
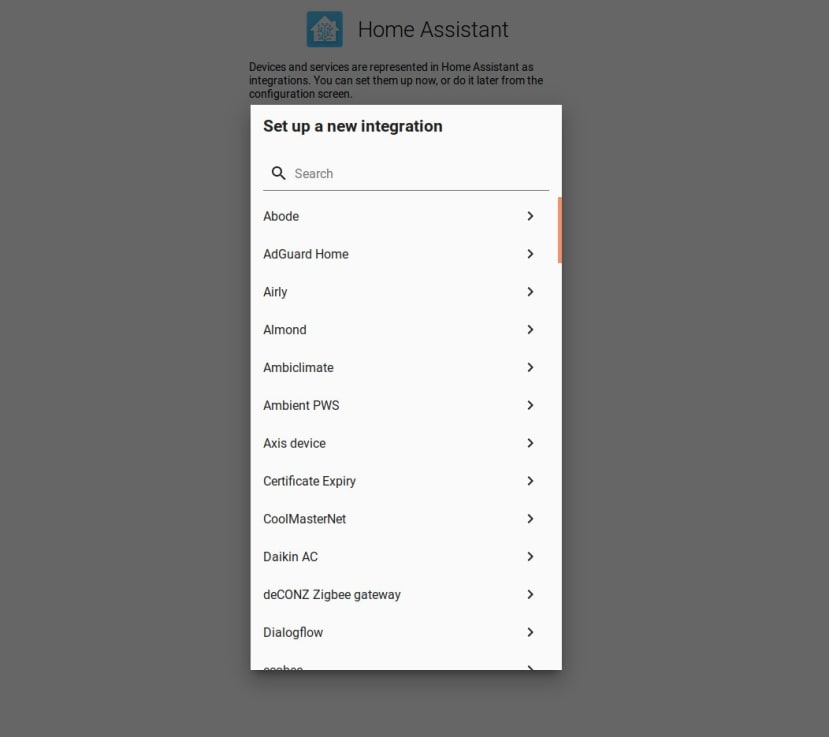
Following which we can select from a large list of integrations to configure. If we don’t do this now, we can always return to this task later. Support for a wide variety of products and services is included by default, with the ability to further extend Home Assistant via third-party add-ons.
As mentioned previously, Home Assistant also has an auto-discovery feature, which makes use of zeroconf/mDNS and uPNP to automatically find devices on the network. This includes support for Apple TV, Google Cast, and many others.
However, we are interested in EnOcean devices and to use this we will need to configure Home Assistant to use the USB 300 module. So first we’ll stop Home Assistant:
$ docker stop homeassistantThen we can use docker volume inspect to find out where the homeassistant volume is located on the Raspberry Pi filesystem.
Now we can edit the configuration file with:
$ sudo nano /var/lib/docker/volumes/homeassistant/_data/configuration.yamlAdding a new section to the bottom of the file:
enocean:
  device: /dev/ttyUSB0
We would also like to be able to debug the EnOcean component and so we’ll add another section:
logger:
  default: info
  logs:
    homeassistant.components.enocean: debug
Finally, we now can start the container again with:
$ docker start homeassistantAdding EnOcean devices
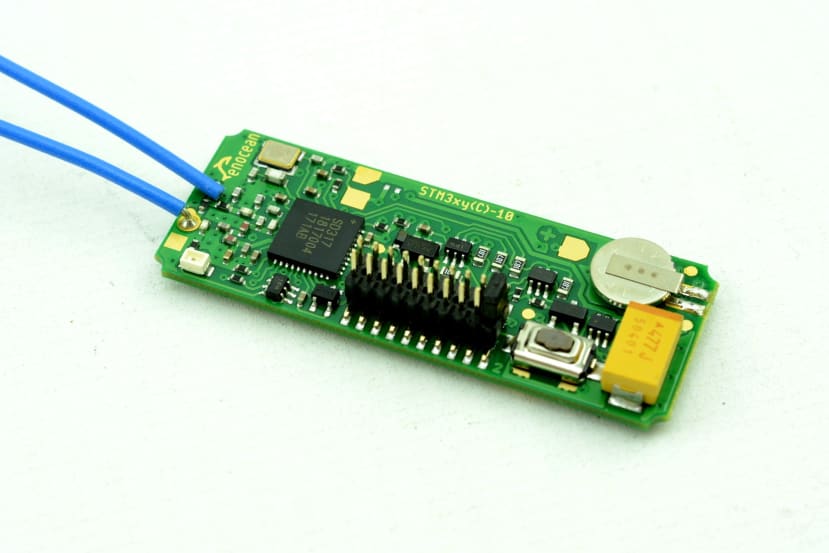
Each device has a unique four-byte ID and the PTM 215 multi-channel switch module that is included in the Starter Kit has this printed on a label affixed to the back. Above we can see that our module has an ID of FE:F7:1A:FD. We could then use this to configure Home Assistant.
Some devices may not have such a label and one way of finding out the ID is to use the EnOcean DolphinView software on a Windows PC with the USB 300 module plugged in. However, if you don’t need the more advanced features that this provides, a much easier solution is to enable debugging in Home Assistant — as we did earlier — and then view the logs in real-time with:
$ docker logs -f homeassistantUsing this method we were able to quickly ascertain the ID of the STM 330 temperature sensor that was included in the Starter Kit.
Once we had the unique ID we could stop Home Assistant once more and add a new entry to its configuration.yaml file:
sensor:
  - name: Living Room
    platform: enocean
    id: [0x05,0x82,0x3B,0x89]
    device_class: temperature
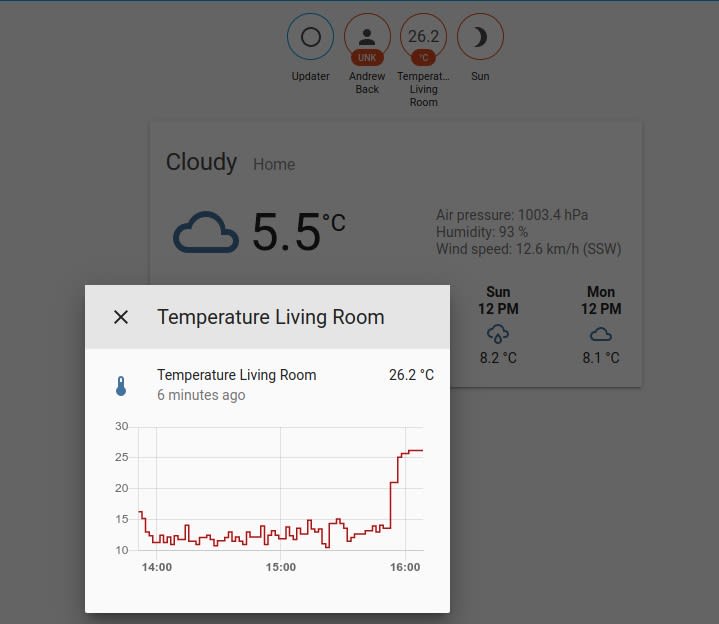
Then start the container again, reload the default view and as sensor transmissions are received an icon should be updated with the temperature.
Clicking on this we then get a graph showing the history.
Next steps
At this point, we could add more devices, such as the PTM 215 module. One thing to note with this is that it’s classed as a binary sensor, rather than a switch, so it is stateless and transmits button press and release events. Therefore if you’d like to use up/down clicks for turning on/off, for example, there is additional configuration required. For details see the Home Assistant documentation.
Also if you don’t want to fill up logs with debug information it would be prudent to turn off debugging for the EnOcean component once devices are configured. This can be done by removing or commenting out the relevant section we added to configuration.yaml.
Once you’ve integrated all your devices and services — which might be a mixture of EnOcean based products, other wireless systems and perhaps some remote cloud services — the next step would be to start building automations and notifications that use one or more these. For inspiration and some basic examples see the Home Assistant Cookbook.
Final thoughts
In this post, we’ve introduced a few more of the basic capabilities provided by Ansible and Docker, which make it easier to maintain configurations and manage network and device access. However, we’ve still barely scratched the surface with these tools and the same is true for Home Assistant, which provides a powerful solution for home/building automation, with support for an impressive number of device platforms and APIs, etc.
Furthermore, we still have Nextcloud running on the Pi 4 and there remains room for other applications to sit alongside this and Home Assistant, with each of these neatly containerised. The benefits of which include enhanced security and ease of update, plus if we did start to run out of resources, we could easily stop and start application containers when required.
Raspberry Pi 4 Personal Datacentre Part 3: A Self-hosted IoT Data Platform


