Is Your Arduino Fast Enough For Your Neopixel Or Dotstar Application?
Follow article Dave from DesignSpark
How do you feel about this article? Help us to provide better content for you.
Dave from DesignSpark
Thank you! Your feedback has been received.
Dave from DesignSpark
There was a problem submitting your feedback, please try again later.
Dave from DesignSpark
What do you think of this article?
Neopixels and Dotstars from Adafruit are very popular addressable LED arrays that are widely used for professional lighting displays, wearable novelties, special effects, hobby projects etc. They are often driven from low-cost embedded computers like the Arduino, mbed, Raspberry Pi and others. The LEDs themselves are not just single on/off LEDs but tricolour RGB ones with dynamically programmable brightness for each colour. They can be arranged in long chains of up to 100’s of units with a digital serial protocol controlling them individually. Some have a SPI-type approach (Dotstars) whilst others use binary bit streams encoded on PWM (Neopixels). The main Neopixel LEDs are WS2812 and SK6812. For Dotstars the APA102C and SK9822 are the most common.
Driving either of these addressable LED strips is a challenge for any normal Arduino but is possible. The Neopixel 800kHz single wire drive waveform is very time-critical and there is no standard microcontroller peripheral that can generate it so bit-bashing is essential. It is based on 1.25us PWM periods and for most Arduino types, this means assembler-coded routines must be used and only a single Neopixel chain can be driven at once. Dotstars use a two-wire SPI-like protocol which has no specific timing requirements, which makes it much less demanding to drive. Either a hardware SPI module or a bit-bashed equivalent can be used.
|
|
Dotstars |
Neopixels |
|
Advantages |
Extremely fast data and PWM rates, suitable for persistence-of-vision displays |
More affordable. |
|
|
Easier to interface to a broader range of devices; no strict signal timing requirements. |
Wide range of form-factors (pixels, rings, matrices, etc.). |
|
|
20 KHz PWM rate, so even when moving the strip around, you won't see the pixelation, the colour blending is very smooth |
All LEDs update nearly simultaneously when 50us quiet period occurs after all LEDs have been updated. |
|
|
Works with Servo library, tone() function, interrupts, etc. |
Works from a single microcontroller pin. |
|
Disadvantages |
Slightly more expensive. |
Strict 800 KHz data rate; not all systems can generate this, and speed is a bottleneck on very long strands |
|
|
Fewer available form factors; strips and flex matrices only |
Ram usage is directly related to the number of LEDs in chain which can be problem for smaller Arduinos. |
|
|
Needs two pins (SPI CLK and MOSI) for control. |
Not compatible with interrupts (e.g. Arduino Servo library or tone() function) |
|
|
Can take over 10ms to update a 450 LED chain and each LED updates it output as soon as the serial input is received. Thus first and last LED could be updated 10ms apart. |
1.2kHz PWM carrier can cause flickering when LEDs are physically moving. |
Driving Neopixels
Neopixels use either the WS2812 LEDs or the functionally near-identical SK6812. The protocol is a self-clocking one with just one wire. The ones and zeros of the serial data are encoded as different duty cycles in an 800kHz carrier PWM signal. A one is encoded as a 0.8us high time in any 1.25us period and a zero is a 0.4us high time. The rising edges must occur strictly on a 1.25us (800kHz) time period and therein lays the difficulty for most Arduinos and the Raspberry Pi. There is a 25% margin in these timings but even so, for the Linux-based Raspberry Pi with its 700MHz CPU, this is a killer requirement which cannot be met due to the influence of the non- deterministic Linux operating system. In the Arduino, interrupts have to be disabled to prevent interference with the 800kHz carrier generation.
Each LED is addressed in turn but the light output is not changed until a 50us quiet period with no high time occurs after the last LED has been addressed. The LEDs in the chain detect this and then update immediately. This is useful with large arrays where low latency across the arrays is required. There are three bytes of data for each pixel in the LED strip. These should be issued in green, red, blue order, with the most-significant bit first.

The data for pixel #0 (nearest the Arduino) is issued first, then pixel #1, and so forth to the furthest pixel. Once all the colour data has been sent, the data line must be held low for a minimum of 50us for the new colours to “latch”.
Each pixel requires 3 bytes of RAM in the Arduino. Thus a 60 LED strip will require 180 bytes of RAM. The limited free RAM in an Arduino Uno (typically around 1k bytes) means that you can only drive a maximum of 350 or so LEDs.
Using The ShieldBuddy TC275 For LED Chains
Neopixels
As has been said, generating the 800kHz Neopixel serial stream is a very processor-intensive activity for normal Arduinos and driving just one chain will fully load a typical board. The ShieldBuddy has three 200MHz cores and so driving three independent Neopixel chains fully in parallel is possible. This is unlike any other Arduino-style board where you can have multiple chains connected but they can only be refreshed sequentially. Of course the ShieldBuddy allows further chains to be added but these will be addressed sequentially. There is around 500kbytes of RAM to play with in the ShieldBuddy so you can drive hundreds if not thousands of LEDs.
The Adafruit Neopixel driver library has been ported to the ShieldBuddy so the existing Adafruit examples can be run as-is. There is a special multicore version of the StrandTest sketch which allows three 60 LED chains on pins 3, 4 and 6 to be driven truly independently and in parallel i.e. three LED chains can be updated simultaneously.
The current port of the Adafruit Neopixel driver still requires interrupts to be disabled during transmission but the next version will allow interrupts to remain enabled. This is a limitation of the structure of the Adafruit driver. However the Generic Timer Module (GTM) in the ShieldBuddy’s TC275 processor can transmit the serial bit streams automatically without intervention from any of the three CPU cores so interrupts can be maintained.

Dotstars
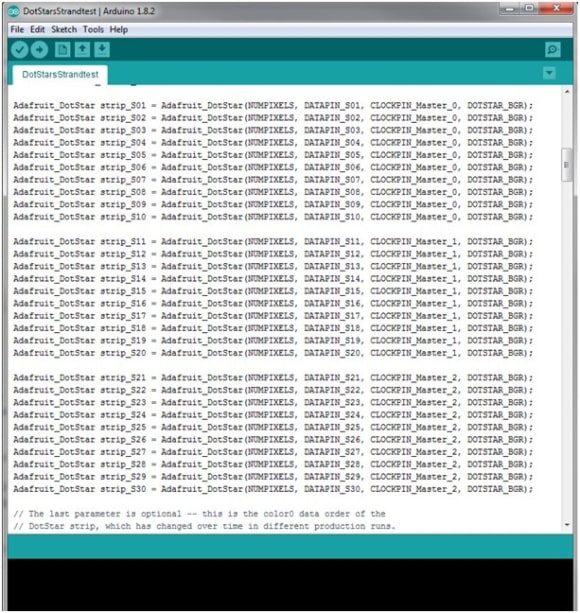
Dotstars (APA102C) are a lot less demanding to drive from the hardware point of view as they are essentially SPI based. Each LED chain takes about 16 bytes of RAM and two IO pins. Both the Adafruit Dotstar and FastLED libraries are available for the ShieldBuddy. Using a hardware SPI, an Arduino Uno or Mega can drive Dotstars at up to 8MHz or around 400kHz using a bit-bashed SPI. The ShieldBuddy raises this to 40MHz for hardware SPI and 8MHz for bit-bashed SPI. It also allows three 50MHz hardware SPI channels to be used, as well as up to 50 bit-bashed channels at the same time. The Adafruit StrandTest sketch has been modified to allow up to 30 Dotstar chains to be driven, 10 for each of the three cores, allowing true parallelism to be achieved.
In more advanced applications, with the ShieldBuddy having three 200MHz cores, it is entirely possible for one core to be dedicated to driving the LED chains while another runs an Ethernet-based user interface and the final one does all the data processing! The possibilities are huge. Here is a comparison of the typical performance of the Arduino Mega and the ShieldBuddy.
|
|
Arduino Mega |
ShieldBuddy |
|
Neopixels |
|
|
|
Sequential Neopixel Chains |
54 |
34 |
|
Parallel Neopixel chains |
N/A |
3 |
|
DotStars |
|
|
|
Sequential Dotstar Chains |
54 |
54 |
|
Parallel Dotstar chains |
N/A |
3 |
|
Cycle time for 30 Dotstar chains of 30 LEDs each |
87ms |
3.3ms |
|
Bit-bashed SPI clock |
374kHz |
8MHz |
|
Hardware SPI clock |
8MHz |
40MHz (50MHz possible) |
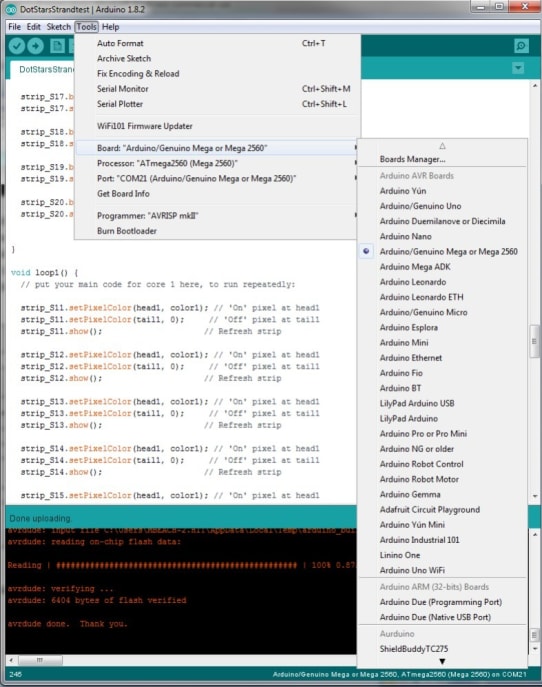
In most cases, existing Arduino Mega applications can be moved to the ShieldBuddy by just changing the board type in the Arduino IDE.
Latest ShieldBuddy Software Updates
The Neopixel driver is in the latest v1.47 ShieldBuddy add-in release for the Arduino IDE and can be downloaded from:
http://www.hitex.co.uk/fileadmin/uk-files/downloads/ShieldBuddy/ShieldBuddyMulticoreIDE.zip
http://www.hitex.co.uk/fileadmin/uk-files/downloads/ShieldBuddy/ShieldBuddyMulticoreIDE.exe
The ShieldBuddy FastLED library is at:
http://www.hitex.co.uk/fileadmin/uk-files/downloads/ShieldBuddy/FastLED-3.1.3_TC275.zip
This is installed into the Arduino IDE as a “.ZIP” library (“Sketch”-“Include Library”-“Add .ZIP library…”)
The passwords are all “ShieldBuddy”.
The ShieldBuddy itself is at:
http://uk.rs-online.com/web/p/processor-microcontroller-development-kits/1245257/?sra=pmpn
Neopixel Arduino Shield:
http://uk.rs-online.com/web/p/led-evaluation-kits/1245494/
Neopixel 8x8 Matrix
http://uk.rs-online.com/web/p/led-evaluation-kits/1245496/