How can I add components to schematic?
Follow tutorial
 Dave from DesignSpark
How do you feel about this tutorial? Help us to provide better content for you.
Dave from DesignSpark
Thank you! Your feedback has been received.
Dave from DesignSpark
There was a problem submitting your feedback, please try again later.
Dave from DesignSpark
What do you think of this tutorial?
This tutorial requires:
DesignSpark PCB V11.0.0There are two methods for adding components to a schematic; Interaction bar or Add Component. We will use the Interaction bar to start with, but you can also use the Add Component option as well.
A. Interaction bar
The Interaction bar should have automatically been started when creating a new Schematic design. If it hasn’t, click the <F9> shortcut key to display it.
Select the Add Component browser tab at the bottom of the Interaction bar.
From the list of available libraries, select the Discrete library. Click on the arrow to reveal the drop down list and then make the required selection.
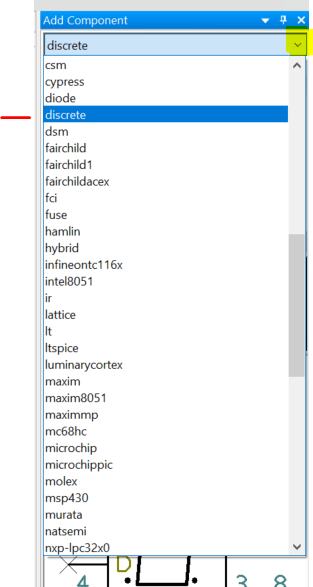
The Component list will be populated with components. Selecting this library will automatically select the first component in the list as well.
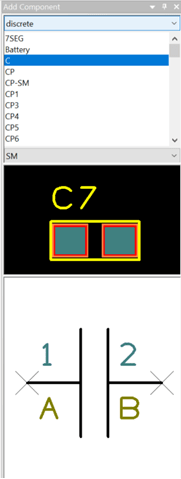
Scroll down the list of components using the vertical scroll bar. The first in the list is the generic ‘C’ component. You can also click in this list and type the first and subsequent letters and numbers of the item required.
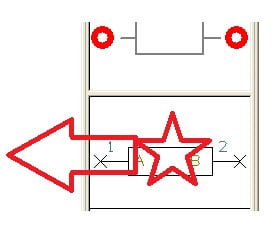
Scroll down and select the component R. This is a generic resistor that we will change the Value for later on. You can also work with specific named parts if you prefer, both methods are acceptable in DesignSpark PCB.
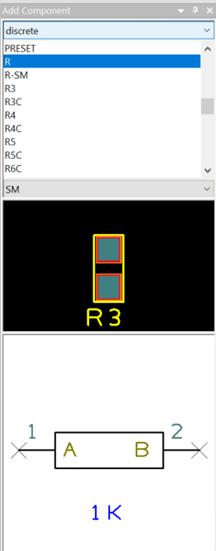
A preview of both the Schematic and PCB symbols will be displayed (the PCB symbol appears at the top in the preview).
Once you have the correct component, you can add it by selecting the symbol preview and dragging it into the design. You can also add the component by selecting and dragging its name.
This is a one-shot process. If you wish to add more of the same type, drag another from the bin.
The component is currently on the end of your cursor. To place it in the design, click the left mouse button once.
B. Add Component
TO SWITCH OFF THE DISPLAYED GRID
At this stage we don’t really need to see the displayed grid dots so let’s switch them off. Click <G> to toggle the grid off. Press this key again to switch it back on at any time.
TO ADD THE OP-AMP
To add specific components like ICs for example, (like a NE555 Timer or TL072) another technique can be used.
Click the Add Component button on the toolbar, shortcut key <F3>.
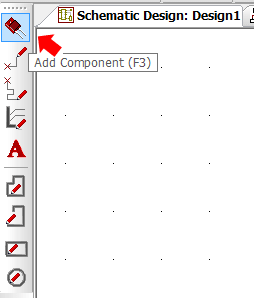
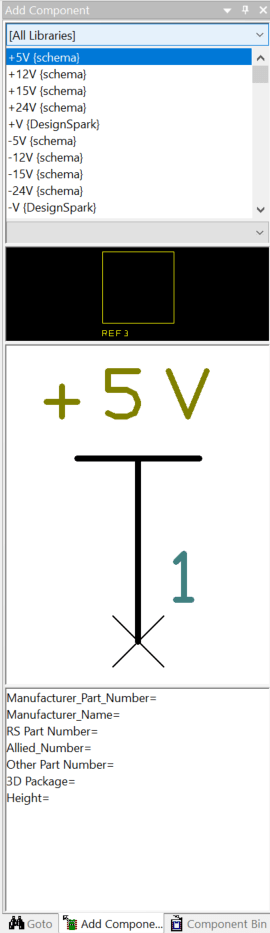
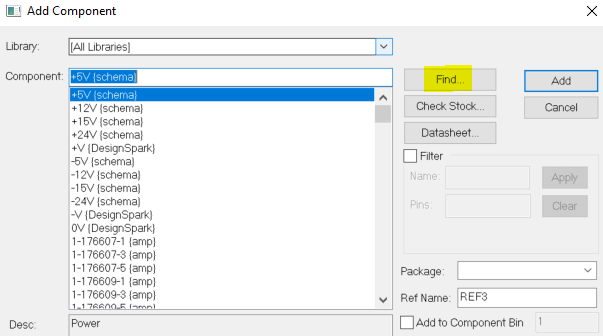
The Add Component dialog will display [All Libraries] in the library path. We will use the Find option to locate both of these components in the library.
TO FIND COMPONENTS IN THE LIBRARY
From the Add Component dialog box, click the Find button.
We will find the NE555 timer first. For the Name selection, choose Contains from the drop down list. In the text entry, type ne555. This will be enough to get near a name to then match what we need.
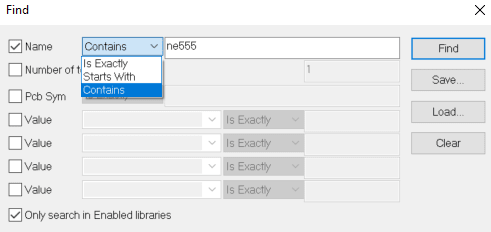
Click the Find button. The contents list will be populated with all matching items from all the libraries.
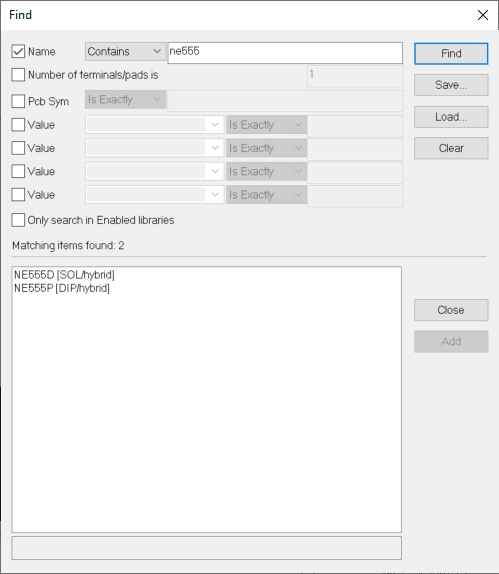
Select NE555P at the bottom of the list from the Hybrid library.
You can either send this component to the design by using double-click or you can preview it in the Add Component dialog contents list by selecting the Close button.
After selecting, you’ll notice that this component is now preselected in the Add Component dialog box behind this.
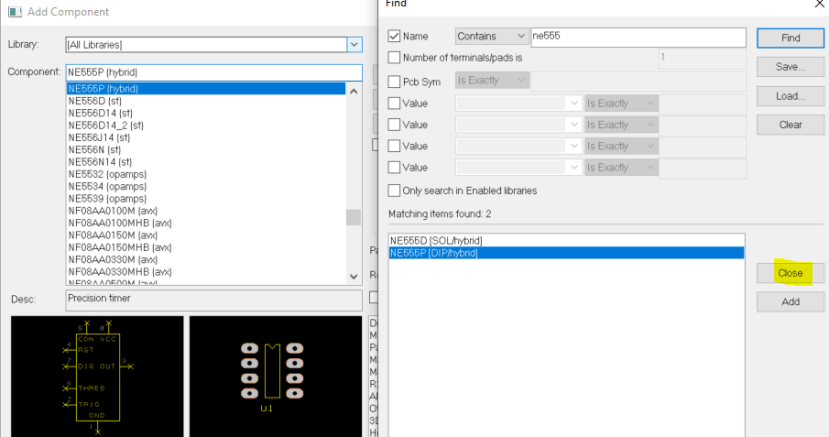
Finish by using the Close button on the Find dialog box.