My first hands-on night light hat for Raspberry Pi EP 0098
Follow article
 Dave from DesignSpark
How do you feel about this article? Help us to provide better content for you.
Dave from DesignSpark
Thank you! Your feedback has been received.
Dave from DesignSpark
There was a problem submitting your feedback, please try again later.
Dave from DesignSpark
What do you think of this article?
Hi everyone, here is the night light hat for Raspberry Pi EP-0098 from 52PI. This night light hat is an add on that gives the Raspberry Pi colourful LEDs creating a nice warm glow.
This night light hat is simple and ready to use. The hat comes with the sample code in three formats, including Java, python, and c++.
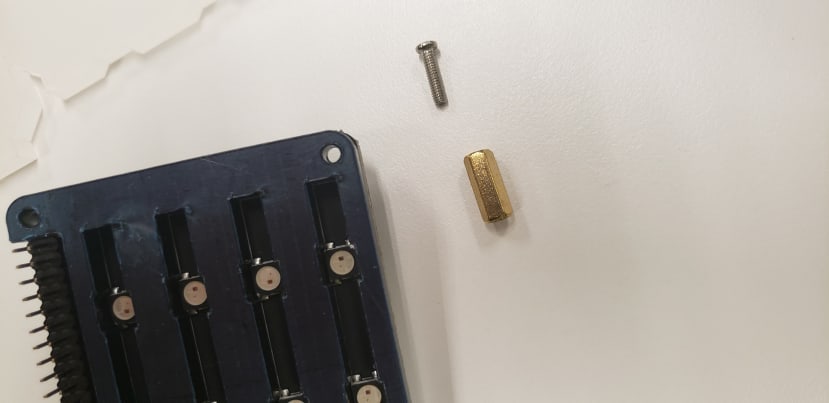
Inside the box, there is one night light hat board for Raspberry Pi, one acrylic holder, four acrylic boards, four long screws, four short screws, and four copper spacers.

The LEDs and the acrylic holder:

Use the long screw and copper spacers to fix the night light hat board and the acrylic holder.
Finish as below.

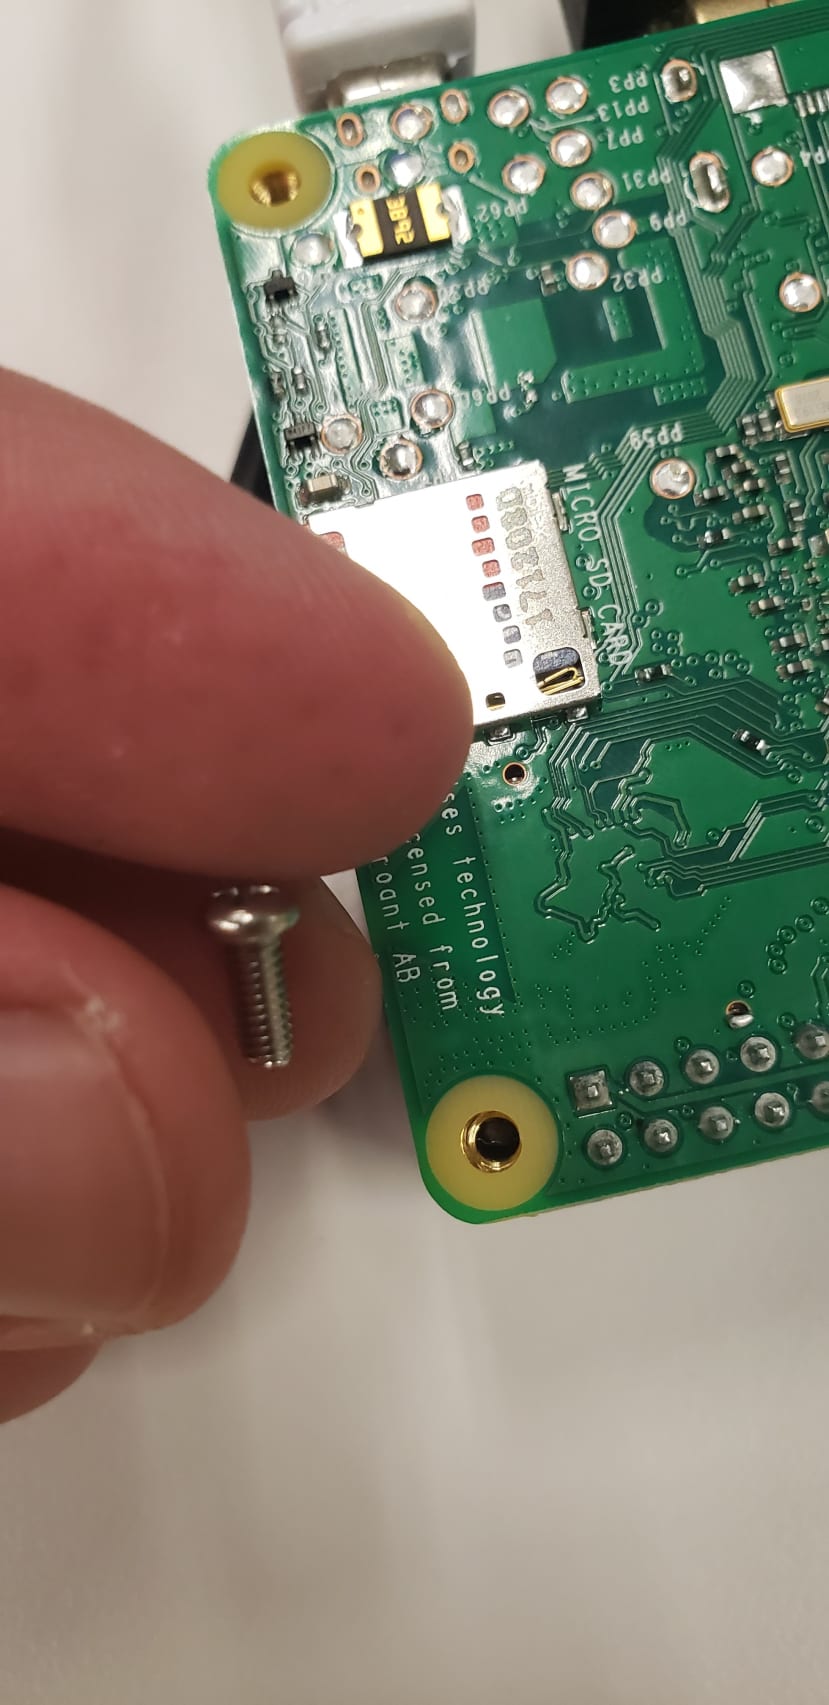
Put the night light hat board on the Raspberry Pi.

Add force to combine them.

Use the short screw to fix the Raspberry Pi and the night light hat board.
Finish as below.

Remove the protective plastic from the acrylic boards.

Insert the acrylic board inside the acrylic board holder.

Finish as below.

Let's move on to the programming.
This Python program is using the I2C method to turn on and off the LEDs.
The register map table helps you manage the LED colour and position which are pre-defined.

I named the program below as ep0098.py on desktop.
import time as t
import smbus
import sys

DEVICE_BUS = 1
DEVICE_ADDR = 0x15
bus = smbus.SMBus(DEVICE_BUS)

while True:
    try:
        #check the table (Register map) from
        #https://wiki.52pi.com/index.php/NightLight_Hat_Board_For_Raspberry_Pi_SKU:_EP-0098
        for i in range(1,25):
            #turn on light from the first lightand so on.
            bus.write_byte_data(DEVICE_ADDR, i, 0xFF)
            #turn off the light of the first light and so on.
            bus.write_byte_data(DEVICE_ADDR, 26 - i, 0xFF)
            #delay 0.2 s
            t.sleep(0.2)
            #turn on the light of the last light and so on.
            bus.write_byte_data(DEVICE_ADDR, i, 0x00)
            #turn off the light of the last light and so on.
            bus.write_byte_data(DEVICE_ADDR, 26 - i, 0x00)
            #delay 0.2 s
            t.sleep(0.2)

    except KeyboardInterrupt as e:#type e to stop the programe
        sys.exit()
        print("Quit the Loop")

It is a must-have gadget for an old Raspberry Pi since Raspberry Pi 4 has been released, some Pi 3 will be left behind, so it is a great use for your old Raspberry Pi.
If you want to plug in and play the night light hat board, you may follow the steps below to autorun the script when you power up the Raspberry Pi.
First, open the terminal and type sudo nano /etc/rc.local

Then type python3 /home/pi/Desktop/ep0098.py

Then press ctrl + X
Enjoy~~~~~~
Result:
Dual light: