Discovering the Digilent Analog Discovery 2
Follow article
 Dave from DesignSpark
How do you feel about this article? Help us to provide better content for you.
Dave from DesignSpark
Thank you! Your feedback has been received.
Dave from DesignSpark
There was a problem submitting your feedback, please try again later.
Dave from DesignSpark
What do you think of this article?
First experiences with the Digilent Analog Discovery 2 multi-function instrument.
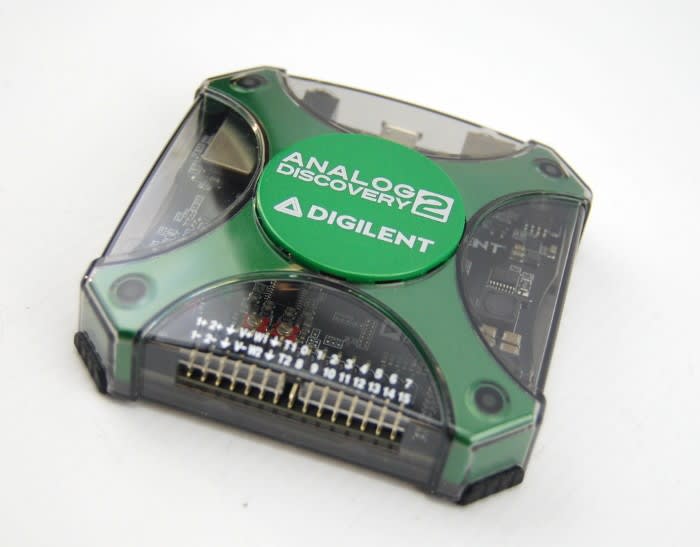
The Digilent Analog Discovery 2 is a USB oscilloscope and multi-function instrument which allows you to measure, visualize, generate, record and control a variety of mixed-signal circuit of all kinds.
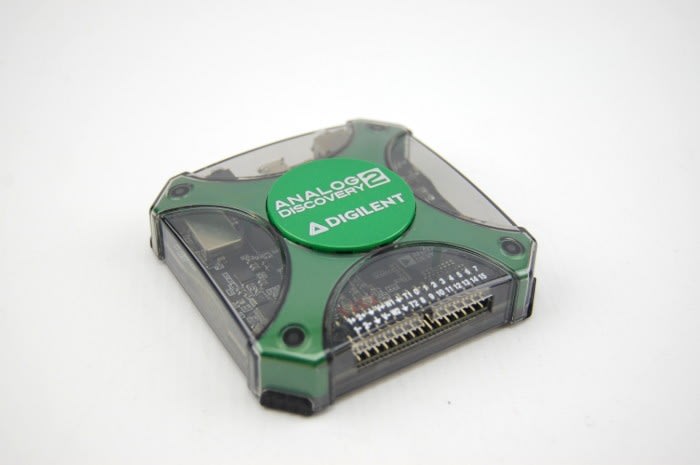
At 82x82x23mm it is roughly the same width as an iPhone 6+ and is about half the length but weighs less than 80g, so is definitely small enough to fit in your pocket! It may be tiny but the power of the Digilent Analog Discovery 2 shouldn’t be underestimated as is powerful enough to replace a whole stack of bulky lab equipment.
The analogue and digital I/Os can either be connected using simple circuit probes or they can be connected using the Analog Discovery BNC adapter board and BNC probes. This can then be configured to work as one of several instruments.
Features:
- Dual-channel USB digital oscilloscope.: 1MΩ, ±25V, 14-bit, 100MS/s, 30MHz+ bandwidth when used with the Analog Discovery BNC Adapter Board.
- Dual-channel arbitrary function generator: ±5V, 14-bit, 100MS/s, 12MHz+ bandwidth when used with the Analog Discovery BNC Adapter Board
- Stereo audio amplifier
- 16-channel digital logic analyser : 3.3V CMOS and 1.8V or 5V tolerant, 100MS/s
- 16-channel pattern generator: 3.3V CMOS, 100MS/s
- 16-channel virtual digital I/O including buttons, switches and LEDs
- Two input/output digital trigger signals: 3.3V CMOS
- Single channel voltmeter: AC, DC, ±25V
- Network analyser: 1Hz to 10MHz
- Spectrum Analyser: noise floor, SFDR, SNR, THD, etc.
- Digital Bus Analysers: SPI, I²C, UART, Parallel
- Two programmable power supplies (0…+5V , 0…-5V). The maximum available output current and power depend on the Analog Discovery 2 powering choice:
- 250mW Max for each supply or 500mW total when powered through USB
- 2.1W Max for each supply when powered by an auxiliary supply. 700mA maximum current for each supply.
Full specifications can be found at digilentinc.com
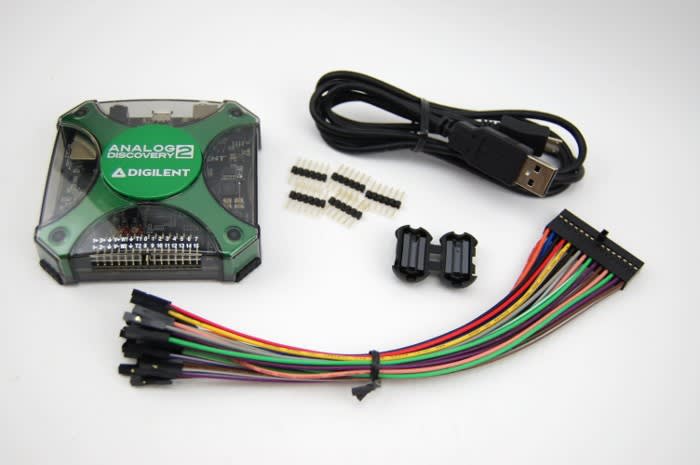
What’s inside the box?
In addition to the Analog Discovery 2, inside the neatly packed project box there is:
- One USB A to micro B cable
- One 2x15 row signal cable assembly
- Five 6-pin male headers
- One ferrite cable snap-on
… everything you could possibly need to begin with!
I’m sensing Déjà vu
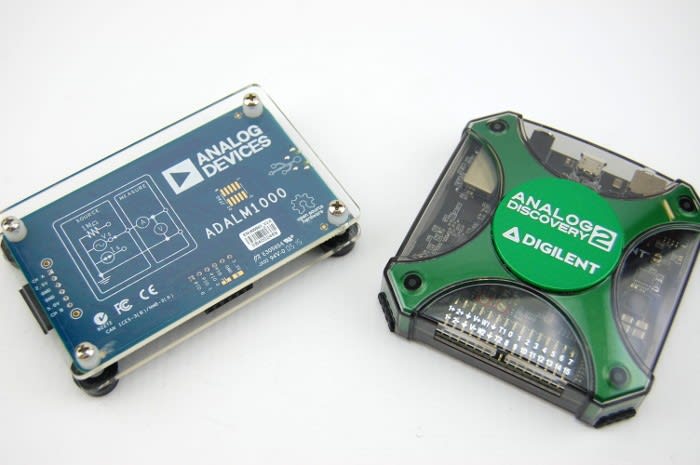
At a first glance the Analog Discovery 2 seems quite similar to something I used a little while back, the Analog Devices Active Learning Module - ADALM1000 (890-4004) . I covered this in some detail in the post, Initial Experiences with the ADALM1000, and went on to use it in future posts such as, Learning about Operational Amplifiers.
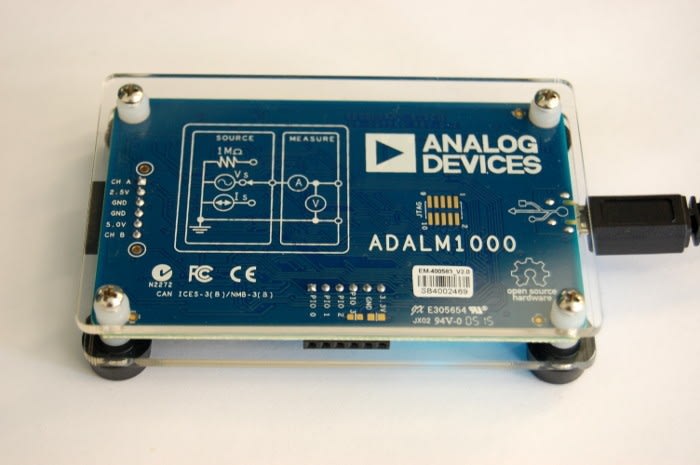
ADALM1000 can be used to help illustrate the relationships between voltage, current and impedance, and offers two high-precision analogue channels which are each capable of generating or measuring analogue signals at up to 100 kilosamples per second (kSPS). This can be done either using a single or dual channels and just like the Analog Discovery 2, is compact enough to fit in your pocket.
ADALM1000 uses a piece of software called Pixelpulse2 which allows you to:
- Source voltage (0 - 5V) and measure current.
- Source current (-200mA to 200mA) and measure voltage.
- Measure voltage only (0 - 5V)
The source can be set to constant or a waveform, such as sine wave.
In addition to Pixelpulse2, another piece of software called ALICE can be used and this gives you the additional function of being able to drive the PIO pins on the device (there are four of these in total).
While the Analog Discovery may at first appear similar to the ADALM1000, from looking at the specifications of the two it is soon apparent that the Analog Discovery 2 has a fair few more capabilities than the ADALM1000 — and seems much more powerful in general. Take the voltage measuring capabilities of both: ADALM1000 can measure 0 – 5V, while the Analog Discovery 2 can measure ±25V. Next lets have a look at the software.
Installing Waveforms 2015
The software required to run the Analog Discovery 2 is the free WaveForms 2015 software, a powerful multi-instrument software application.
“This software, coupled with the hardware instrumentation, brings a powerful suite of instruments to enable analog and digital design on your personal computer. Designed with a clean, easy to use graphical interface for each instrument” - Digilent
The software has lots of features for its many individual instruments, a full list of which can be found here. https://store.digilentinc.com/waveforms-2015-download-only/
I was quite excited to see what the WaveForms software is like considering to begin with I didn’t really get along with the ALICE software used with the ADALM1000.
To get started I downloaded the 64 bit deb file for Linux and began to installed this using the terminal. What I didn’t see was that this had a dependency runtime and because I hadn’t installed this, when I tried to install the WaveForms software I received an error message.
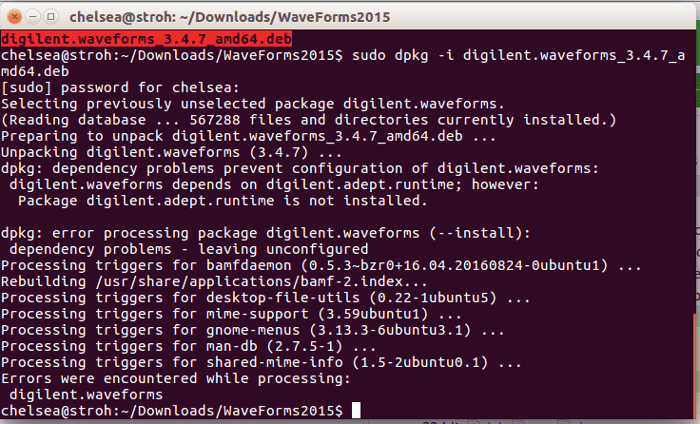
To correct this error I next downloaded and installed runtime followed by -
sudo apt-get -f install
What this does is check if there are still and dependencies missing that can be installed from the software centre. Once this was complete the software opened without a glitch.
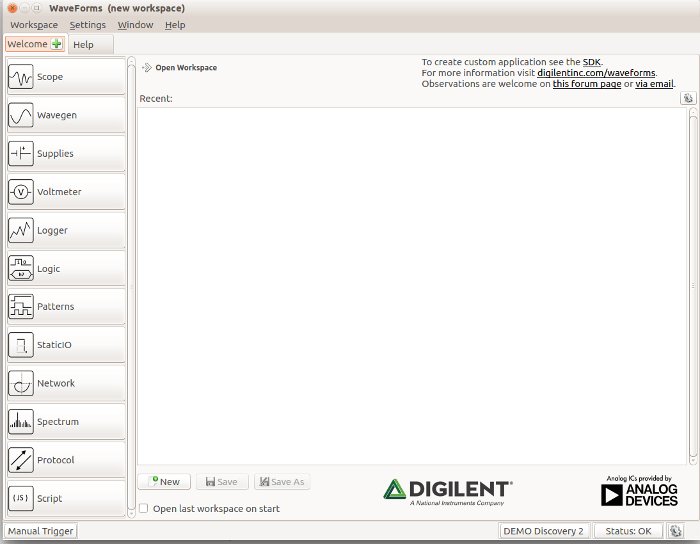
Getting started
Digilent have several tutorials which you can follow to help you get started. Starting with unboxing and installing the software, to taking your first measurements. To follow the Getting Started tutorial please follow this LINK.
To begin with I ran through this and used the Wavegen function of the software to generate a 1kHz sine wave with an amplitude of 1V, I then opened the Scope function and started this running. To connect these two I connected the Waveform Generator 1 (yellow wire) to the Oscilloscope Channel 1 + (orange wire) and connected a GND (black wire) to the negative channel of the oscilloscope (orange wire with white stripe).

The first thing I noticed about this software is it seems as simple to follow as Pixelpulse2, but with at least as many functions as ALICE.
Measuring microcontroller current consumption
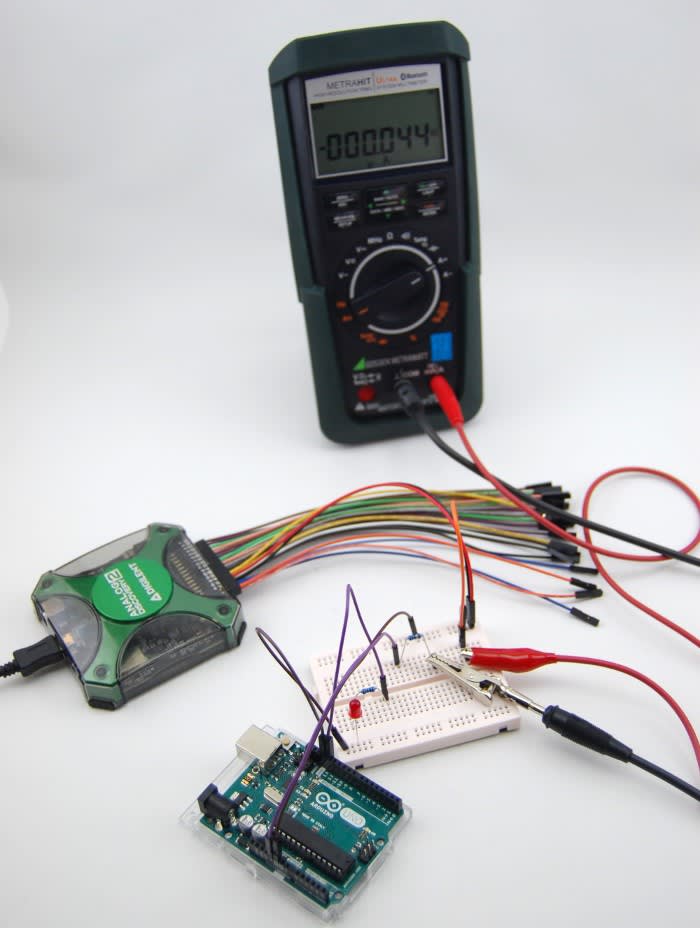
What I decided I wanted to do next was to try and recreate the microcontroller measurement current from the post, Initial Experiences with the ADALM1000. In this I used the ADALM1000 (890-4004) to measure the energy consumed by an ATMEGA328-PU microcontroller as it turned an LED off and on using an Arduino sketch.
What I found at this point is that with the Analog Discovery 2 I was unable to measure current. I found this particularly confusing as when in the WaveForms software, in the Scope there is the option to change the units to Amperes. I was also shocked that this very small yet powerful tool didn’t have this function when ADALM100 — a much simpler tool — does have the capability to measure current.
What I did to overcome this was to measure the voltage drop across a small resistor inserted in-line with the power supplied to the microcontroller. Then using the Math function in the software I could take the measured voltage and divide this by the resistor value used to calculate the current, then plot this along side the voltage.
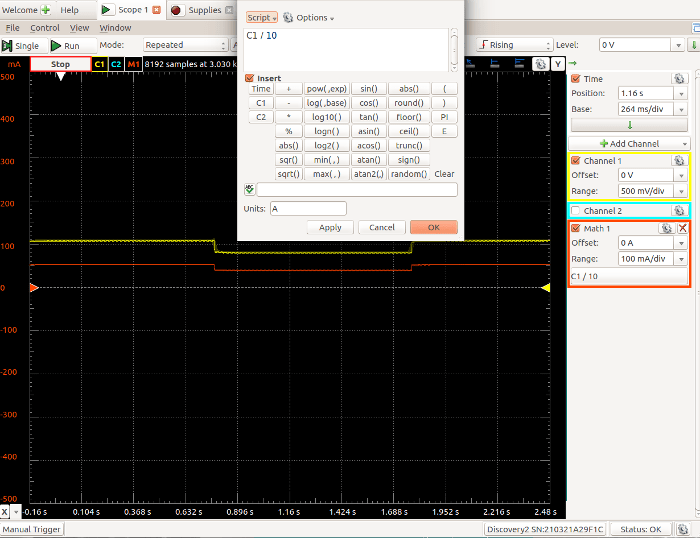
Knowing V = I x R
I = V/R
I = 0.4V/10 Ohms
I = 0.04 A (40mA)
I wanted to confirm this with a multimeter to determine if there was any margin of error between actual measured current and calculated result. I connected the multimeter in series with the resistor and confirmed a reading of pretty much bang on 40mA.
Analog Discovery 2 or ADALM100?
What I love about this is that it allows hobbyists, students, enthusiasts and engineers of all levels of experience the freedom to work with analogue and digital circuits in almost any environment, from homes to educational establishments and workplaces. Because of the small size and weight, the Analog Discovery 2 is incredibly portable and I feel the uses are almost endless.
Both devices have different applications and while the Analog Discovery 2 has loads of cool features and is really powerful for it’s size, I feel this is probably targeted towards higher education students (HND and University) as well as engineers who need a pocket device. In my opinion the ADALM100 (890-4004) is more targeted at much more at high school students and possibly hobbyists, who are still learning the fundamentals of measurement. I feel starting out with ADALM100 was right for me at the point in my education back in 2015, now I feel I am at a point where tools like the Analog Discovery 2 will benefit my learning greatly as I can analyse more complex circuits.