Design and manufacture of a custom acrylic case
Follow article
 Dave from DesignSpark
How do you feel about this article? Help us to provide better content for you.
Dave from DesignSpark
Thank you! Your feedback has been received.
Dave from DesignSpark
There was a problem submitting your feedback, please try again later.
Dave from DesignSpark
What do you think of this article?

So far in my previous posts I have written the code and designed the circuits for a device that integrates a moisture sensor and a weighing mechanism that can be utilised in a hospital environment. The device not only logs a patient’s weight and a bed status of wet/dry to a CSV file and displayed in graph format, but to also in the case of a wet bed, turn on an LED corresponding to the bed number on a LED bank located at a nurse’s station. The aim of this is to improve the patients experience: it would save the embarrassment of having to ask for help and improve the current 4 hour checks on bed bound patients that can mean that they are left uncomfortable for long periods of time and the knock-on effect of facilitating or hindering the healing of pressure sores, which currently cost the NHS a £215- £2992 per patient per average 8 day stay. In this post, I’m going to be looking at housing the bed monitor and the nurses station device: how I designed an acrylic case for each in Inkscape, using the laser cutter, bending the acrylic and tweaking/finalising the circuits for a more efficient and professional looking design. The bed monitor is a little more complex than the nurses station, so I will concentrate on the nurse’s station in this post. First up, Inkscape.
Inkscape

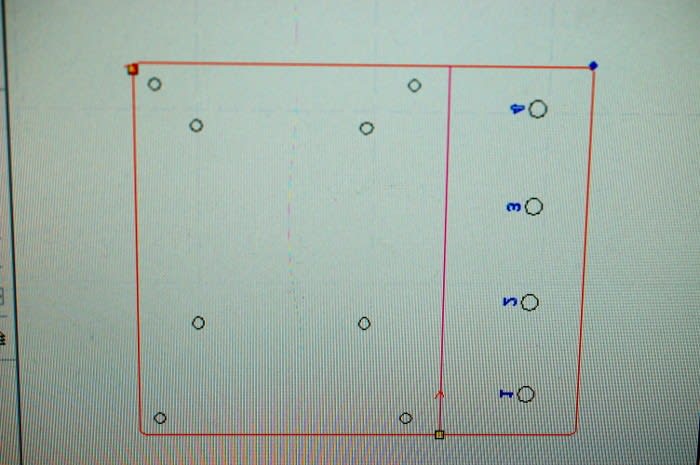
Inkscape is an opensource vector graphics editor using scalable vector graphics (SVG), though many other formats can be imported and exported if you want to get creative. I used it to bring my hand drawn sketches up to a more professional level that can then be published on the paper of in my case brought into physical form by downloading them to a laser cutter to create the case from 3mm acrylic. The great thing about the vector design is the ease at which objects can be created and scaled. Inkscape can render primitive vector shapes e.g. rectangles, ellipses, polygons, arcs etc and offers easy drag and draw spirals, stars and text. These objects can be filled with solid colours and patterns and their borders may be stroked, both fill and stroke also have adjustable transparency. Embedding and optional tracing of raster graphics is also supported, which came in handy for me creating something that was eventually going to a laser cutter. I went simple and minimal, here is what I actually created.

Laser Cutting
Being designed to be used in a hospital I decided to try and make is as dust and dirt proof as I could. The writing, logo, numbers etc would all be dust and bacteria traps to I decided to engrave/raster them on the underside of the acrylic so that the top side of it was easy to clean and wipe. Hence the writing is flipped so that when I do turn it the correct way, the writing will be the correct way around. I then saved my file onto a USB and took it to the laser cutter. When I opened the laser cutter software and united all my lines, so that the laser cutter will cut smooth arced lines, I selected the lines and set the cut speeds and order of action. A laser cutter can cut completely through, raster engrave or vector score the material, and based on which of these is selected the laser is set to different power and speed values. For example, to completely cut through the material more power but less speed is need, but to engrave the laser needs to go faster and have less power behind it. It’s essential to think about the order we want the laser to work in. The etching need to be done first and the things we want to completely cut out need to come last. To do this we give each action, cutting out, engraving etc a colour, set the speed and power for that colour and then select and colour the lines accordingly. Then move the colours up and down according to the order they are to be completed in. This can be seen in the pictures below.

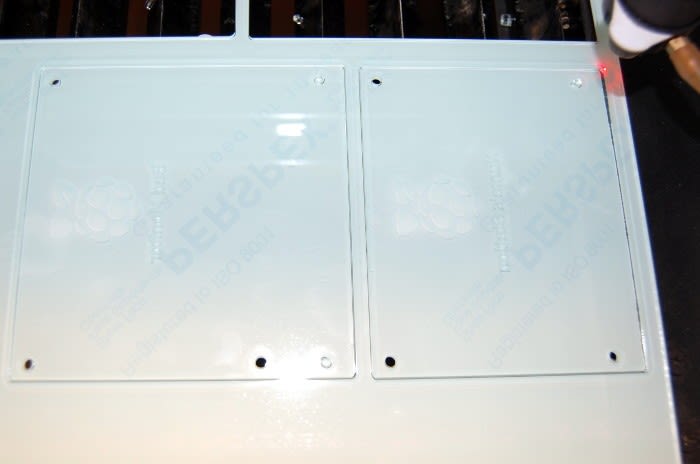
Once the acrylic is loaded on the bed, the image is downloaded. It is best to run a test, where by the laser moves in a square coving the area it will be cutting within, if that stays within the scope of the acrylic sheet then it is fine to go ahead and start.

Once the laser cutter has done its thing I was left with pieces like below.
My end game involved me needing to bend the acrylic, like the picture below, I did this using the imaginatively named acrylic bender.
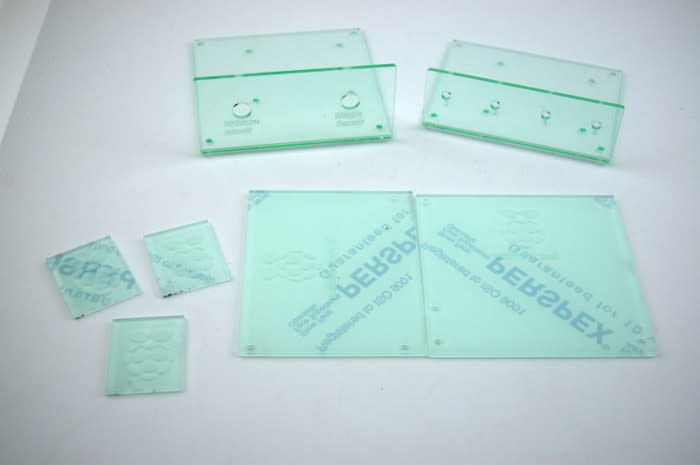
Acrylic bending

This involves clamping the acrylic in position over a hot wire until it is malleable, then physically manipulating it and holing it in place until it cools and sets in its new shape. Luckily, my 3mm acrylic only took around 210 seconds to heat and I was able to get my 90degree bend by placing it on the bench, against a small box until it set. I decided to use wax to colour the etching and make them easier to read, which can be seen below.
I then set about assembling the case and found that it didn’t quite sit how I wanted it too. There was a gap where the base and the lid met, and they didn’t quite sit flush.

I decided to cut another and in true goldilocks style that one went too far the opposite way. It took me three attempts before I finally got it on the mark.

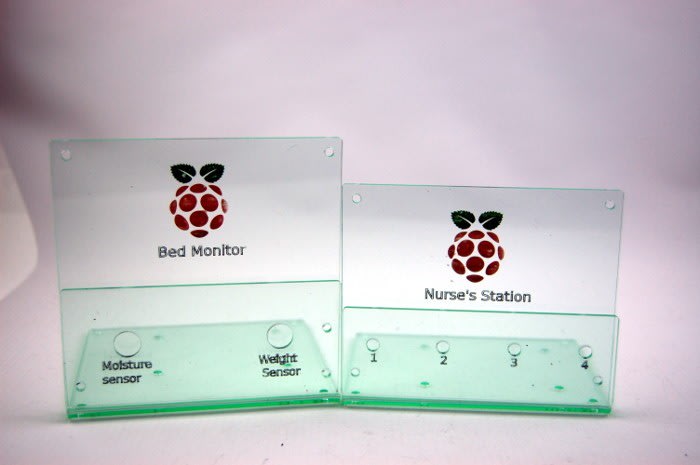
Once I knew it would be a perfect fit I placed all the components in place, fastened them down.

Then I attached the top section to complete the case.

