Remote Flying Fish Project Part 12: Flutter Installation on Windows
Follow article Dave from DesignSpark
How do you feel about this article? Help us to provide better content for you.
Dave from DesignSpark
Thank you! Your feedback has been received.
Dave from DesignSpark
There was a problem submitting your feedback, please try again later.
Dave from DesignSpark
What do you think of this article?

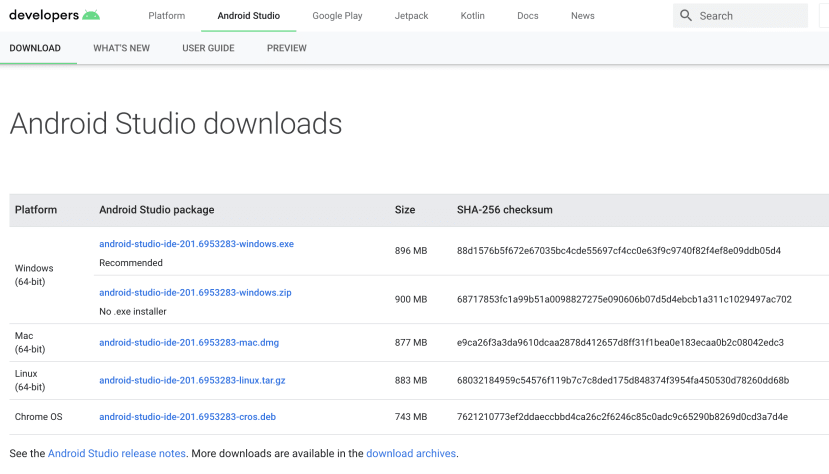
Flutter is a framework well supported by Android Studio IDE. So firstly, we need to install Android Studio. You can download the most updated version from the link below.
https://developer.android.com/studio#downloads
You will see the page containing a list of downloadables. Select the package with 64-bits (for Win7 and onwards, and if you are still using Windows XP or Vista, check with dxdiag tool)
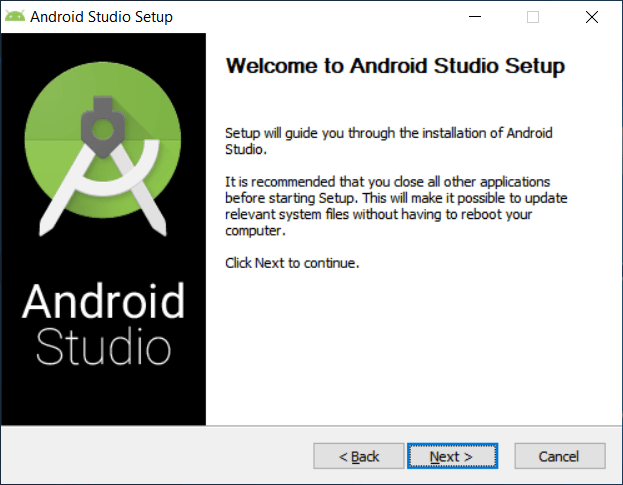
After download is complete, click on the installer. An interface will show up. Click Next.
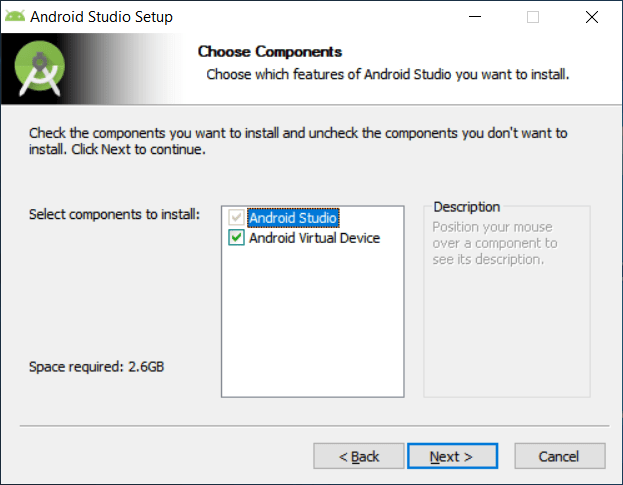
Click Next.
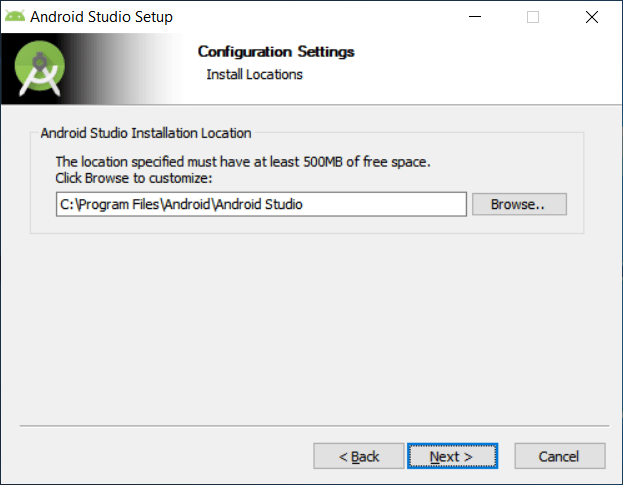
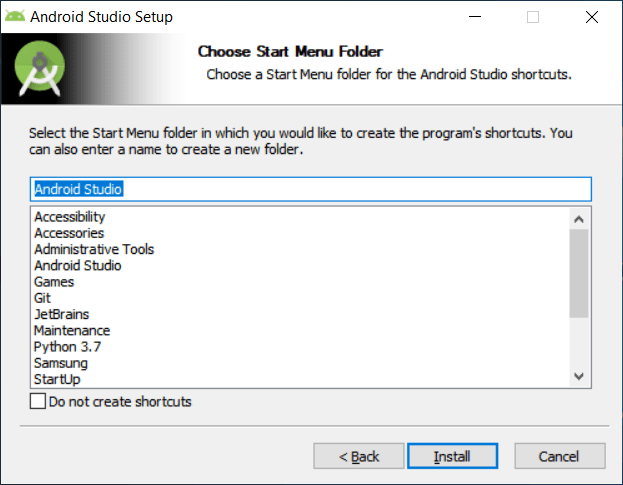
Click Next.
Click Install.
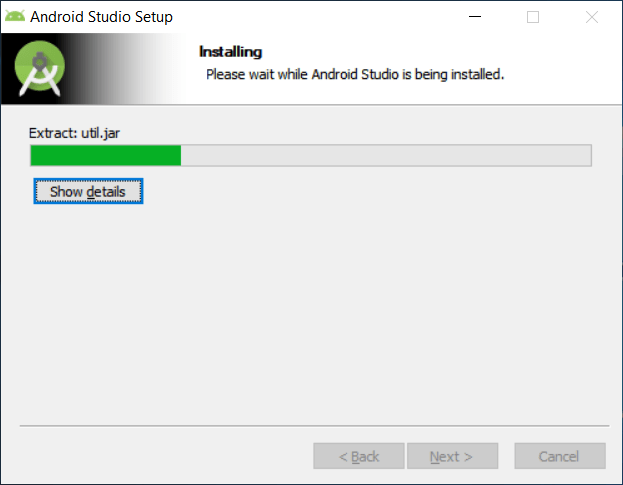
Wait until the installation is finished.
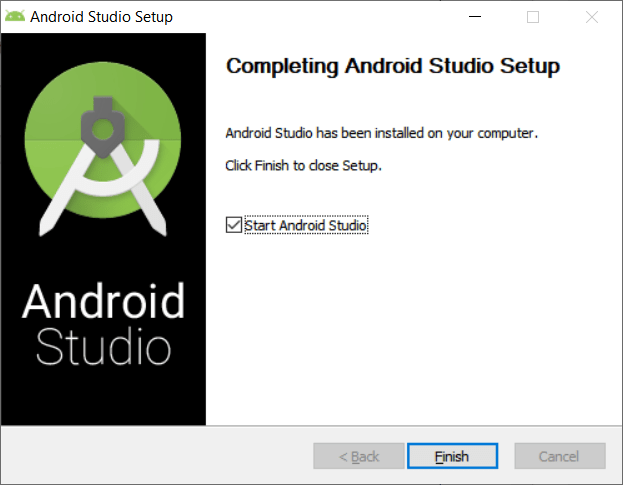
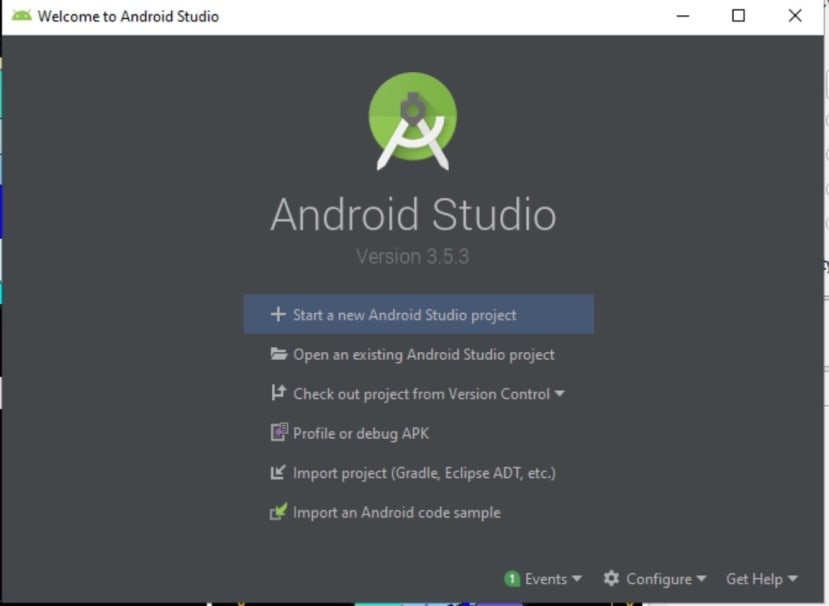
Click Finish and open Android Studio.
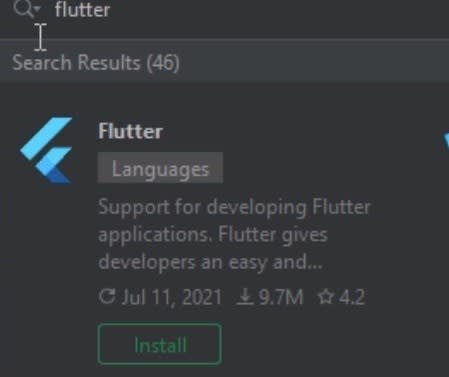
Then, we will need to go to "Configure" (at bottom) -> "plugins"
Then search Flutter and install it right away. Dart will also be installed for you when you click "YES" in the following prompts.
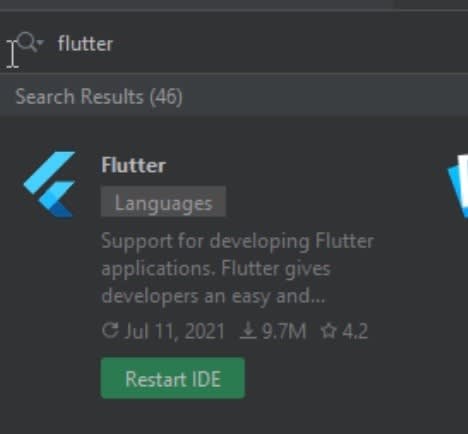
After installation is done, click "Restart IDE" to enable the plugins.
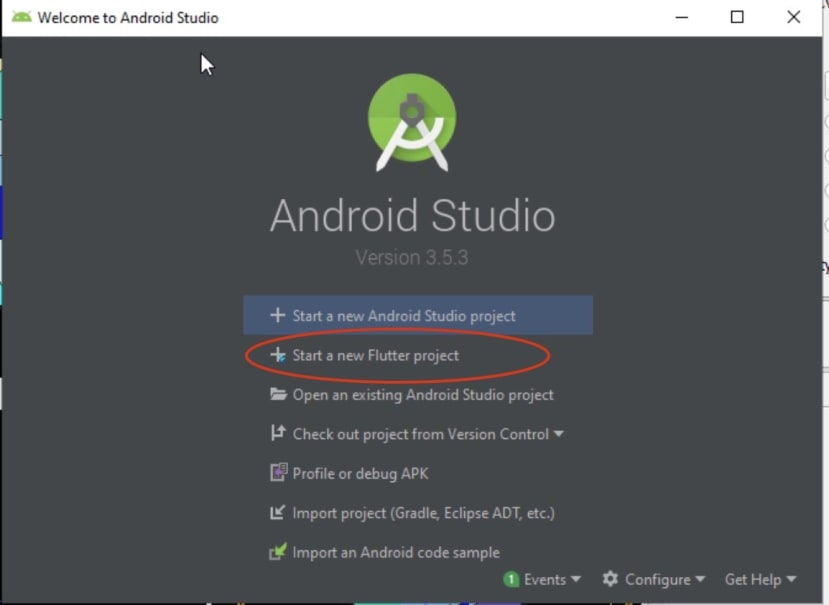
Lastly, you will be able to create a Flutter project with Android Studio now!
But we are not finished because we still need to get the Flutter SDK.
Go to https://flutter.dev/docs/development/tools/sdk/releases and download the latest .zip file
Unzip to somewhere locally, and go back to Android Studio to configure the path when starting a new flutter project.
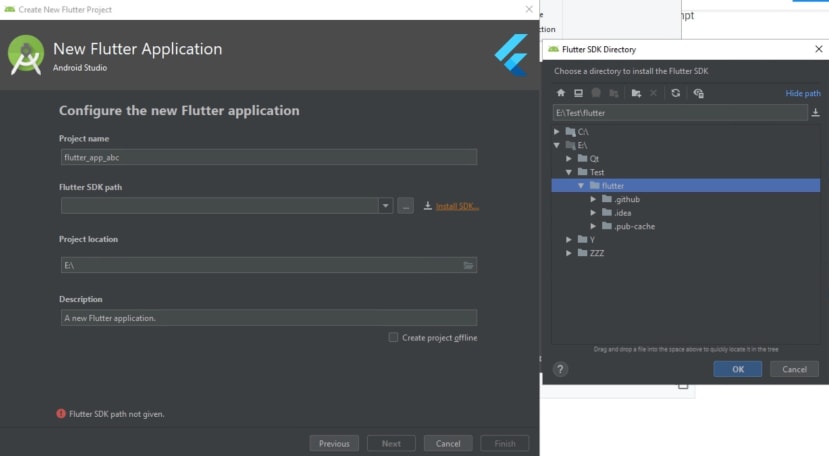
Lastly, just click Next and proceed with other necessary setups for your new Flutter project. That's it!
Parts in this series
- Remote Flying Fish Project Part 1: Introduction
- Remote Flying Fish Project Part 2: DIY Series - Arduino Testing
- Remote Flying Fish Project Part 3: Motor Testing
- Remote Flying Fish Project Part 4: Bluetooth Testing
- Remote Flying Fish Project Part 5: Motor Testing with Remote XY
- Remote Flying Fish Project Part 6: PCB Design (preparatory)
- Remote Flying Fish Project Part 7: PCB Design (Schematic)
- Remote Flying Fish Project Part 8: PCB Design (PCB Layout)
- Remote Flying Fish Project Part 9: Soldering and Arduino Programming
- Remote Flying Fish Project Part 10: Flutter Introduction
- Remote Flying Fish Project Part 11: Flutter Installation on MacOS
- Remote Flying Fish Project Part 12: Flutter Installation on Windows