Building a car battery data logger Part 4: How to create a php file to receive sockets and load into database
Follow article Dave from DesignSpark
How do you feel about this article? Help us to provide better content for you.
Dave from DesignSpark
Thank you! Your feedback has been received.
Dave from DesignSpark
There was a problem submitting your feedback, please try again later.
Dave from DesignSpark
What do you think of this article?
Creating a socket
To begin with, a socket has to be created. The socket_create function does this. Below is a code sample:
// create socket$socket = socket_create(AF_INET, SOCK_STREAM, 0) or die("Could not create socketn");
The above code will create a socket with the following properties:
Address Family: AF_INET (IPV4)
Type: SOCK_STREAM (this means connection-oriented TCP protocol)
Protocol : 0 (IP protocol)
Error handling
If any of the socket functions fail then the error information can be retrieved using the socket_last_error and socket_strerror functions. socket_last_error and socket_strerror will return the last error on the socket and a string describing a socket error respectively.
if(!($sock = socket_create(AF_INET, SOCK_STREAM, 0))){ $errorcode = socket_last_error(); $errormsg = socket_strerror($errorcode); die("Couldn't create a socket: [$errorcode] $errormsg \n");}
echo "Socket created";
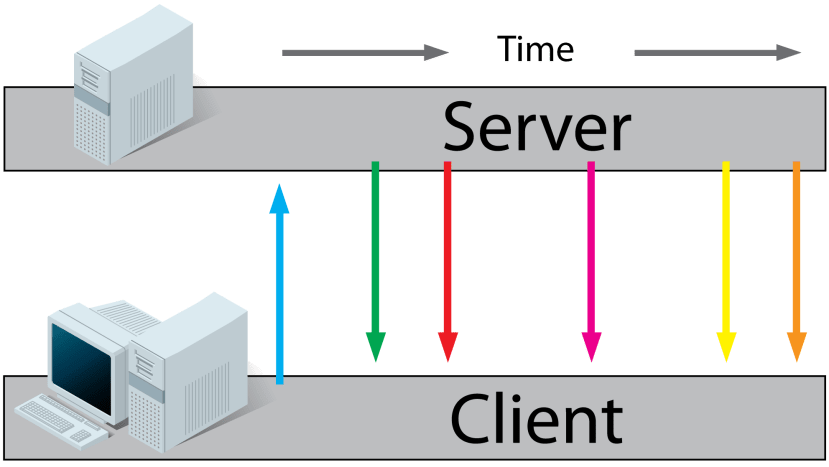
Connect to a Server
We connect to a remote server on a certain port number. So, we need an IP address and port number to connect to. My PC was connected to a Wi-Fi router and set up a specific port, 60000, to receive the measured data from the Wi-Fi module.
$host = '172.16.0.181';$port = 60000;// don' t timeout!set_time_limit(0);
// create socket$socket = socket_create(AF_INET, SOCK_STREAM, 0) or die("Could not create socketn");
// bind socket to port$result = socket_bind($socket, $host, $port) or die(Could not bind to socketn");
// start listening for connections$result = socket_listen($socket, 3) or die("Could not set up socket listenern");
// accept incoming connections// spawn another socket to handle comminication$spawn = socket_accept($socket) or die("Could not accept incoming connectionn");
Load data into a database
In this project, I have using CanvasJs API to plot a line chart graph. There will be a more detailed discussion in the next part, part 5. First, we need to create a two-dimensional array that is used to suit the format by using CanvasJs API.
$two_dime_array = array();$voltage;$current;$time;$count = 0;
//array_push($three_dime_array,$point_typel);$difference;
As the data type of USART transmission is normally a string, so, we need to convert it back to float data type and to be loaded into the database. You have to consider the design of differential op-amp and current sensing model to adjust the ratio to get back the original value of current and voltage.
function string_to_float($String, $type){if($type = "Voltage"){$float_data = floatval($string);$float_data = $float_data*14.95/3.28/1000;$float_data = number_format($float_data,3);return $float_data;}else{$float_data = floatval($string);$float_data = $float_data*0.82/1.205/1000;$float = number_format($float_data,3);return $float_data;}}
Afterwards, we start to read client input by using a while loop and socket_read function. In this example, I have introduced a number at the end of the ADC converted result, for example, 221000. The last two digits represent the first ADC voltage result. Similarly, there will be the first ADC current result when the last two digits are 01. Therefore, 00, 02, 04, 06 .…. represent ADC voltage results. Similarly, 01, 03, 05, 07 .…. represent ADC current results. Therefore, we can distinguish out the voltage and current in a large bunch of data that we have received. After getting a pair ADC results, then it will be put into a two-dimensional array. Here is a code example:
while(1){while(1){$input = socket_read($spawn, 304680, PHP_NORMAL_READ);if(strlen($input) >= 6){$difference = strlen($input) - 6;break;}}if(intval(substr($input, -2 - $difference, $difference+1))%2 == 0)//Voltage{$string = substr($input, 0, 4);$float_data = string_to_float($string, "Voltage");$index = substr($input, -2 - $difference, $different+1);$voltage = $float_data;//echo "Voltage value ($index):" .$float_data; //echo " "; //echo PHP_EOL;}else{$string = substr($input, 0, 4);//Current$float_data = string_to_float($string, "Current");$index = substr($input, -2 - $difference, $different+1);$current = $float_data;$time = date('Y-m-d H:i:s',time());$temp = array($volatge, $current, $time;array_push($two_dime_array,$temp);
Once 20 pairs of ADC result have been put into the two-dimensional array, I decided to create that information in my database. Here is a code example:
if($count >= 20) { mysqli_select_db($link, "record"); for($i = 0; $i <$count; $i++) { $db_vol = $two_dime_array[$i][0]; $db_cur = $two_dime_array[$i][1]; $db_time = $two_dime_array[$i][2]; $sql = "INSERT INTO batteryinfo (voltage, current, time) VALUES ($db_vol, $db_cur, '$db_time')"; mysqli_query($link, $sql); } $two_dime_array = array(); $count = 0; }}
In the next part, I will talk about how to build a simple dashboard to view the collected data in a line chart with a login system (authorization).