Installing Node-RED on Synology NAS | Node-RED | DesignSpark
Follow article
 Dave from DesignSpark
How do you feel about this article? Help us to provide better content for you.
Dave from DesignSpark
Thank you! Your feedback has been received.
Dave from DesignSpark
There was a problem submitting your feedback, please try again later.
Dave from DesignSpark
What do you think of this article?
Setting up Node-RED and getting data from a Things Node connected to The Things Network
Having got my Things Node (135-9784) successfully reporting the temperature I wanted a way of making the data publicly available. I looked around at various options; I had already tried AllThingsTalk Maker and Cayenne, but it appears that people have to sign up for an account before you can share data with them. I wanted something more open than that, so I looked at Node-RED.
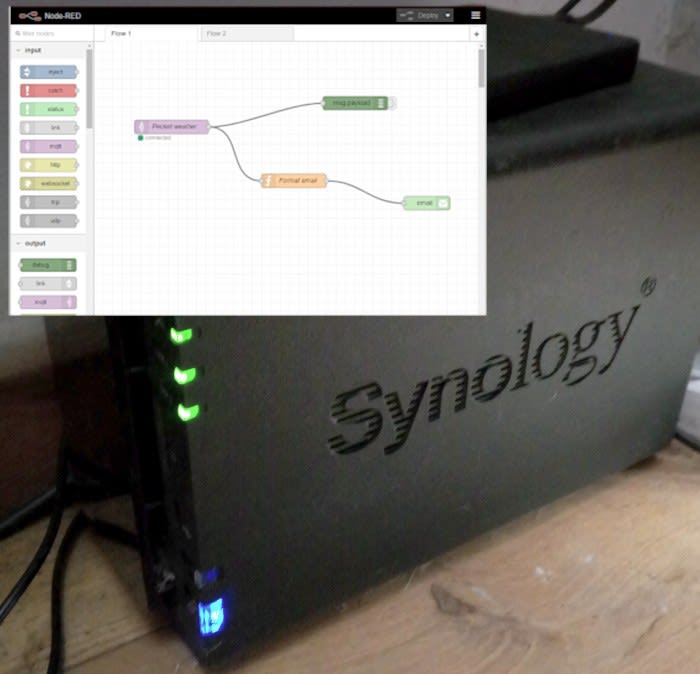
I have a Synology Diskstation at home (pictured above, all alone in its cupboard) — a NAS that runs its own proprietary Linux-based operating system, DSM, that I thought should be able to run Node-Red, which would allow me to share data via a web site, email or even Twitter.
I found a discussion topic that got me started. One option was to install it using Docker, but that’s only available on the higher-end Disktations, whereas mine is a lowly DS214.
Using Secure Shell (SSH)
Node RED is dependant on Node.js being installed on your Diskstation and you also need to make sure user home service is enabled in the Control Panel under user > advanced > user home. I already had that enabled and Node.js installed, so I went ahead with the Node-Red install.
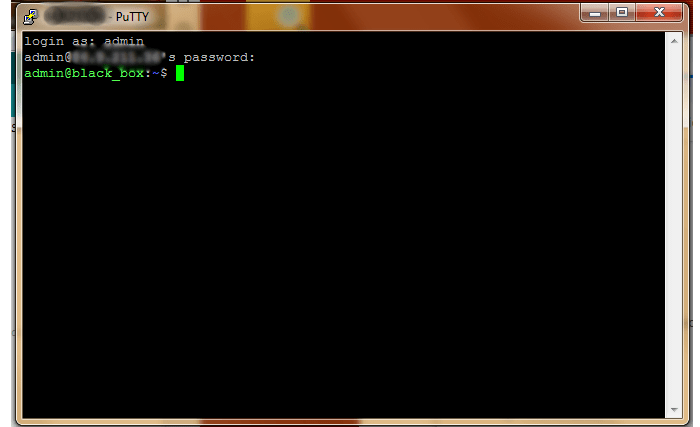
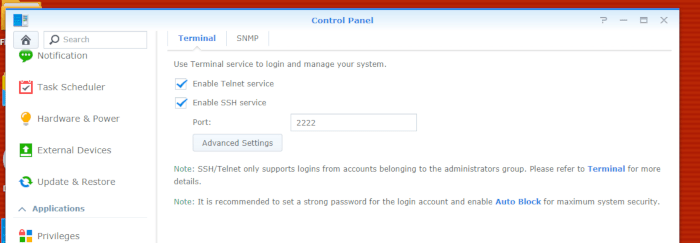
I needed to SSH into my NAS to install Node-Red. As I was working on a Windows PC I used PuTTY for that, but any equivalent SSH client would do. I also needed to enable SSH on the Synology Diskstation – a setting you will find in the “Terminal & SNMP” link in the Control Panel of DSM. While you are there take a note of the port number, you’ll need that for your SSH client.
Once I had connected to the Diskstation and logged in I could install Node-RED using the command from https://nodered.org/docs/getting-started/installation
sudo npm install -g --unsafe-perm node-redOnce it has run through the installation process you simply type ‘node-red’ to start it up.
Automatically starting Node-RED
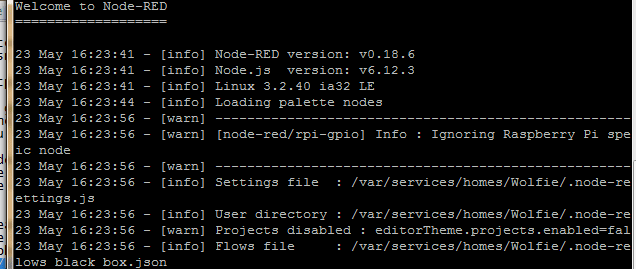
Look for the line displayed in the terminal window when you start it up that says [nas-ip-address]:1880 and that is the URL to view the User Interface. Now I needed to get it to start up automatically at boot. To do this I installed pm2, a process manager for Node.js, by entering:

sudo pm2 npm install -g pm2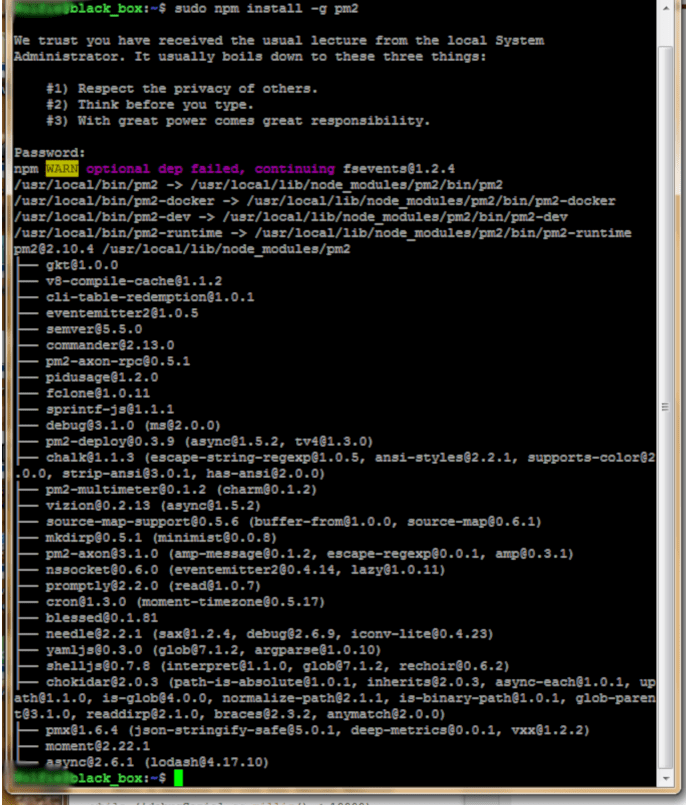
And that successfully started Node-RED as a daemon, which meant it carried on running when I logged out of my SSH session.
What I could not do is get the pm2 start-up option to work. This may be due to a quirk of the Synology or it may have been my error but I decided to sidestep the problem by using Synology’s own Task Scheduler. I wrote a simple script and set up the Task Scheduler to run it at boot.
#!/bin/sh
HOME=/root
source $HOME/.profile
PATH=/opt/bin:/opt/sbin:$PATH
/usr/local/bin/node-red
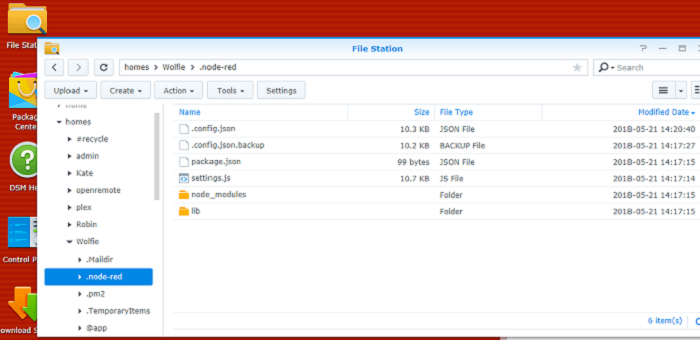
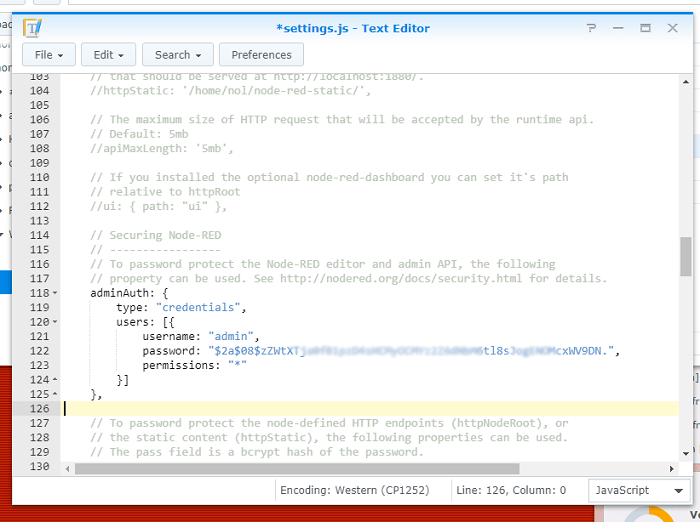
I then wanted to make the installation more secure, so I followed the instructions here and edited the settings.js file which was in my in the .node-red folder which in turn was in my Synology home folder.

The Things Network nodes
So far, so good. The next thing was to install The Things Network nodes in Node-RED. I followed this quide, but kept getting error messages. I worked out this was due to having an old version of Node.js installed. I should have read the beginning of the Node-Red Installation guide more carefully and looked a bit more closely at the Node-js package on the Synology. It was version 4 that had installed with the Drive package (Synology’s own very good “Drop-Box” like app).
I decided the safest thing would be to uninstall Node-Red, install Node.js version8 and then re-install Node-RED, which should use the latest Node.js version by default.
I disabled the Start on Boot task and re-started the NAS, then used PuTTY / SSH again and used:
sudo npm uninstall -g node-redThen deleted the .node-red folder in my Synology home folder.
I next installed Node.JS v8 using the Synology’s Package Manager and re-installed Node-RED.
Unfortunately, the Things Network node still would not install in Node-RED. I tried repeating the uninstall process and install Node.js v6 but still no luck. The only thing that worked was the version 1 of the Things Network node that you install with
npm i node-red-contrib-ttn@1.0.0As detailed here
I tried installing other nodes and they worked so I’m not sure what it is that the Synology and the Things Network Nodes disagree about.
Getting around the problem
Once again I decided to sidestep the issue by using the MQTT nodes that come bundled with Node-red.
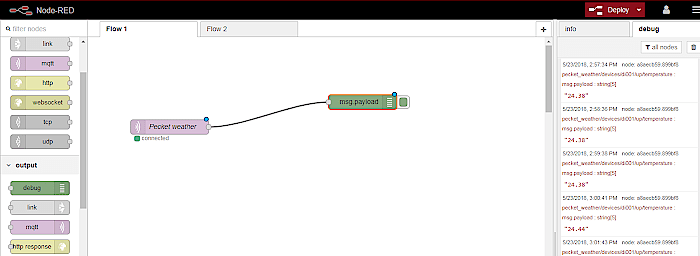
For those of you that have not used Node-RED, it is a tool for wiring together devices and services using a browser-based editor that lets you simply drag and drop the things you want to wire together into the workspace, and drag wires between them. It is a very pleasing graphical interface that makes it relatively simple to get things up and running.
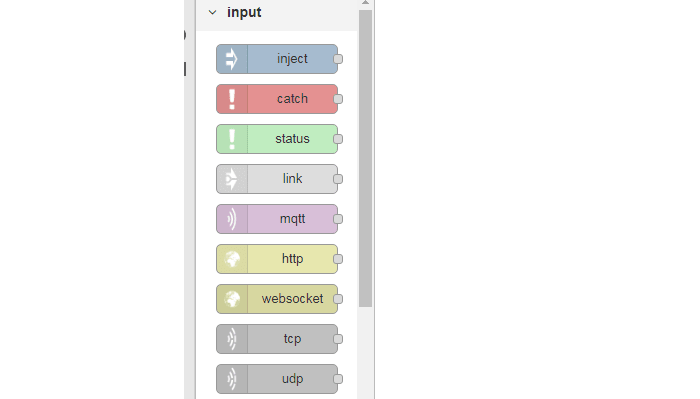
I dragged an MQTT input node from the ‘palette’ on the left, onto the workspace followed by a debug output node and wired the two together. Now I just had to edit the MQTT node so it connected to my Things Node and started getting data. When I had got it set up I would them see the data under the Debug tab on the right.
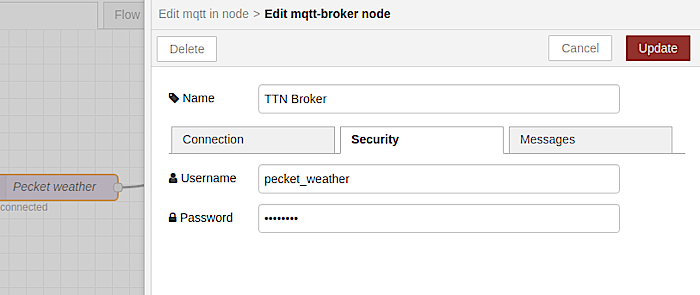
To connect to the Things Network I gave the server a name – TTN Broker – then clicked on the pencil icon to edit its details.
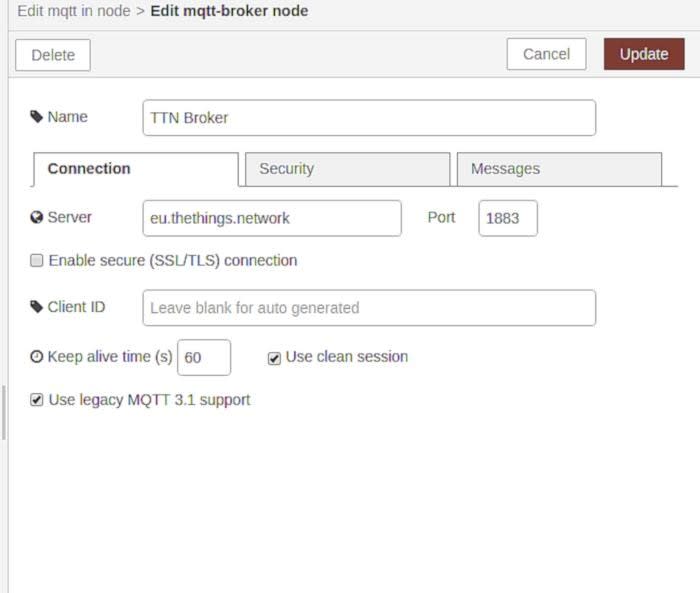
The information I needed was:
- The Things Node server – eu.thethings.network
- Port – 1883
- Username – my App ID on the Things Network
- Password – the App Access Key

Click ‘Update and you are taken back to the node properties page.
After a bit of help I worked what to put in the Topic field:
+/devices/+/up/temperatureThe ‘+’ is a wildcard so this was setting the topic to subscribe for any device sending uplink and get the data in the temperature field.
I edited the debug node so the Output was msg.payload, made sure ‘debug window’ was ticked and clicked Done.
After each change or edit you need to click the ‘Deploy’ button in the top right-hand corner of the main Node-RED window, which I did and after a moment could see data being displayed under the debug tab.
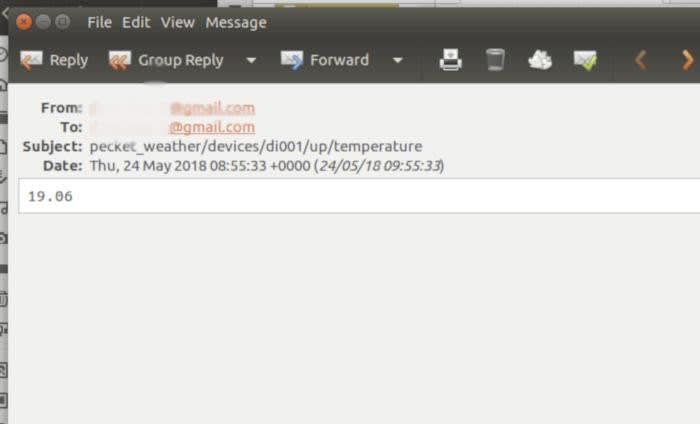
Telling the World the temperature at Pecket Well
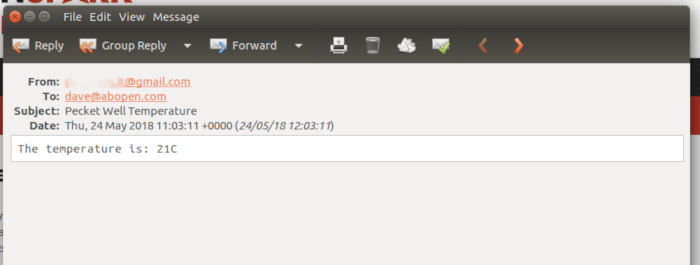
I decided I would send the Temperature to my email. I dragged the Email Out node on to the canvas, double clicked it and entered my email details, clicked Done, then Deploy. And as simple as that I started getting messages like this:
I thought that could benefit from a bit of tidying up. A function node wired between the MQTT and the Email nodes, would pass the message through a JavaScript function.
Drag the Function node onto the work surface, double-click it to edit, enter the following ..
msg.payload = 'The temperature is: ' + msg.payload + 'C';

msg.topic = 'Pecket Well Temperature'
msg.to = 'dave@abopen.com'

return msg;
… wire it all up and click “Deploy” and this is the resulting email:
Conclusion
This has not been a straightforward exercise by any stretch of the imagination, but I was trying to get the Synology Diskstation’s DSM OS to do something it was not really designed to do, and in the end, I have achieved what I set out to do. I can share the temperature data from my Things Node with anyone who wants it.