Building a Modular Synthesiser Part 2: Using Bela for The First Module
Follow article
 Dave from DesignSpark
How do you feel about this article? Help us to provide better content for you.
Dave from DesignSpark
Thank you! Your feedback has been received.
Dave from DesignSpark
There was a problem submitting your feedback, please try again later.
Dave from DesignSpark
What do you think of this article?
Building the Bela Pepper module, installing it and running some sample projects.
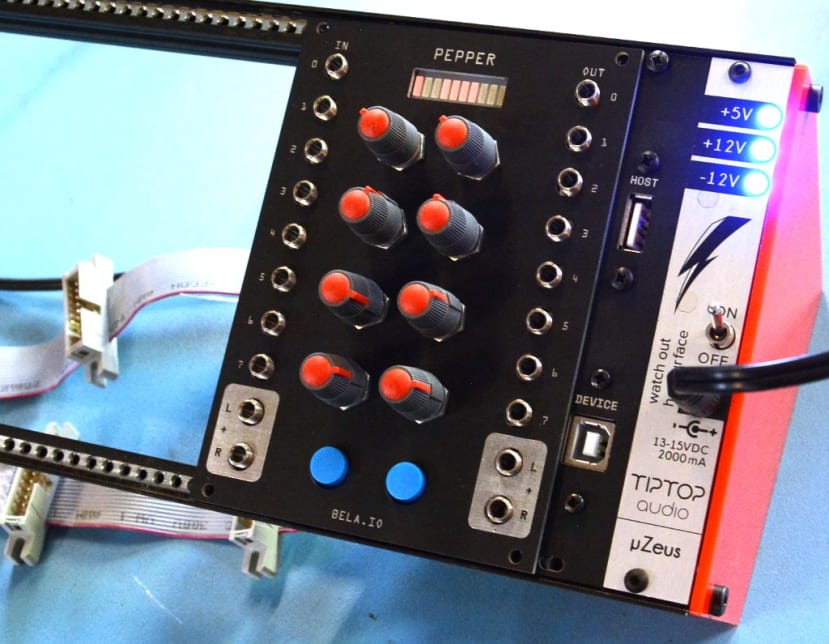
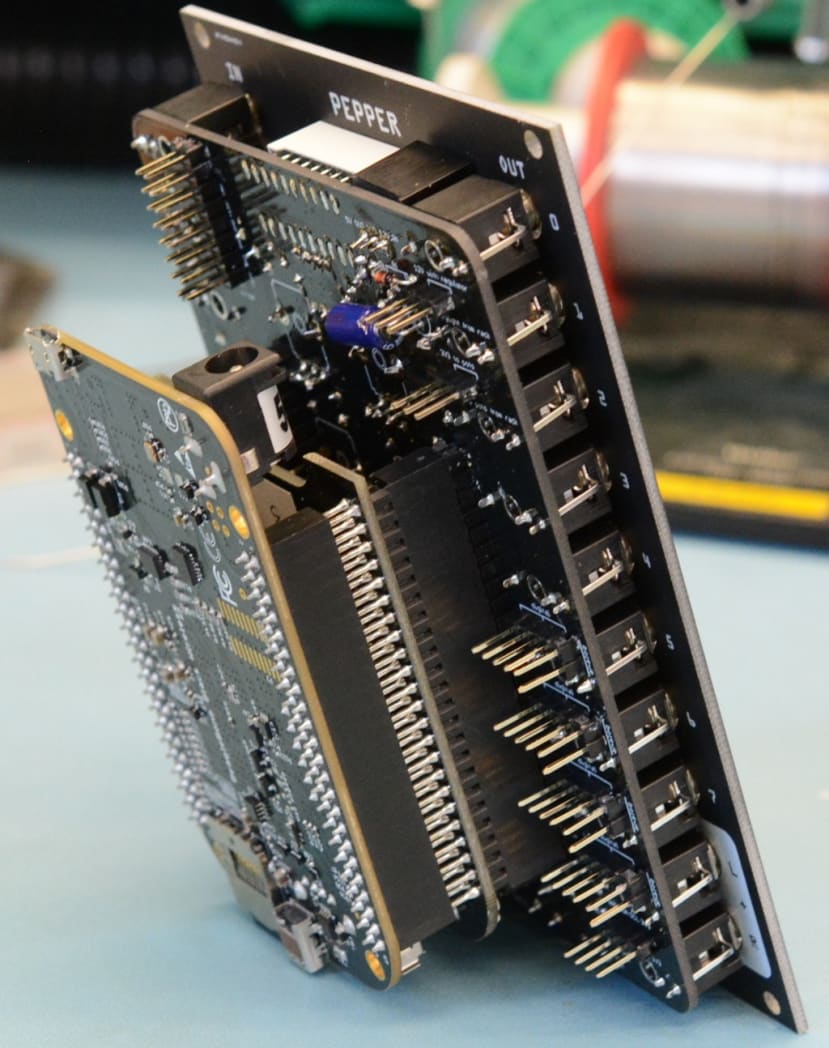
I had already used the Bela to make an effects unit for the Red Tin and during my research for that project, I noticed that they also produced a modular synth kit called “Pepper”. So I decided to re-purpose my Bela and use it with the Pepper kit that extends it for convenient Eurorack use.
This was the ideal first project as I already had experience with the Bela and, as the Pepper can be programmed with different Bela projects, this would give me a module I could adapt as my synthesiser developed
Assembling the Pepper
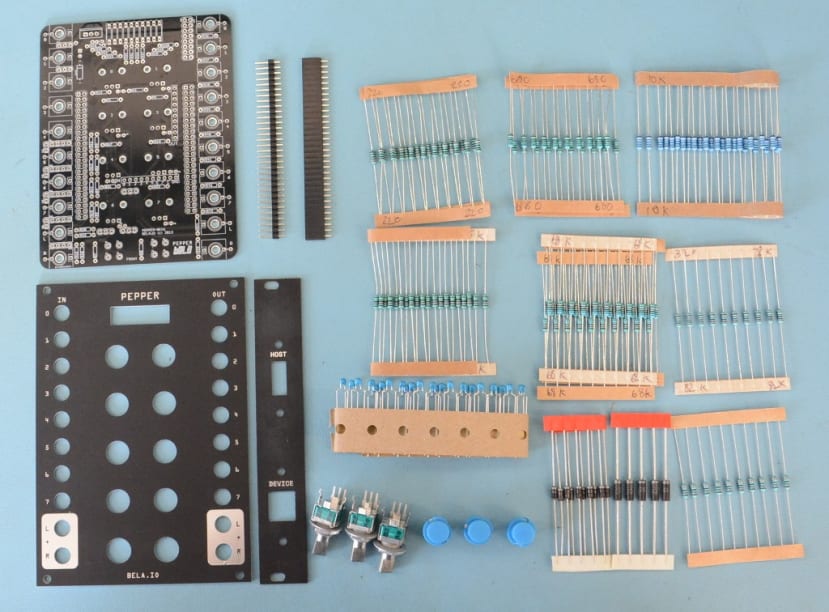
Once the components had been delivered I set to work with the soldering iron.
Bela provides a comprehensive step-by-step guide to assembling the Pepper.
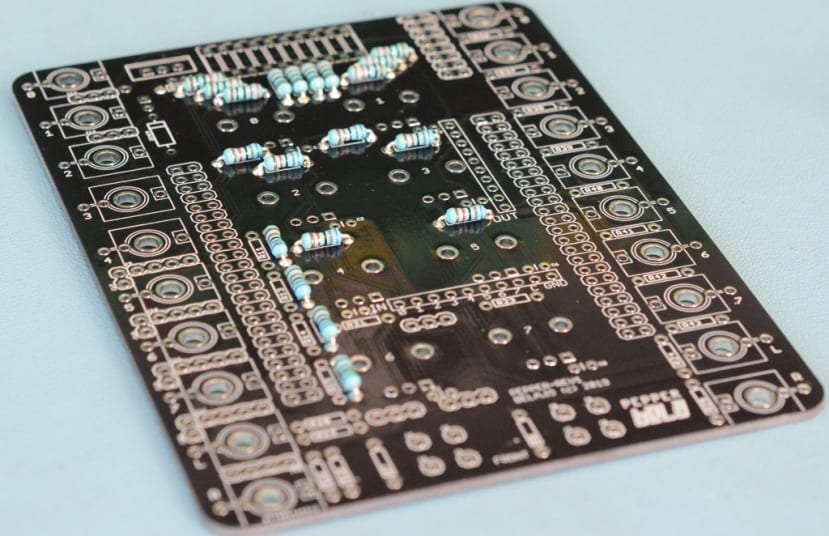

I held the header pins in place with Blu tack and took extra care to make sure they were vertical as this would be critical when connecting the Bela. I initially soldered 2 pins at opposite ends and then checked again that everything was straight before continuing.
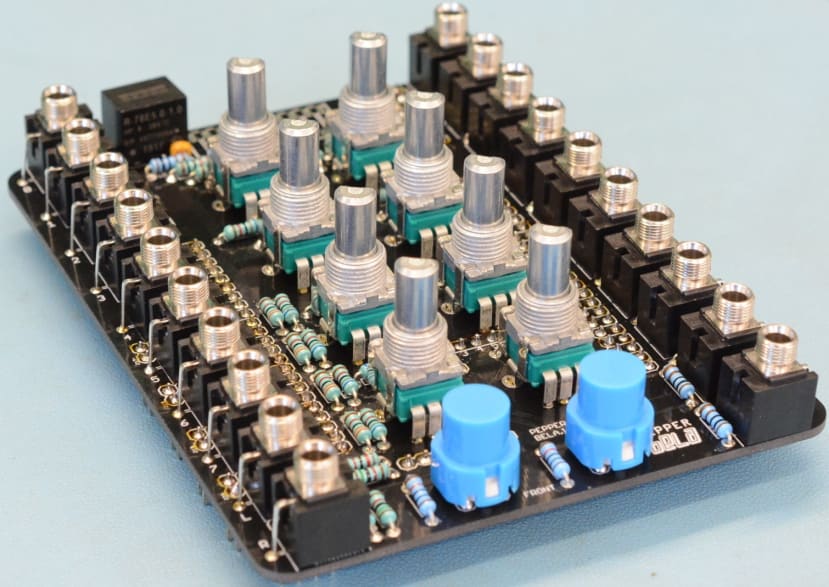
The final stage was to solder the jack sockets, buttons and potentiometers in place. I did this with the faceplate fitted, to ensure that the holes were lined up correctly with the components.
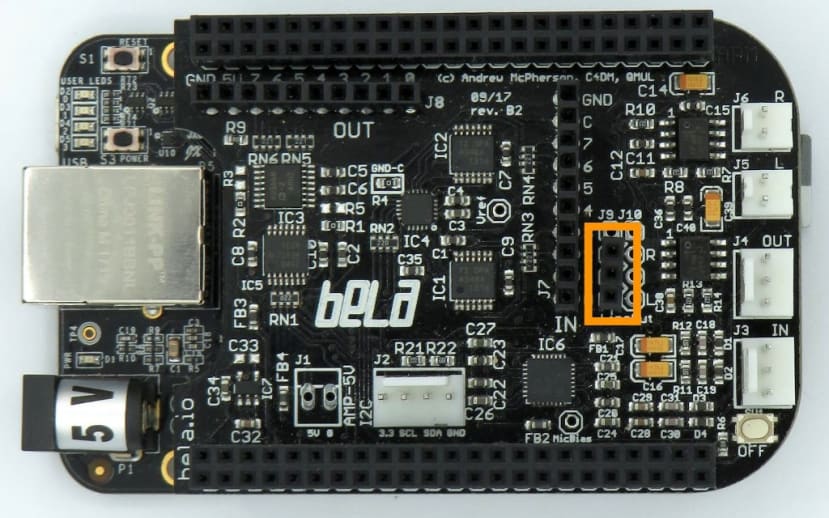
Before attaching the Bela I needed to solder a female header to its line output.
I could then align all the pins and their respective sockets and carefully push the Bela and the Pepper together, taking extra care not to bend any pins.
Configuring the Pepper
Now I needed to configure the Pepper. It has various options for power that are set via the jumpers on the back of the board. The options are clearly laid out on the Bela configuration page here.

Jumpers can also be set to dictate the function of the potentiometers -
Reading the configuration guide, it seemed clear that it would be best to run the Pepper from the Eurorack power supply and so I set the jumpers accordingly. Using the power cable I had made I connected the Bela Pepper to the “flying power bus” on my Eurorack skiff. I also connected it via USB to my computer so that I could upload Bela Projects
Example Projects
Once booted I updated the Bela IDE to make sure I was running the latest version, following this guide. I then connected the Pepper to my PC via the USB and opened the IDE in a web page on my browser. The Pepper example projects have not been added to the IDE yet — although I am told they will be soon — so I needed to download them from the Github repo. The easiest way to do this was to click the “Clone or Download” button on the page and download the ZIP file.

Once the files had been un-compressed I went to the Bela IDE, clicked on the “New Project” Button, selected Pure Data as the development language and gave it an appropriate name. When the project was created I could drag the project files from the corresponding unzipped folder onto the IDE window and then wait for them to upload.
The example projects include a Passthrough, Tape Echo, a Drum Machine and a sampler called “Granulator”, which are all written in Pure Data.
I was also interested in the Duo-wave Project which had been written for the Bela Salt, which is a pre-built, slightly more advanced version of the Pepper. Duo-wave is a double oscillator and I had seen a video of it running on the Pepper and liked what I heard.
As the name suggests Duo-wave is a double oscillator with the 2 outputs going to each of the out channels. To quote “it's a Dual inharmonic additive oscillator. Each oscillator contains a mixture of 9 partials. When the partial spread is at a minimum the partials are pure harmonics. As it increases the ratios between the partials increases and it becomes more inharmonic”
I next decided to try the Granulator. Although there does not seem to be any documentation for Projects, the code does include descriptions of what the buttons and knobs do. The Granulator records an audio sample that can then be manipulated as it plays back. I managed to get some really interesting effects with a modest amount of knob twiddling.
What next?
Given the Pepper’s versatility even just using the example Projects, it is a great start to my modular synth adventure. I am looking forward to trying to learn some Pure Data and making some Projects for myself.
Parts available in this series: