Remote Flying Fish Project Part 5: Motor Testing with Remote XY
Follow article Dave from DesignSpark
How do you feel about this article? Help us to provide better content for you.
Dave from DesignSpark
Thank you! Your feedback has been received.
Dave from DesignSpark
There was a problem submitting your feedback, please try again later.
Dave from DesignSpark
What do you think of this article?
In this chapter, we will build a simple mobile application to control the speed and rotation of motors.
To simplify the overall design and reduce the difficulty, RemoteXY is selected as the medium APP creator.

Setup
To begin with, browse http://remotexy.com/en/editor/ and you will see an editor view displaying the layout of the mobile app.

Firstly, click the 'Bluetooth' button on the right-hand side under 'Configuration', it can select the module of the Arduino board and Bluetooth. The following interface will be shown.

Make sure that Bluetooth module HM-10 and Arduino board NANO are selected in the configuration panel.

Secondly, set the connection interface to Hardware Serial. Serial port and data transferring speed are left auto-configured.

After that, drag two Button and one Slider from the tool panel into the app area, you can adjust to the size at free will.

Then, click the Buttons and select the pin number to Pin 7

You can also add up to 5 elements in total for other control purposes. For elements more than 5, you will need to pay for the APP or get a limitation of use time of 30 seconds.
Run-Time
By then, click the green button Get source code to prepare the Arduino code for the controller programme. Log in is required before proceeding to the result page as shown below.
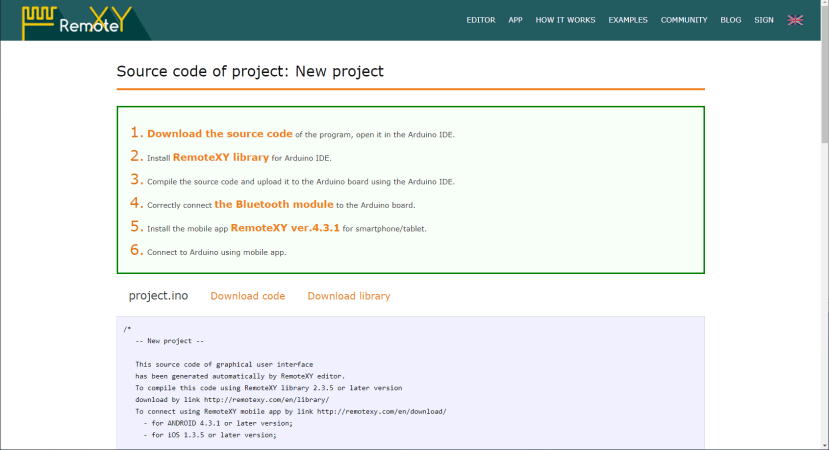
Do not forget to download and install the latest library from http://remotexy.com/en/library/, otherwise, there will be an error during compiling.
Download the Arduino code by clicking 'Download code'. A zip file will be downloaded. Zip it and open the '.ino' file.


A simple Arduino code will be generated. However, it needs some changes in order to control the speed and the rotation of the motor. Please add the BOLD code in the Arduino program. Make sure you remove the connection of 'TX1' and 'RX1' Pins between the Arduino board and Bluetooth before uploading the code. Otherwise, an error will be shown.
|
|
According to the code, we selected Pin 7 as the direction of the motor, and Pin 9 as the PWM/speed of the motor. The minimum and maximum value of PWM is 0 to 255, so we multiply the 'RemoteXY.slider_1' by 2.55. If the buttons are pressed, it will change the voltage into HIGH or LOW to change the direction.
Testing by Mobile
Download an application from APP Store or Play Store.

Open the Application on your mobile or devices.

Press the '+' on the right upper corner to add a new device connection.

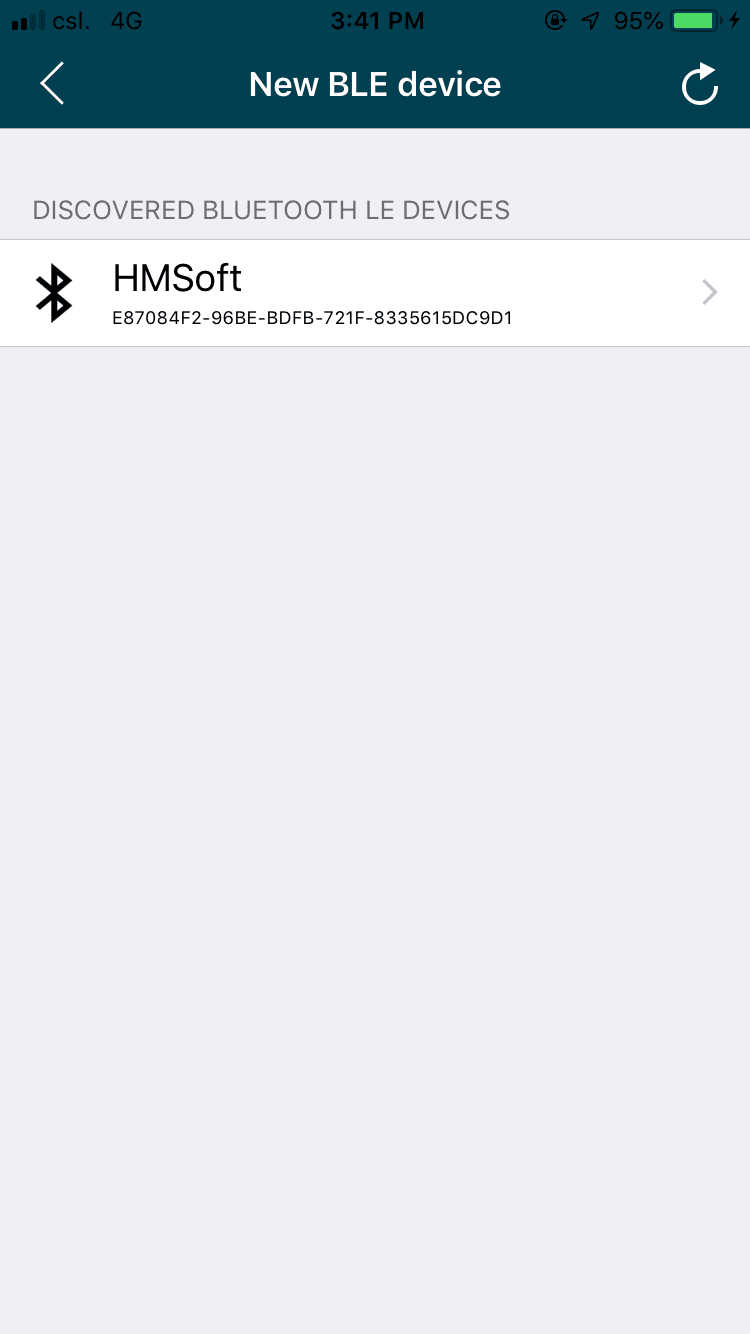
It will automatically change into the interface you designed in RemoteXY. Now you can test the motor.

Demo

Now we can move on to the next chapter and start to design our own PCB :)
You can download the pdf version of this chapter in the Download section below.
Parts in this series
- Remote Flying Fish Project Part 1: Introduction
- Remote Flying Fish Project Part 2: DIY Series - Arduino Testing
- Remote Flying Fish Project Part 3: Motor Testing
- Remote Flying Fish Project Part 4: Bluetooth Testing
- Remote Flying Fish Project Part 5: Motor Testing with Remote XY
- Remote Flying Fish Project Part 6: PCB Design (preparatory)
- Remote Flying Fish Project Part 7: PCB Design (Schematic)
- Remote Flying Fish Project Part 8: PCB Design (PCB Layout)
- Remote Flying Fish Project Part 9: Soldering and Arduino Programming
- Remote Flying Fish Project Part 10: Flutter Introduction
- Remote Flying Fish Project Part 11: Flutter Installation on MacOS
- Remote Flying Fish Project Part 12: Flutter Installation on Windows