Building An Open Source Energy Monitor
Follow article
 Dave from DesignSpark
How do you feel about this article? Help us to provide better content for you.
Dave from DesignSpark
Thank you! Your feedback has been received.
Dave from DesignSpark
There was a problem submitting your feedback, please try again later.
Dave from DesignSpark
What do you think of this article?
Assembling and programming the emonTx and emonGLCD modules.
I've had the OpenEnergyMonitor emonTX (Version 2) and emonGLCD modules for some time now, but didn't get to complete them until recently. I decided I wanted to use emonTx and emonGLCD modules to monitor the varying energy consumption in the workplace, seeing how this increases/decreases when certain appliances are powered on/off.
How does this work?
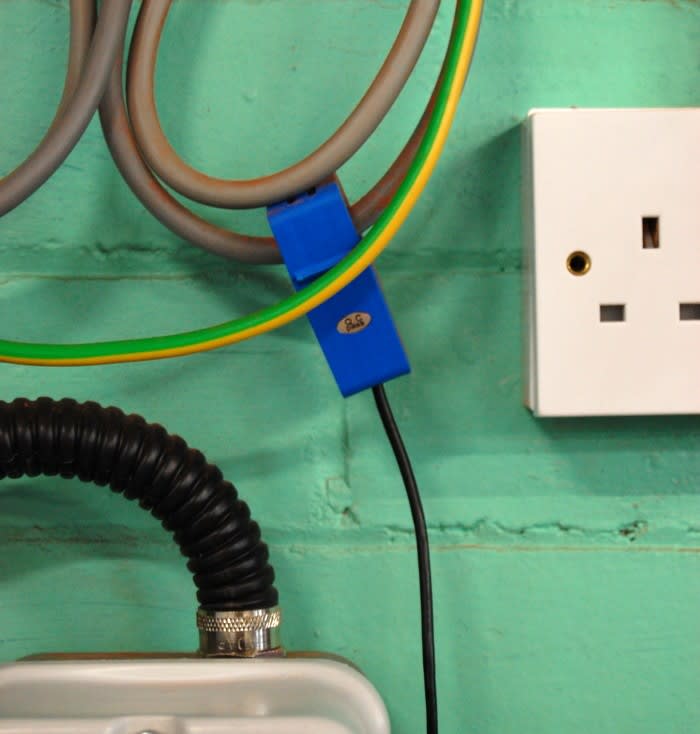
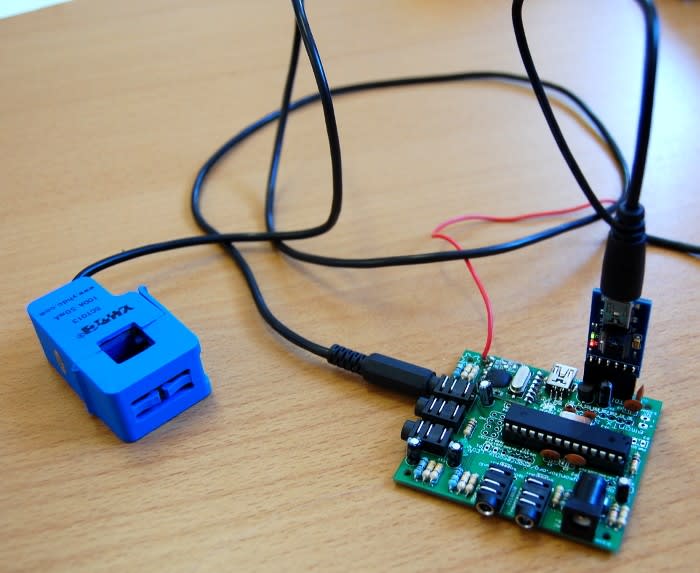
- A current transformer is attached to emonTx and measures the amount of current passing through a cable, with a 100A:50mA ratio.
- emonTx measures the small current flow, performs a calculation and transmits this via wireless to emonGLCD.
- emonGLCD receives this data and displays it on an LCD.
As the amount of current sensed by the current transformer varies, this process repeats itself.
Assembling the modules
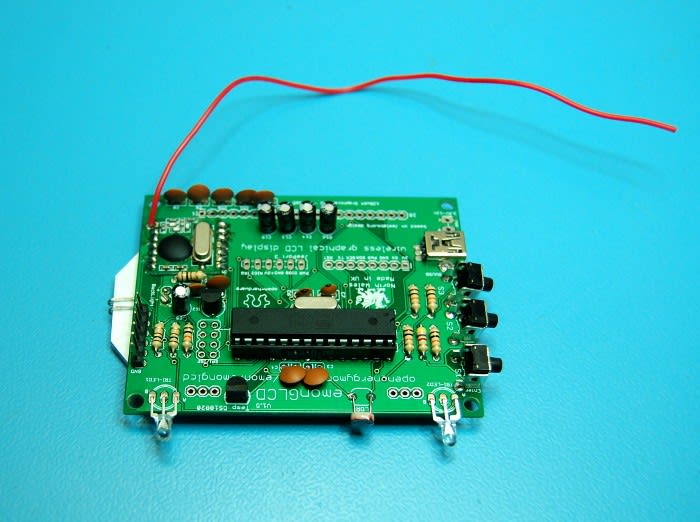
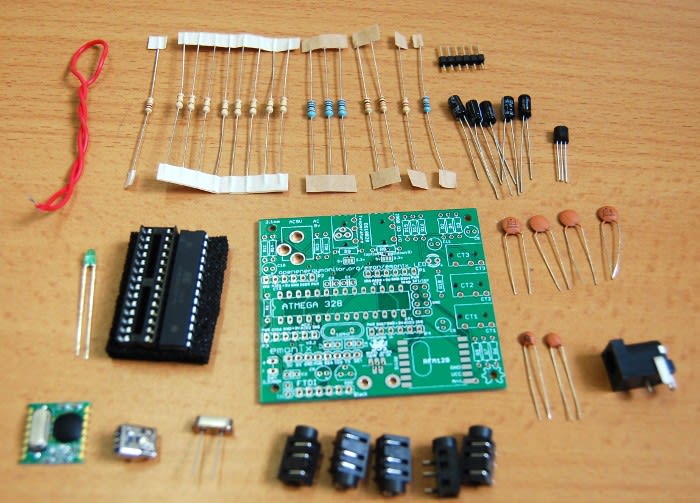
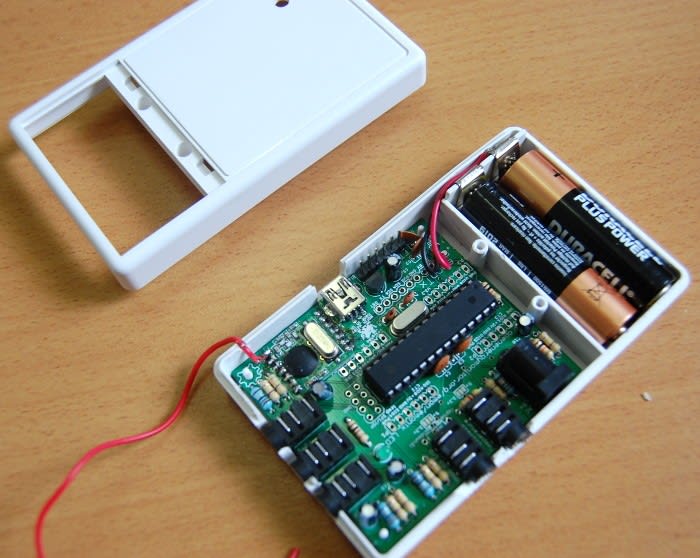
Assembling the two kits was really easy; soldering the resistors and other components into place was straightforward. The only tricky part to assembling the boards was when it came to soldering the surface mount wireless transceiver, RFM12. But this was only due to a lack of experience with surface mount assembly. However, this was easier than originally anticipated.

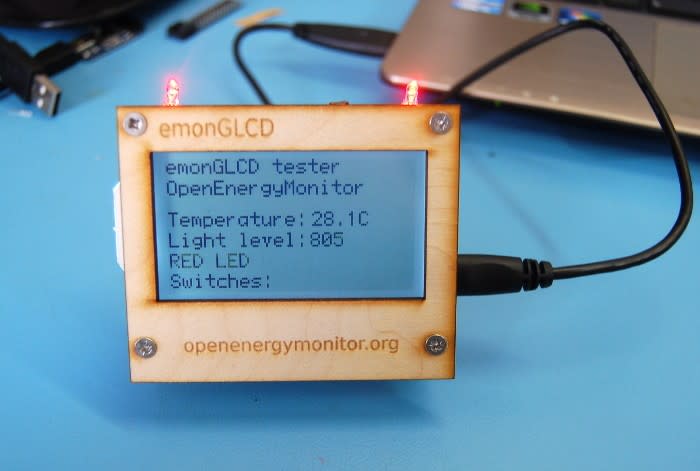
Before I could finish assembling the emonGLCD module I had to run a test sketch first before securing the back light.
When I had confirmed the LCD was displaying properly I then secured the backlight with a hot glue gun to ensure it wouldn’t move around. I finished by soldering the rows of pins on the LCD. Once the electrical assembly was complete I constructed the wooden housing which came with emonGLCD.
The emonTx module this didn’t come with a custom housing like emonGLCD any housing. However, an off the shelf enclosure was modified.
I drilled holes in the housing to make room for the three jack sockets and the USB connector, in addition to these holes I also drilled a small hole on the top of the case so the LED would still be visible.
Programming the modules
The modules are Arduino compatible therefore could be programmed through the Arduino IDE. So given I have some experience with Arduino I thought this would be relatively simple. After assembling the kits I needed to upload the appropriate sketches to the ATMEGA on both devices.
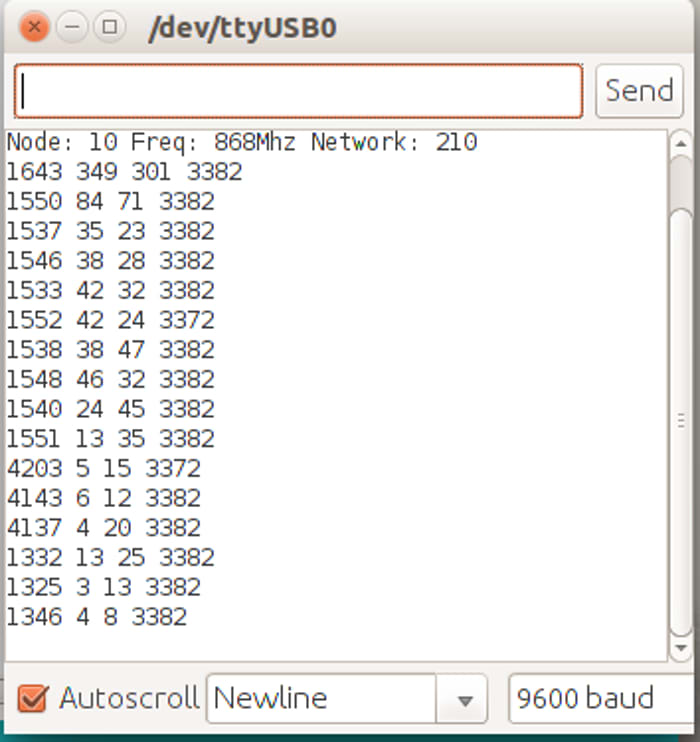
The biggest problem I encountered was that I needed to install quite a few new Arduino libraries. I first programmed emonTx on its own with a sketch that would take readings from the current transformer, which was attached to the mains supply to the building, and display these to the serial monitor in the IDE.
Testing the modules
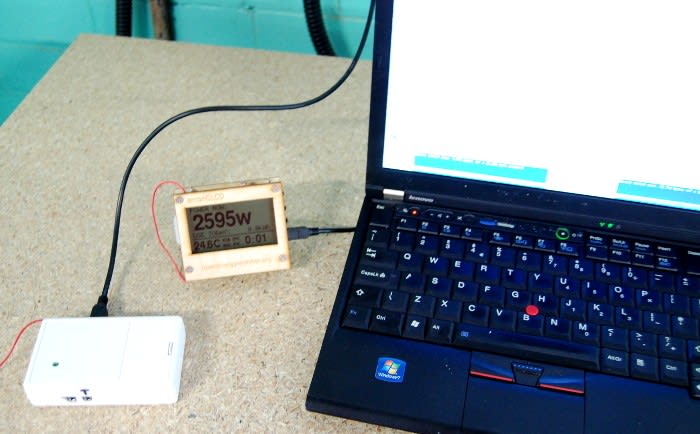
Once this sketch had been uploaded I connected the current transformer to the mains supply and when I opened the serial monitor I received readings of around 4.0A (960W). I then wanted to see what it would drop to if I turned all the lights off; when all the lights had been turned off the reading dropped to around 2.0A (480W) – which seemed more or less correct.
Next I turned the kettle on and this registered approximately a 12A (2.88KW) increase! When I checked the specifications of the kettle used it stated that this should draw between 2.2-3KW of energy. This indicated to me that emonTx was reasonably accurate.

To be sure of the reliability of the module I disconnected the current transformer and looked at the reading when there was no current passing through it. This displayed approximatively 0.03A (7.2W). I knew with nothing connected it should in theory display zero, however, this didn't seem bad as a margin of error.

I next uploaded the emonTxCT123.ino sketch, which can read up to three current transformers and transmit data to the emonGLCD.
To test I proceeded to open the serial monitor to see the readings from the transformer. The immediate difference I noticed was that this time the sketch had been configured to display readings in watts.

I then repeated turning the kettle on and off to see how the readings changed. The changes corresponded with the previous measurements and were what I expected.
For programming the emonGLCD I uploaded the HomeEnergyMonitor.ino
I powered both modules, emonGLCD through mains via the USB connector and emonTx through the 6-pin programming header so I could continue to have the serial monitor open. When powered on I found the modules connected more or less immediately, the LCD began displaying readings from emonTx in watts and these corresponded with the readings displayed in the serial monitor.

Since they appeared to be working I powered them both through mains via the USB connectors, I moved the emonGLCD module from the workshop into the office (approx 30 feet away) and tried to connect them. This didn't go according to plan. I began moving the devices closer together and it wasn't until they were just over 12” apart that they connected again!
I soon realised after looking at the online forums that I had configured the emonTx and emonGLCD sketches with the wrong frequency band for the fitted wireless modules. After changing the configuration in the sketches from 868MHz to 433MHz and reprogramming they had a range of 30+ feet.
First impressions
Overall I love the concept of the OpenEnergyMonitor and I really like that all the source code is available, so it can be easily modified to take readings and perform custom calculations.
I note that the emonGLCD has since been discontinued, I have a suspicion that this may be due to large energy suppliers giving away free energy monitoring solutions which are pre-assembled. I understand the demand for these, however, it is by no means anywhere near as rewarding as building one from scratch and understanding the code which goes into how it functions. Not to mention the fact that you can fully customise the code.
Another really cool thing about OpenEnergyMonitor is that they have software to log readings and view historical data from a web browser and smart phones. I hope to get to experiment with this in the future.