Aerial Photography with a Raspbery Pi and Kite Part 1: Configuring the Pi
Follow article
 Dave from DesignSpark
How do you feel about this article? Help us to provide better content for you.
Dave from DesignSpark
Thank you! Your feedback has been received.
Dave from DesignSpark
There was a problem submitting your feedback, please try again later.
Dave from DesignSpark
What do you think of this article?
Looking at an alternative to a drone for aerial photography - configuring a Raspberry Pi and Camera to be lifted by a kite.
Let’s Go Fly a Kite!

Image: Marconi at Newfoundland, December 1901, by James M. Vey, Public Domain.
I’ve read a number of DesignSpark articles about drones recently, often in relation to aerial photography. The Rise & Possible Stall of the Drone Empire covered some of the histories of aerial photography, but didn’t mention kites and, as an ex-professional kite maker and flyer, I thought it would be fun to explore the part they have played and build a Pi-based camera setup.
Kites have a long history of use in science and technology projects, from Benjamin Franklin flying one in a thunderstorm to Marconi using a 150m kite-supported antenna for the first trans-Atlantic wireless transmission.
It is widely accepted that the first person to use a kite for aerial photography was Arthur Batut in 1889 at Labruguiere in France. George Lawrence’s aerial shots of San Francisco taken around the time of the great earthquake in 1906 are stunning —he took to using kites after the basket he was in became detached from the balloon that was lifting it, leaving him to fall around 60m to the ground. Luckily the various wires he had attached to the basket broke his fall and he was unharmed.
Image: “San Franciso in Ruins”, taken about 6 weeks after the 1906 earthquake, George R. Lawrence, Public Domain.

Kites vs. Drones
Today kites still have some advantages over drones. For example, they do not need batteries and so given the right wind conditions can fly for hours at a time, making them ideal for time-lapse photography. A parafoil kite, with no sticks, can be packed into a small bag and is light to carry and virtually unbreakable, making it ideal for use in remote locations. A kite will also generally be able to handle a heavier payload than a drone – a Raspberry Pi and camera module, for example.
From a personal perspective, the biggest advantage is that I know how to build and fly a kite.
Raspberry Pi Camera
Using a Rasberry Pi Camera (913-2664) would give me the flexibility to experiment with different types of photography – time-lapse, video, night time or infra-red, for example. The built-in wireless capability of the Pi means I could easily control the camera remotely and is a very cost-effective solution.
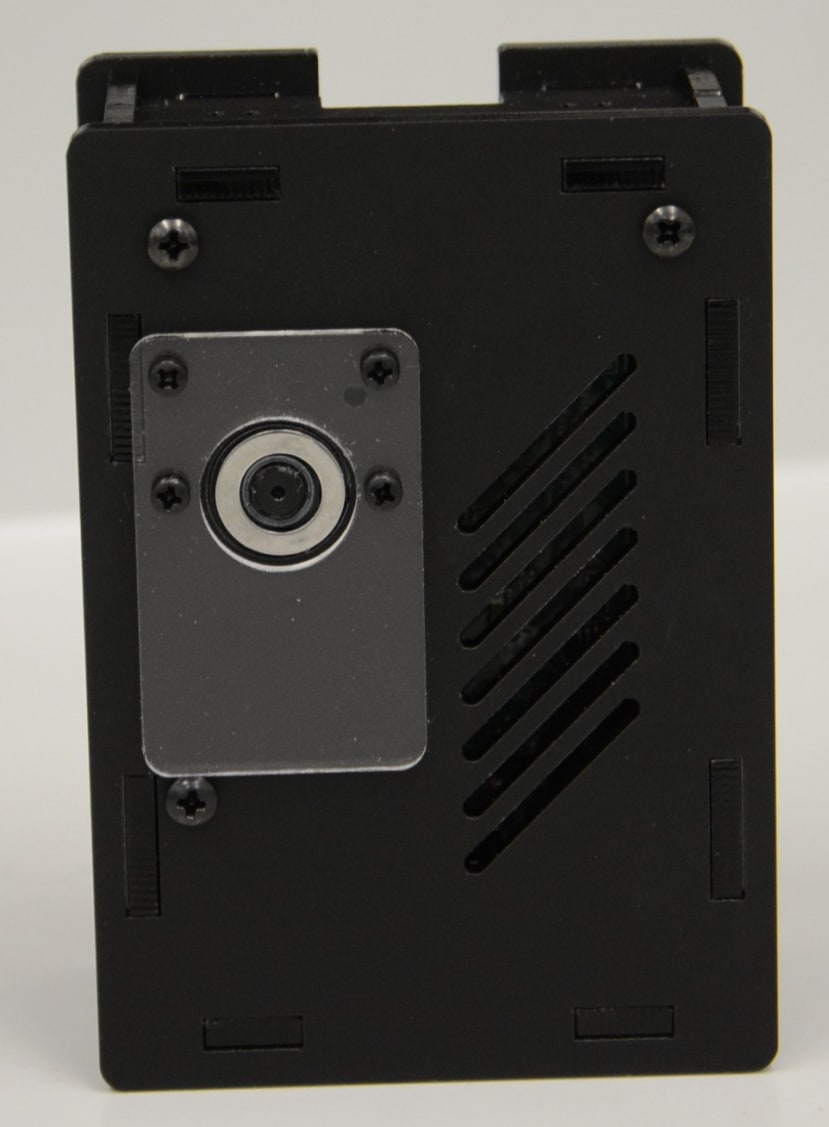
I got my hands on the ModMyPi Camera Box Bundle (127-0210) as that looked like a good option to house the Pi Camera.

As someone who spends a fair amount of time at work designing and building laser cut enclosures and boxes for all sorts of electronics, I was interested to see how other people do it. The box fitted together well and the online instructions were clear. I was interested to note that a slot for access to the SD card had been added to the box after the pictures for the instructions had been taken. So it is not just me that sometimes initially forgets about getting at the Pi SD card!
The Camera Box Bundle also came with a useful wide angle lens that is held in place by an adhesive ring magnet.
Configuring the Raspberry Pi and Camera
I downloaded the latest version of Raspbian — the Raspberry Pi operating system — and installed it following the instructions here. Once Raspbian was up and running I enabled the camera and checked everything was working OK using the “raspistill” and “raspivid”commands.
My mobile ‘phone seemed the ideal way to control the Pi and preview any shots, so I looked around for suitable Android apps. Initially I tried one called RaspiCam, but unfortunately, it did not seem to like my ‘phone and on it, the app did not look anything like the screenshots on its homepage – I could not see any of the buttons or the settings menu. Admittedly my ‘phone is a quirky Kodak Ektra that refuses to run anything more recent than Android 6, so others may have better luck.
I then gave “RaspberryPi Camera Viewer” a try and it certainly looked better initially but after a frustrating half an hour not being able to connect to my Pi Camera I suddenly had a brainwave. As I mentioned previously my work involves using a laser cutter and my predecessor had installed a Pi Camera in the cutter to monitor its work. He had set up RPi-Cam-Web-Interface on the Pi, so the camera’s output was viewable via a web browser on any device on the same network as the Pi. I looked at the output from the laser cutter camera at some point on most days at work; The answer really had been right in front of my eyes!
Installing and Using The Rpi-Cam-Web-Interface

The RPi-Cam-Web-Interface web page has straightforward installation instructions and loads of other useful information. Once it was installed on my Pi and was up and running, I could see the output from the camera and could record stills, video or time-lapse that were stored on the Pi’s SD card. These could then either be downloaded or retrieved from the card later.

The next thing was to try it with my mobile ‘phone. I set the ‘phone up as a mobile hotspot and connected the Pi to it. I could see the IP address of the Pi in the hotspot setting on the ‘phone, so I opened a browser on my phone, entered the address and there was the RPi page.
I discovered that as long as this was the only SSID with details saved on the Pi, even if I started the mobile hotspot after the Pi had booted it would still connect to the network.
One of the great things about Raspberry Pi is the number of settings you have control over, so I could adjust things for all kinds of different environments including everything from resolution and exposure, to time-lapse intervals and video stabilisation. All these settings are easily accessible in the RPi-Cam-Web-Interface.
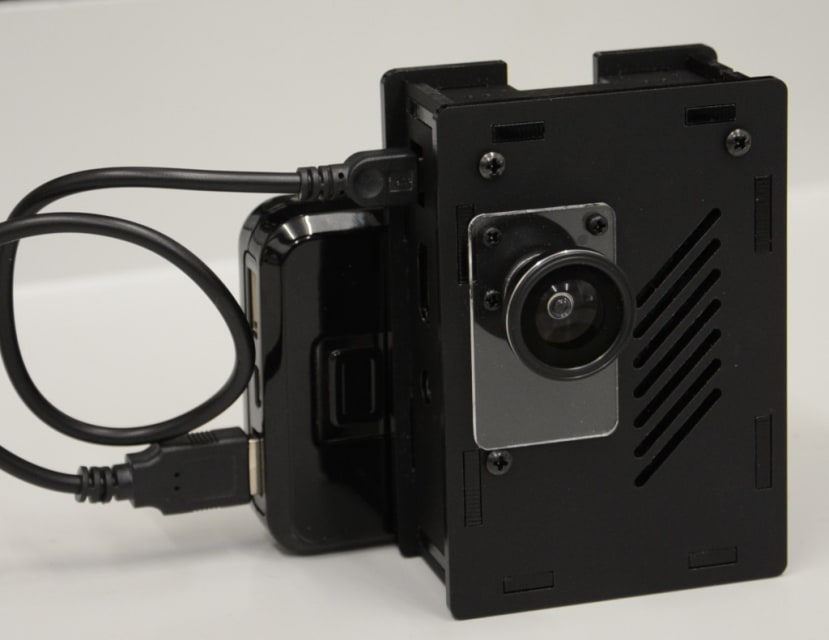
The next thing was to try the setup with the Pi running from a battery of some kind. I had an RS Pro 10400mAh Power Bank (775-7517) sat on my desk, so it seemed the obvious thing to try and it worked perfectly. I have had it running successfully for well over an hour and the combined weight is under 400g so there would be no problem getting a kite to lift it.
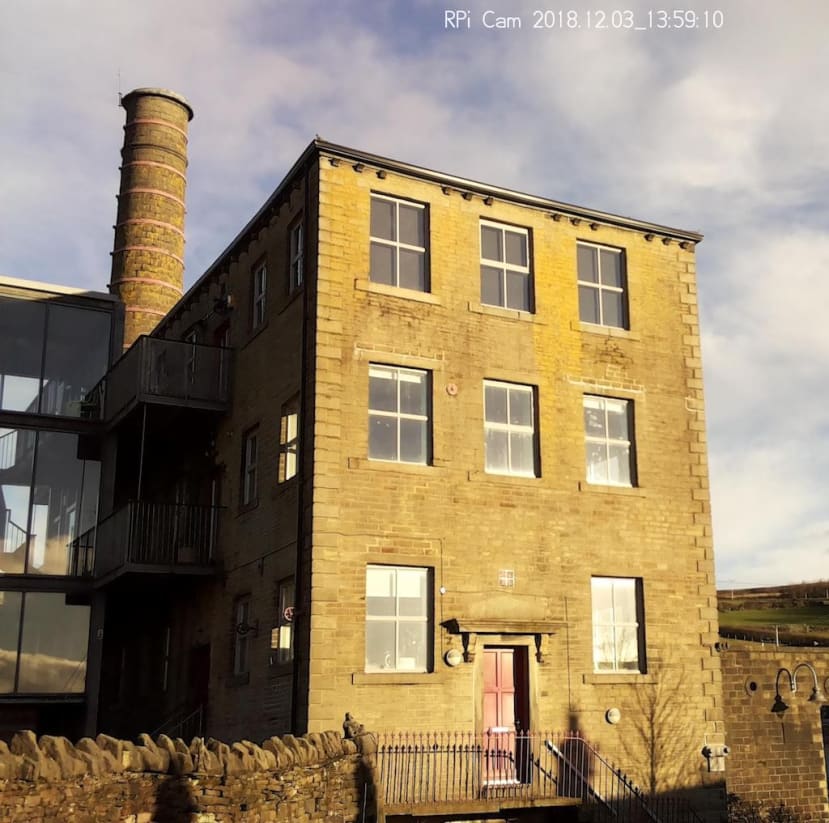
I took advantage of a break in the weather and went outside to test the set up “in the field”. After adjusting the focus by carefully turning the lens using the little plastic tool that is now included with the Pi Camera, I was very pleased with the results.

What next
Now the camera is ready to go I need to sort out a kite and the best way of fixing the two together. I will be looking at various kite options, from parafoils to deltas and Cody style box kites.
I am going to explore the world of the Picavet rigging – invented in the 19th Century for kite photography, it provides a way of keeping the camera relatively stable and level to the ground.
I am also going to try setting up the hotspot on the Pi using Host AP and connecting my mobile phone that way, to see if there is any difference in the range and quality of the connection.
So, lots to do.