3D Printing Tips with Jude Pullen - Part 3: Little Known & Quirky Tips
Follow articleHow do you feel about this article? Help us to provide better content for you.
Thank you! Your feedback has been received.
There was a problem submitting your feedback, please try again later.
What do you think of this article?
3D Printing Tips with Jude Pullen: Quirky, Unusual and Lesser-Known Tips
Colouring PLA.
When you’re not sure how the aesthetics of a coloured PLA might look, this is a good ‘hack’ to get a feel for it.
This might seem obvious, but this was a great way for me to evaluate colour schemes for the Good Air Canary, the ESDK and other projects such as RadioGlobe. By simply using a coloured permanent marker, I was able to colour white PLA, and see if I liked the colour scheme for a given design. This avoided me having to buy a lot of samples (or even full reels) to evaluate it, and gave a truer impression than rendering it in CAD. It also saved time on changing reels, if you consider purging a filament is not quick (especially if you plan to return to white!), so this is a great hack for prototyping towards the final stages of a design with more than one coloured filament.
Using Chamfers to Compensate for First Layer Over-Extrusion.
How to compromise between the first layer having good bed-adhesion, but also not making holes too tight.
There is often a balance between one desired outcome when 3D printing - and the undesired secondary effect. In this instance, I wanted to print a square keyway, and the first layer slightly over extrudes for bed adhesion by about 0.25mm say, this was enough to make the square spindle a tight fit, so rather than reduce the first layer adhesion pressure (as this is good to avoid parts falling off mid-print), I simply added a chamfer.
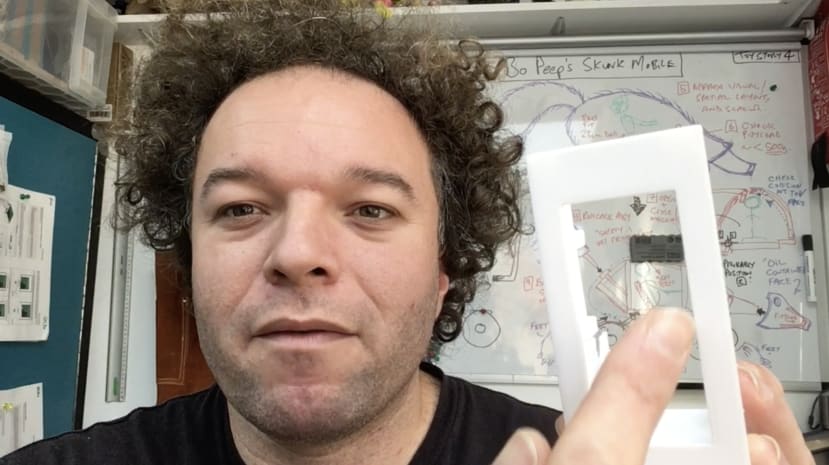
Granted this keyway could well be resolved through simple filing or cutting with a scalpel, but as mentioned in the video, with larger pieces like the Screen Bezel, this was an essential adjustment, as it would have been very hard to correct manually on such a virtually intolerant part!
Happy Accidents.
When you discover something unexpected - keep a note. It may come in handy later...
When printing a very fine taper, I realised that the printer had to do this by creating ‘steps’, much like laying bricks, it couldn’t do an ‘angled’ print, so had to do successively reduced layers - this happened to create a nice effect, and as it alternated the ‘Herringbone’ pattern, I thought this was reminiscent of ‘feathers’, so I kept this ‘accident’ in the design, and made it a feature.
I have not seen this done very often, but I think sometimes these ‘happy accidents’ are collected by Artists and see no reason why Engineers should not ‘own’ these in a selective way also.
Build Plates for Different Colours.
Like Laundry - Separate your different filament colours for best results.
I use PEI (which is a similar rein to that used in PCB manufacture, and is great for retaining heat, and had a flexibility to it, that means when you bend it, the parts pop-off very easily. It has a Build Plate Sticker / Surface on top for adhesion also. Anyway, the point is to have not one - but two of these, so as you keep any traces of very different coloured filament from messing up subsequent parts.
Another tip I didn’t mention, is if you don’t have this option, rather than purging the filament, have it print a flat sheet of about 0.25mm all over the bed. This will not only clear the nozzle, but also adhere to any old filament traces, and pull them off before you print.
Baby Monitor Hack.
Upcycling my Baby Monitor, to watch over my 3D Prints.
If like me you love Octaprint (a Raspberry Pi computer and camera - which monitors and controls your 3D Printer), but you have been too busy to set it up, then reusing / buying a cheap WiFi baby monitor is almost as good at keeping an eye on prints from a distance. This is especially useful, when I was putting on fine-detail prints for 12+ hours, and knew they were likely to be fine, but didn’t want to dit in the shed for all the fumes and heat.
Lastly, like Octaprint, please do not leave 3D printers unattended, as they can be a fire hazard if they have a fault. And if indeed, this baby monitor hack is too amateur for you, so check out the open-source hardware link here: https://octoprint.org/
If you liked these tips, please also subscribe to DesignSpark and Jude Pullen’s YouTube channels for more tips and tricks, or follow on Social Media for Q&A.
In Case You Missed It, Previous Parts:
PART 1
> Intro
> Working with the Grain
> Nozzle:Wall Ratio
> Print Resolution
> Buttresses
PART 2
> Threaded Brass Inserts
> How to Remove Threaded Brass Inserts
> Shadow Gaps
> Different Part Tolerances
> When To Create Your Own Build Support...
...And if you liked this, do also check out Jude's other series of Prototyping Tips on his website - Design Modelling: which gives tips on working with Cardboard, Plastic and Foam. Follow him on Twitter and IG. More at judepullen.com


