Satisfying PIC Curiosity
Follow article
 Dave from DesignSpark
How do you feel about this article? Help us to provide better content for you.
Dave from DesignSpark
Thank you! Your feedback has been received.
Dave from DesignSpark
There was a problem submitting your feedback, please try again later.
Dave from DesignSpark
What do you think of this article?
A PIC novice takes a look at the new development platform for first-time users.
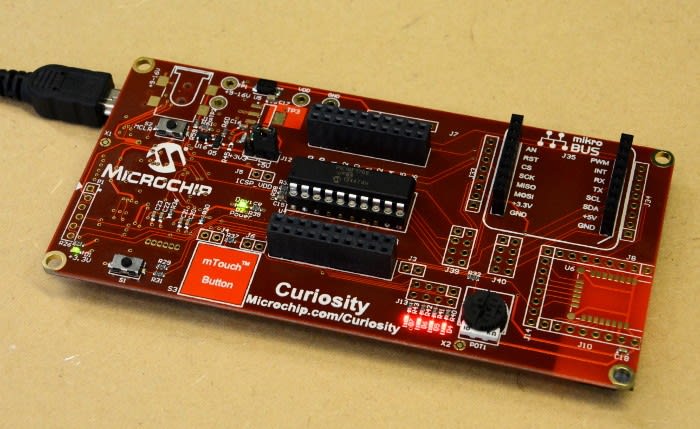
Despite having been around for quite some time and always in my peripheral vision, I must admit to having no experience with PIC microcontrollers. As such, Microchip's new Curiosity board — which is low cost, has an integrated programmer/debugger and is targeted at first time users — should be a particularly good fit for someone such as myself and who might want to try PIC out.
Specifications
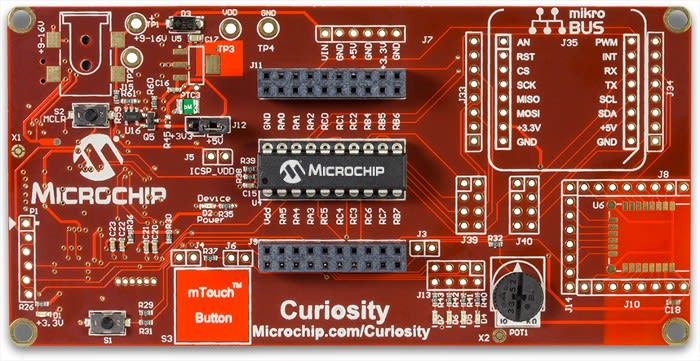
The Curiosity board supports 8-bit PIC MCUs in prototyping and hobbyist-friendly 8-pin, 14-pin and 20-pin DIP packages. Which, if I counted correctly, at the time of writing translates into no less than 46 devices with varying amounts of flash storage, RAM and all manner of peripheral capabilities, such as digital I/O, DAC, ADC, NCO, PWM, op amp, comparator and more.
Assuming that you stick with the PIC16F1708 device that is supplied with the Curiosity, this gives you 7K flash, 512B RAM, 18 I/O pins, HS Comp, 10-bit ADC, op amp, 8-bit DAC, CCP (Capture/Compare/PWM), PWM, COG (complementary output generation), ZCD (zero cross detect), CLC (configurable logic cell), EUSART, I2C/SPI.
The Curiosity builds on the aforementioned capabilities by integrating a programmer/debugger with USB interface, obligatory LEDs and buttons, plus a potentiometer, capacitive touch button, RN4020 Bluetooth module footprint and support for over 100 MikroElectronika Click modules. The latter making it trivial to add everything from WiFi and GSM, to a camera or alcohol sensor.
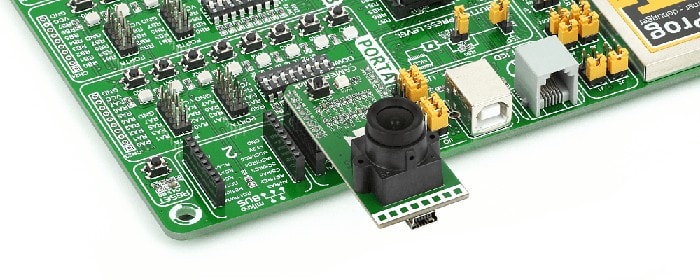
Image source: http://www.mikroe.com.
Development environment
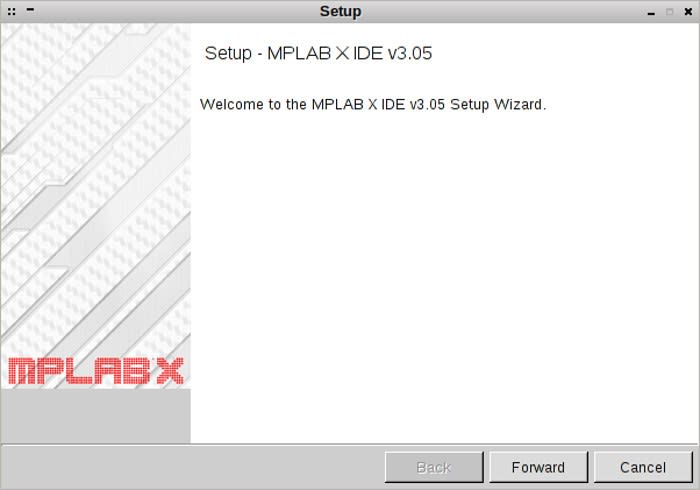
Installing the IDE on Linux
Development for the Curiosity is supported via the MPLAB X IDE and MPLAB XC8 Compiler, both of which are free to download and available for Windows, Mac OS and Linux.
Installing these on Linux was straightforward and once downloaded it was simply a matter of extracting the archives and executing the installers, ensuring that you have 32-bit versions of certain libraries installed if you are running a 64-bit kernel. However, while installation was a breeze and I could build projects without any difficulty, I ran into issues when it came to programming the Curiosity — it just didn't show up as an option. I tracked this down to some hot-plugging software which got started when the board was detected, before exiting with an error code.
The issue appears to be similar to one discussed on the Microchip forums and in my particular case I have a strong suspicion it can be attributed to my “vintage” Linux install, which over the years has been subjected to a great deal of messing around with package repositories. So, rather than try to get to the bottom of the problem, I took the easy way out and installed the tools on a Windows laptop.
Examples
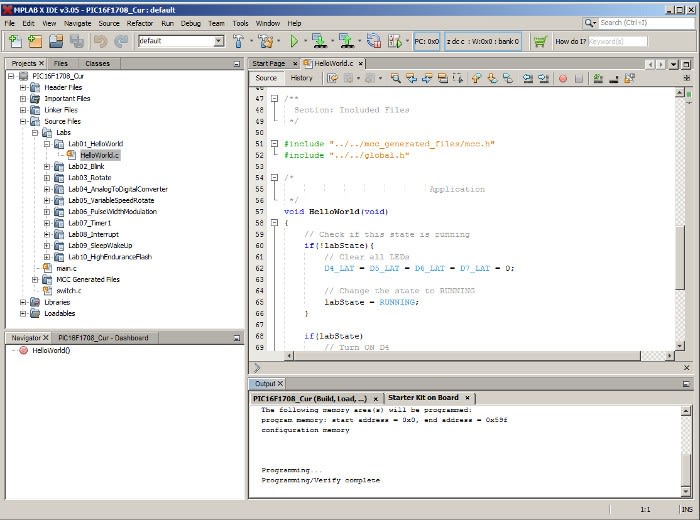
Microchip provide examples for not only the supplied PIC16F1708, but another 25 devices that are supported by the Curiosity. Once unzipped the examples project can be opened in the IDE and the source code and comments viewed, making changes should you wish, before selecting Run to build the project and program the attached Curiosity. Simple enough.
The examples include the familiar blink, along with using the ADC to read a potentiometer and control LEDs, using timers and interrupts. Rather than being individual executables, the labs are all incorporated into a single executable and are cycled through by pressing the push button.
Comparisons with Arduino
The differences between Arduino and Curiosity will be obvious to an embedded engineer, but perhaps not immediately apparent to someone who may have cut their teeth on Arduino. In short: this is an apples and oranges companion, but worth exporing as PIC was pretty much the platform of choice for hobbyists in the days before Arduino — and will still beat it for certain applications.
The biggest difference here is that MPLAB X is a fully fledged IDE complete with debugger and all manner of other features, that will make life a whole lot easier with more complex applications and difficult to track down bugs. Whereas the Arduino IDE is designed to be as simple as possible, using a similarly simple mechanism to program devices — a bootloader that listens on a UART, ready to receive a new program. Without any proper debugging facility.
Therefore a better comparison would be between Curiosity plus MPLAB X and, for example, one of the Atmel AVR Explained boards plus Atmel Studio.
This is not to criticise Arduino, as it was designed to be simple with very good reason and its simplicity is precisely why it has enjoyed the incredible success that it has. However, there are PIC devices with all sorts of different hardware capabilities, which may make them more suited to a particular application than an Arduino (by which typically, but not always, also meaning AVR).
First impressions
At this point I haven't done much more than install the tools, build the examples and try out some simple modifications. However, so far I'm impressed and, I must say, intrigued. In particular at the range of hardware capabilities available in the PIC devices supported by the Curiosity alone. So the next time a low cost, low power microcontroller is called for, I think I'll give consideration to PIC before automatically plumbing for an ATmega. It's certainly piqued my curiosity...
BUY a Curiosity Starter Kit for PIC MCUs (880-8650)