A custom LED light box for photography
Follow article
 Dave from DesignSpark
How do you feel about this article? Help us to provide better content for you.
Dave from DesignSpark
Thank you! Your feedback has been received.
Dave from DesignSpark
There was a problem submitting your feedback, please try again later.
Dave from DesignSpark
What do you think of this article?

Brilliant illumination with ILS Dragon6 LED strips
When it comes to taking high quality photographs of products and components, the importance of lighting should not be underestimated. Combined with a good camera and suitable backdrop, illumination can make the difference between good and great results.
In this post we will use a number of ILS Dragon6 LED strips as the light source for a moderately sized light box project, which will be used for in-house photography.
ILS Dragon6 LED modules
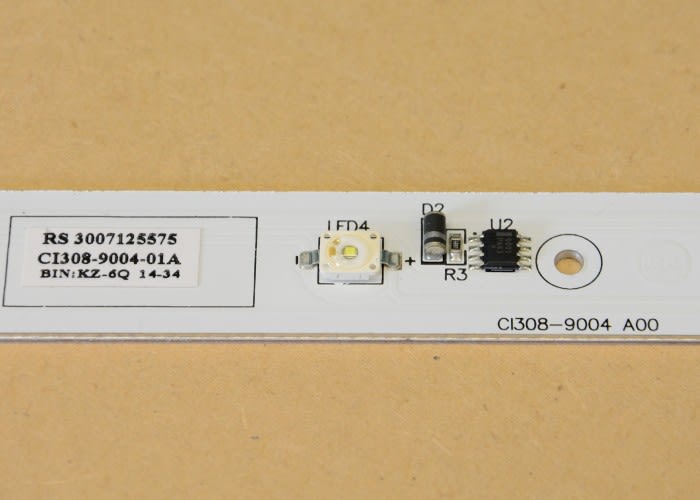
Each strip is constructed from aluminium and has six individual LEDs, as well as onboard current regulation. Available in a range of five different whites, from hot to cool, as well as different colours, the strips have power connectors at either end allowing for simple and quick interconnection. Up to five strips can be daisy-chained together and connected to a single power supply.
To ensure safe and reliable operation, the modules must be mounted to a heatsink of some sort, and if they are to be used in external or harsh environments, suitably sealed to prevent corrosion. Further information on use and application is provided in the datasheet.
Constructing a light panel
We decided to build light panels that could be affixed to a rack shelving unit, taking advantage of the modular design, strong frame and sturdy shelves. Three panels in total were planned, with one for either side of the enclosure and one above. A length of white vinyl will then be hung, providing the rear wall and covering the floor of the light box in an 'infinity cyclorama' design.
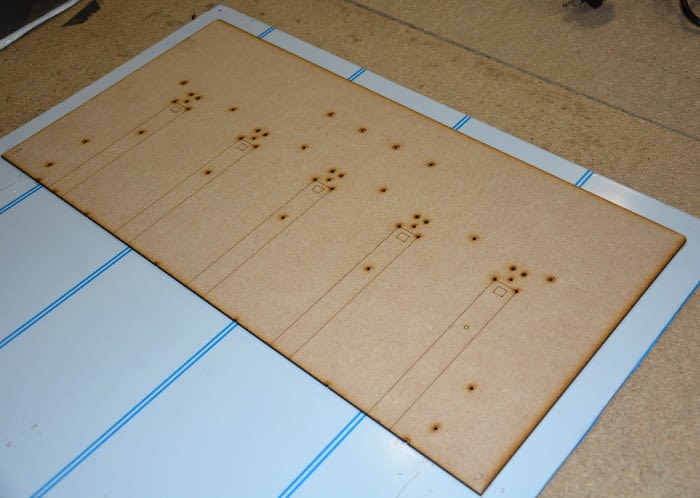
2mm thick aluminium sheet was chosen as a suitable backplate for the panels, but a prototype was laser cut from MDF first, to determine how many LED strips were required for each assembly. The strips were mounted onto the MDF template and briefly powered up, with extra care taken that they did not overheat. We settled upon five strips per panel, meaning each required it's own power supply unit.

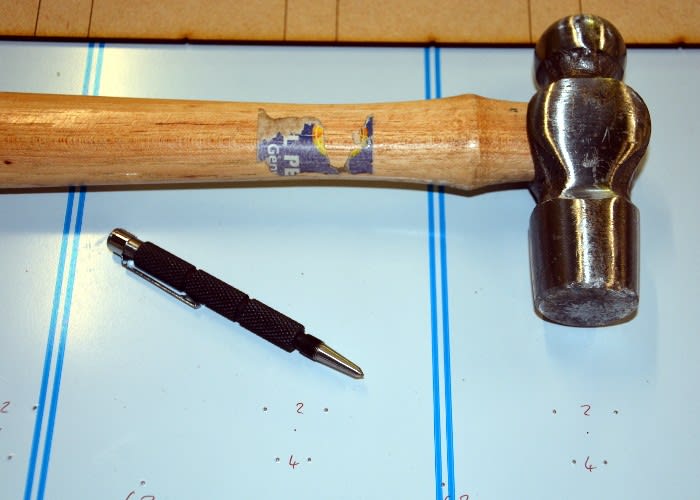
Following this test, several changes were made to the design file for the MDF template, including changing all of the mounting holes to 1mm diameter holes. This new design file could then be cut and used as a guide to mark the centres of all holes to be drilled in the aluminium sheet.
This combination of CNC templates and manual drilling was the most time-effective way of making the panel backplate, since the aluminium is too large for any CNC machine in our workshop, and manually measuring and marking out such a large quantity of holes would have been rather time consuming.

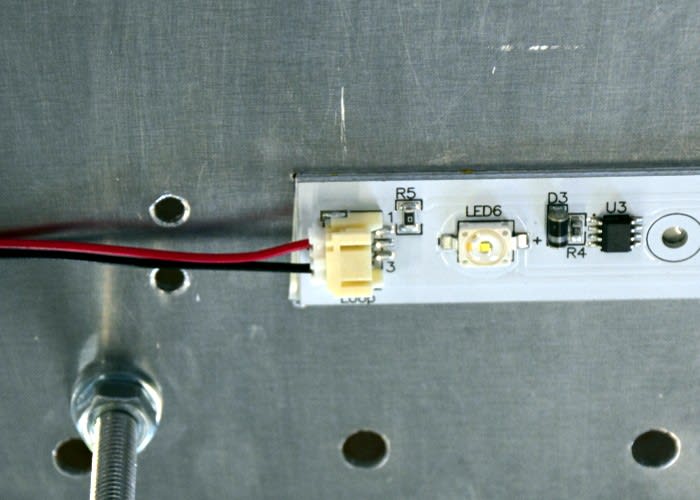
With the panel prepared and suitably cleaned and degreased, the LED strips could be attached. We used the double-sided adhesive thermal interface material to ensure optimum heat transfer between the strips and the aluminium sheet. Though not finned or fan cooled, such a large sheet of aluminium (600 x 600mm) is more than enough to keep the five LED strips well within operating temperature.
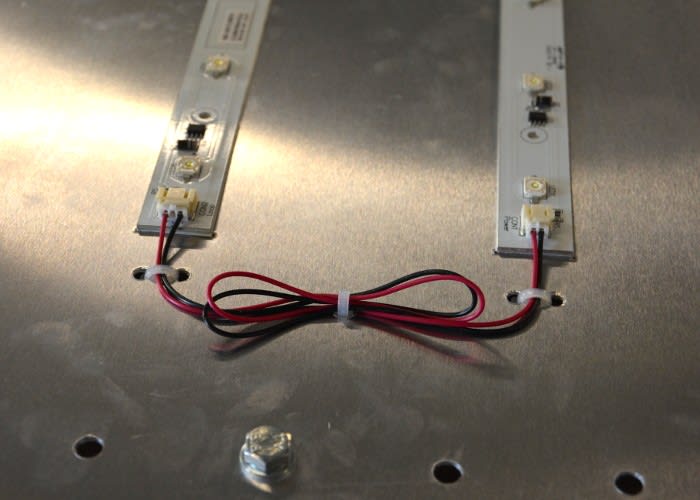
The strips were connected with link cables, making for quick and easy interconnection. These were then secured into place with cable ties, providing strain relief and a neat appearance. A power supply unit was mounted to the back side of the panel, and an IEC connector added. The panel could now be powered up.

Though a range of lenses and diffusers are available for the Dragon6 LED strips, we decided to use frosted acrylic as a large, single diffuser panel. This gives a soft light that we want in a photo booth, though it does sacrifice some brightness, approximately 30% attenuation.
Referring to the radiation characteristic of each LED shown in the datasheet, a diagram was drawn to predict the distance required between the LED strips and acrylic diffuser sheet.
In testing, a distance of 55mm between the LEDs and diffuser sheet was found to be suitable. This provided a useful amount of diffusion whilst keeping the overall panel thickness slim enough to be practical.
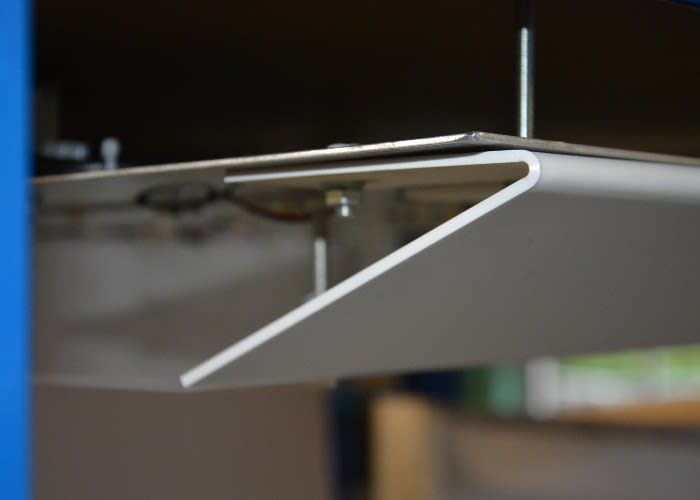
The frosted acrylic was affixed to the unit, and two more acrylic parts were designed, to prevent light from spilling out of the sides of the panel. These parts were first laser cut, then formed using a hot strip bender.

Completing the panel required two mounting brackets, again fabricated from bent acrylic. The whole assembly could then be hung in position on the racking to check fitment, and confirm any necessary changes.
Boxing up

For the sake of simplicity, each panel was designed to be the same. Therefore, with one panel finished and checked, two more could be built using the same process. To improve efficiency, two sheets of aluminium were bolted together, before being marked and drilled at the same time.

With the panels built and fitted, and the light box starting to take shape, the additional power wiring was taken care of. A bulkhead enclosure with switch was positioned such that the operator could conveniently turn the lights on and off, and flex routed to an IEC distribution block.
IEC cables were then made up to connect each panel to the distribution block.

Finally, a length of white vinyl sheet was cut to size and added to the racking. This was held in place using strong magnets, since repositioning or replacement is likely to be both necessary and useful.
First shots

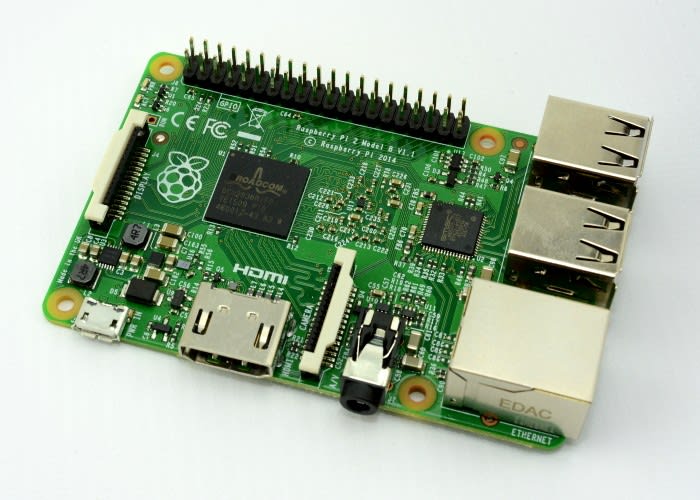
With a completed light box we grabbed a couple of objects and took some test photographs. Below are just a few examples after several minutes of snapping away. The enclosure is bright and provides a great environment for product shots, certainly a useful tool for the future.