IoT & Node-RED | Node-RED & Internet of Things Explained | DesignSpark
Follow article
 Dave from DesignSpark
How do you feel about this article? Help us to provide better content for you.
Dave from DesignSpark
Thank you! Your feedback has been received.
Dave from DesignSpark
There was a problem submitting your feedback, please try again later.
Dave from DesignSpark
What do you think of this article?

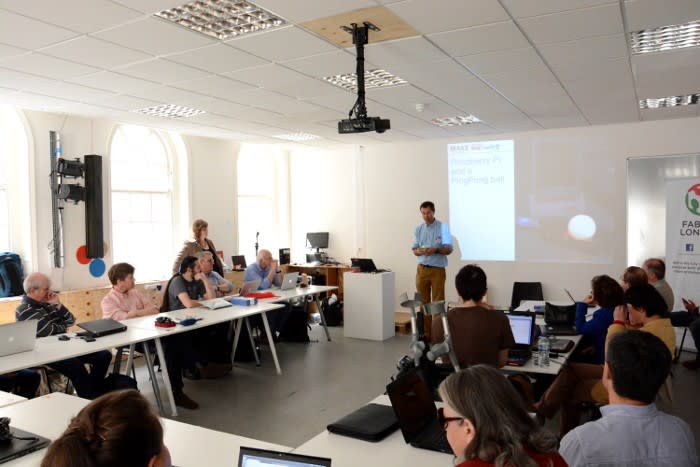
Taking part in a workshop at Fab Lab London.
Hosted in the capital city at the London Fab Lab, I was quite excited to attend the May 2015 OSHUG event from the word go. At the beginning of the workshop Pete Wood of RS Components, gave a brief introduction to the speakers and thanked the other partners of the event: BCS Open Source Specialist Group, OSHUG, IBM and The Knowledge Transfer Network.

Following the introductions, we heard from Dr Lucy Rogers – a mechanical engineer by training - who spoke of her own experiences with Node-RED. Dr Rogers explained how you can use it to easily hack things, going on to tell us how she used Node-RED to animate a family of huge mechanical dinosaurs at the UK's oldest amusement park, Blackgang Chine, on the Isle of Wight.

Dr Rogers then demonstrated a model she had created from acrylic for testing (as the real ones were far too large to sit on her desk!) This included LEDs which would illuminate on a certain area of an etched dinosaur. The area that was illuminated indicated which part would move on the full size model. She then showed a nodding toy dinosaur which illustrated how by using Node-RED and a Raspberry Pi we can make interactive toys that are much more fun as they are easily customisable.
Following Lucy, Andy Stanford-Clark – IBM distinguished engineer, spoke more about Node-RED and the Internet of Things. He described how wherever he goes he is constantly looking for problems that could be solved by IoT applications. He explained how Node-RED makes this easy as it involves simple wiring of inputs and outputs without having to do lots of programming. Thus making Node-RED a great visual tool for wiring the Internet of Things.

Andy then told the group about some of the IoT applications he had developed for his own home, such as an electricity monitoring system he created 12 years ago, long before Raspberry Pi was introduced! This system could publish live data from Andy's home to the Internet, in the form of an energy consumption graph.
Next Andy showed us a project which involved a Raspberry Pi, a ping pong ball and LEDs, which together form an energy monitor. By using Node-RED you can programme the Raspberry Pi to illuminate either a red, amber or green LED depending on the energy consumption at that moment in time. Providing a subtle way to monitor energy usage.
So what is Node Red?
Node-RED makes programming simple, since when you want to connect things to the Internet it doesn’t involve writing libraries or low level code. It encapsulates many things you might want to do in therm of I/O and data transformation into things called 'nodes'.
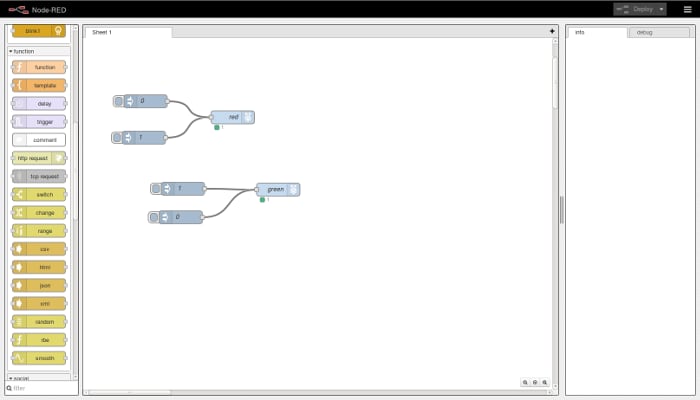
Andy took us through the layout of Node-RED and explained the functionality.

The palette is where the nodes are organised, and the workspace is where these are placed and wired together in sequence. To the right hand side of the page there is a tab which displays an info and debug tab. Info displays further information about a selected node and debug is handy when building a flow. To the top right hand corner there is an Deploy button.
There are various 'nodes' which all have different functions. If you looked in the node_modules directory this allows you to view the underlying JavaScript code for each 'node'. More advanced users can write their own custom nodes using JavaScript.
From here we looked at a few basic examples; the first of which was a “Hello world” example and this was by far the most basic as it only uses the 'inject' and 'debug' nodes.

The second example we looked at made LEDs blink; this can be done either on a timer or by manually turning them on and off with clicking the tabs on screen.
Finally, it was explained how MQTT can be used to link Node-RED instances together, and also how it's possible to post to social media such as Facebook and Twitter.
Having a go
At this point we were set loose to have a go at doing our own thing with Node-RED and most people divided into pairs or small groups. There were three in our group and we started by trying the first and second examples for ourselves.

The first example was fairly straight forward and our group modified the text and had two print functions running alongside each other, but printing at different intervals.
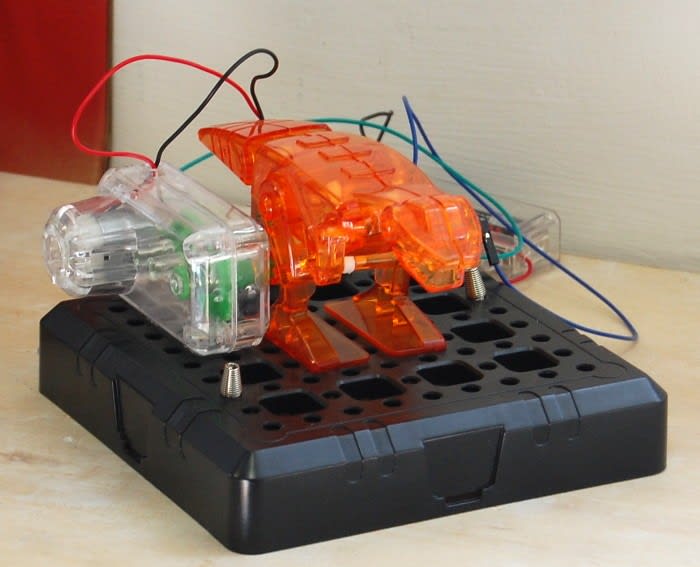
Dr Lucy Rogers brought along some very cool LED traffic lights, which could be plugged into the Raspberry Pi.

Following which we went on to blinking LEDs and using and LDR as a switch.

A few people managed to get a temperature sensor working with Node-RED. The image on the micro SD cards in the Raspberry Pi didn't come with the temperature sensor node installed, so the Raspberry Pi had to be configured to access the internet so that the extra software could be downloaded.

Others attempted writing their own custom function node. All in all it was a great introduction for the attendees, who achieved quite a lot in a short period of time, to say the majority had no experience with Node-RED!
Another piece of fantastic open source software with so much potential and I hope to be working more with Node-RED in the future.
Find out more about IoT products at RS Components