Design of a Ball Holder
Follow article Dave from DesignSpark
How do you feel about this article? Help us to provide better content for you.
Dave from DesignSpark
Thank you! Your feedback has been received.
Dave from DesignSpark
There was a problem submitting your feedback, please try again later.
Dave from DesignSpark
What do you think of this article?
DesignSpark Mechanical

Introduction:
Hello, everyone. I am George, a year three student studying in City University of Hong Kong. In this summer, I started to work as an internship trainee in RS Components. During this period, I worked with my partners who are also the internship trainees to finish several projects. One of these projects is to design an Analog Car. Besides the electronic circuit of the car, we have also tried to make a cover for it. In the following, I am going to share my works using DesignSpark Mechanical
Purpose:
In order to improve the laboratory of EE3004 of City University, we are requested to improve the laboratory of it. In EE3004, we decided to design a new road with some obstacles. Students are required to design a car to get a ball and go to assigned space to complete this competition. As the ball holder needs to make by ourselves, we tried to use Design Spark Mechanical to make the ball holder.


Design:
When we first design the ball holder, I try to draw it on a paper and cut it into different kinds of small parts. It is easier to draw some simple components compared to a complex product.

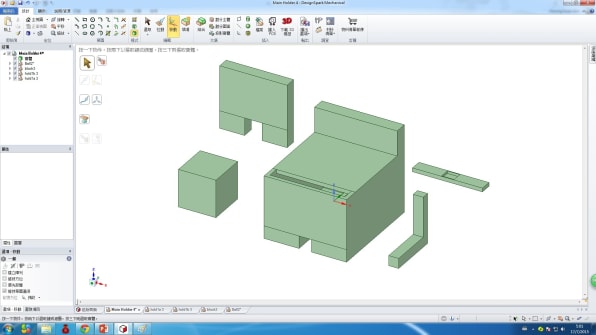
DesignSpark Mechanical:
After we finished our drawing on a paper, we can try to draw them by using the Design Spark Mechanical. Although the symbols are all simple, we can draw it easily. However, please care about the size of each product.
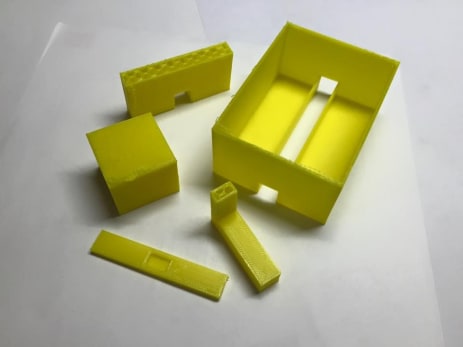
3D Printer:
By connecting the 3D-printer, the symbols drawn in DesignSpark Mechanical can be made within a few hours.